sewing, Uncategorized

Finished: Paule Top

When I came home to Australia, I realised that I needed some work clothes – because our stuff wasn’t going to be arriving for several weeks, and I didn’t know what the immediate future held for me.  I wanted something comfy but smart looking, preferably in a knit fabric.

DSC_0551

Pattern: Paule Top by Chez Machine

Fabric: Viscose knit from Spotlight.  I never thought that a bright yellow and black would suit me, but I like the colour a lot now!

The pattern instructions were a little hard to follow – because they’re only available in French!  I tried to figure it out using the pictures but I’m sure I probably did something wrong somewhere.  DSC_0556

This top is basically a front, a back, a waist tie and a neck band.  That’s it!  The waist tie wraps around front, back, and front again and ties in a bow.  It also looks nice tied the other way.DSC_0559

I like that this top shows off my waist and my newly strong arms but has a modest neckline and pretty shape.  It’s also really comfy!DSC_0554I’ve also made myself one in a stretch velvet, but I need to alter the neckline as the firmer knit fabric is a little chokey.  But all together, a very easy, very flattering top pattern I’ll definitely make more of in future!

sewing, Uncategorized

Almost finished: Style 1671

It’s been a little while since my last blogged project, but I have been busily sewing away and hoarding my projects until we could get good photos, which we did yesterday.  I actually have five projects to share, which I’ll post each week and hopefully then I’ll have some new ones too!DSC_0562

Pattern: Style 1671, available to purchase online (only in size 10) here

Fabric: Wool blend twill, from The Fabric StoreDSC_0571

I first saw this coat pattern watching the Great British Sewing Bee 2019 – Riccardo won Garment of the Week with this vintage coat pattern.  I began looking online and in op-shops and after a few weeks found the pattern in Canberra Antiques Centre.  They actually had a lot of vintage patterns from different decades, and I bought a couple of different things!

Initially I wanted to make this coat in the lovely English wool used on the show, but I was priced out.  The fabric would have been an OK brice but the shipping!  I couldn’t do it.DSC_0575

I say this coat is almost finished, because I haven’t added buttons yet.  I’m nervous to do it since I can never quite make them in the right spot.  I’ll work up my courage though, eventually!  It would be nice to have a button at the top to stop the wind blowing against my neck.  I also have to machine top-stitch the pockets because they’re only done by hand at this stage…

DSC_0583

The pattern itself is pretty simple, two front panels, two back panels and a pleat, a yoke, two collar pieces, a two-piece sleeve and facings.  I also lined this in a red bemsilk (a bit crushed from being sat on for a week).  I followed the pattern instructions for the lining and didn’t bag it out, which would have been lovely but I couldn’t quite figure out if it would work.  So the lining might be a bit short, but at least it won’t show!

DSC_0570

The pattern includes the belt but I also made some belt loops and sewed them on the side seams.  I don’t think it needs more loops but just in case I have two more if I change my mind!

DSC_0590

I didn’t do a huge amount of tailoring.  There are shoulder pads and interfacing in the collar, yoke, and front facing but no more than that.  I looked at a book on tailoring and ran away scared.  Maybe next time, but also maybe not?

It is a kind of oversized look, you can see it’s a bit big around the shoulders.  A bit like wearing your mum’s coat when you’re eleven.  I still like it!DSC_0587DSC_0597

I love my new coat ❤


In other news, we moved back to Australia!  We’re house hunting!  It’s all going great 🙂

pants, sewing, Uncategorized

Finished- Ginger Jeans!

I have been stalking the Ginger Jeans for years now – it seems everyone’s made a pair and fallen in love with them!  I’m not a high-waisted-jeans kind of person – they can make my tummy hurt – and I’m not a low-rise-jeans person – I don’t want to show the world my bum.  I am never comfy in skinny jeans (so far) but I liked the look of the stovepipe cut.  So when the Ginger Jeans Mid-Rise pattern came out (years ago) I bought that one.  Then I waited for years, too scared to try it!  Finally, this month I did it.

fullsizeoutput_6a6a

This denim was bought in Japan last July.  It’s from one of the Tomato fabric shops in Nippori Fabric town.  I was delighted to find that they had a huge range of denim, all different weights, colours, stretchiness, and some even had designs.  I bought this grey-black with a small stretch.

The lining fabric is just some cotton (I think) I had in my stash that I made some Tania Culottes from ages ago (never blogged).  I still have them but they’re getting a bit tight!

fullsizeoutput_6a66

Let’s talk about fit.  I don’t fit any of the sizes out of the envelope – my hips are a size 8 and my waist is a size 4.  Because the fabric has a bit of stretch, I went for the middle and cut a 6.  As per the instructions, I basted them together for fitting.

fullsizeoutput_6a69

The waistband gaped a LOT, and I could hardly get them over my hips.  So, I drafted a new waistband with more curve: still gaping.  My third waistband had enough curve that it didn’t gape any more.  To help with the hips fit, all I could do was sew with a very small seam allowance at the largest point.  Now, I can do them up but can’t really put my hands in the front pockets!

Here’s the fit sitting down.  It really rides up at the front and down at the back, but I guess that’s pretty normal?  My other pants don’t do this so much.

fullsizeoutput_6a67

So the fit now is *okay*, not perfect.  I still have some gaping at the waist and it’s still really tight across my bottom.  I will have to look carefully at the pattern and make some alterations for next time.  I also have one twisty leg – must have cut it slightly off grain.

fullsizeoutput_6a6c

They do look good from the back though.  And it’s a nice feeling to have jeans that are the right length!  All of my store bought jeans have to be shortened and then they don’t have that nice coloured topstitching.  These do and it’s great!

fullsizeoutput_6a6b

My fly front is a bit messy but nothing you notice much at first glance.  The waistband overlaps slightly unevenly, so I installed a hook and eye to try to get the under-lapped one more hidden.

IMG_3772IMG_3773

One warning – the Mid-Rise instructions seem to have a step missing, which mucked me up for a while.  When you join the pocket lining to the denim pocket bit that shows, it doesn’t say to sew all around the edges of the denim bits.  So when I tried on my pants for the first time, the denim parts of the pockets popped out.  Whoops!

IMG_3774

The back pockets is where I let my freak flag fly.  I loved looking at everyone’s personalised back pocket designs and racked my brains trying to think of one for me.  I didn’t want to go the treble and bass clefs (too obvious), and a lot of other designs were too complex.  This symbol is from A Series of Unfortunate Events, and is a stylised VFD acronym and also looks like an eye with an eyebrow.  The world is quiet here.

fullsizeoutput_6a68

These work pretty well as jeans, I’m happy with them as my first try.  I’m going to try making shorts from the leftover denim (not quite enough for another pair of jeans) and that will be an opportunity to tweak the fit.


sewing, Uncategorized

Red silk Archer shirt!

After making my first red Archer shirt, why not make another one!

IMG_0429

Again, this is the Archer shirt by Grainline Studio.  I’ve had this red silk in my stash for almost a year, since I bought it when I got my new teaching job here in Oslo.  I was planning to make myself a nice silk shirt to wear to work… it only took me about 9 months to get around to it!IMG_0452

Silk is… difficult to sew with.  I don’t have a cutting mat and rotary cutter, so I have to use scissors.  I was so sure that the silk was lined up perfectly straight and smooth, but of course some of my pieces ended up a little warped.  This meant that the collar was a bit of a pain in the bum.  It had to be redone a couple of times, and the under-collar is still a bit bumpy (maybe a lot bumpy).  It’s not too visible when worn though!

IMG_0453

One thing I don’t understand about this pattern, is that the upper collar and under collar are two different pattern pieces, and the under collar has a seam in the middle.  Why not make them the same pattern piece?  It would mean my pieces are slightly more likely to be the same once cut!  This problem didn’t surface with my other shirt, I guess because the fabric was more obedient!IMG_0440

The buttons are little gold metal shank buttons. Very cute!IMG_0436

I used the fabric as interfacing as I didn’t want anything stiff or visible.  It worked ok!  My only other note is that I did french seams throughout in order to minimise fraying and help the garment last as long as possible.IMG_0435IMG_0434

So far, it’s standing up to wear.  On one of its first outings we went out for ramen and I got a splash of soup on the front, which washed out fine!  Phew!  The fabric is a little thicker than chiffon and is quite bouncy.  Hopefully it won’t wear out too quickly!  While sewing with this shirt was really hard and frustrating because of the fabric, I really love the finished garment and am thinking of what to make from silk next. I’ve gone mad! Stop me!

Uncategorized

Wool Milano Cape

Apologies for slightly blurry photos… Using my front camera on my phone is a bit blurry, oh well!

This latest make is the Milano cape by Papercut Patterns.  It’s only availble as a paper pattern, unfortunately.  The pattern is in 3 sizes, and the main difference between sizes is the length. I cut the smallest size.

fullsizeoutput_5bf0

The fabric is some wool coat fabric I bought years ago in Melbourne.  It’s quite thick, and has a nice heft and warmth to it.IMG_0455

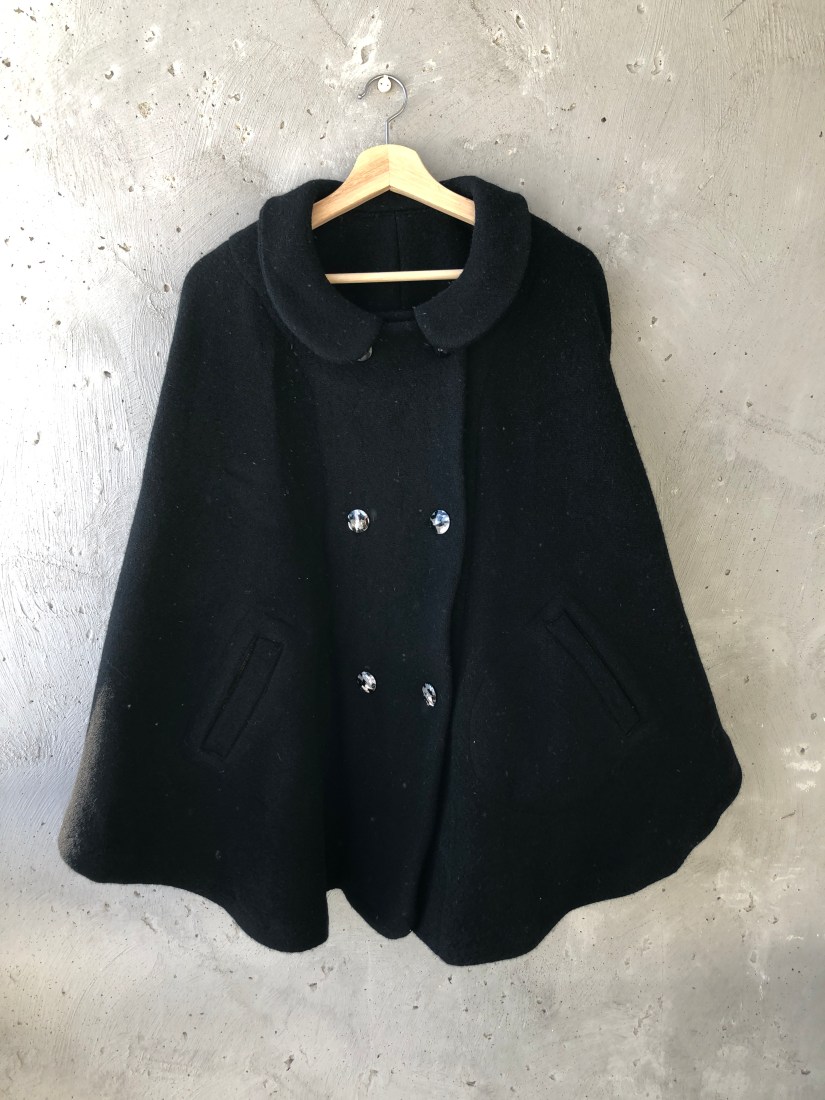
However, as shown, it also picks up every particle of white dust in the vicinity.  Hopefully as the fabric wears and smooths out that will happen less?  A bit doubtful. IMG_0372

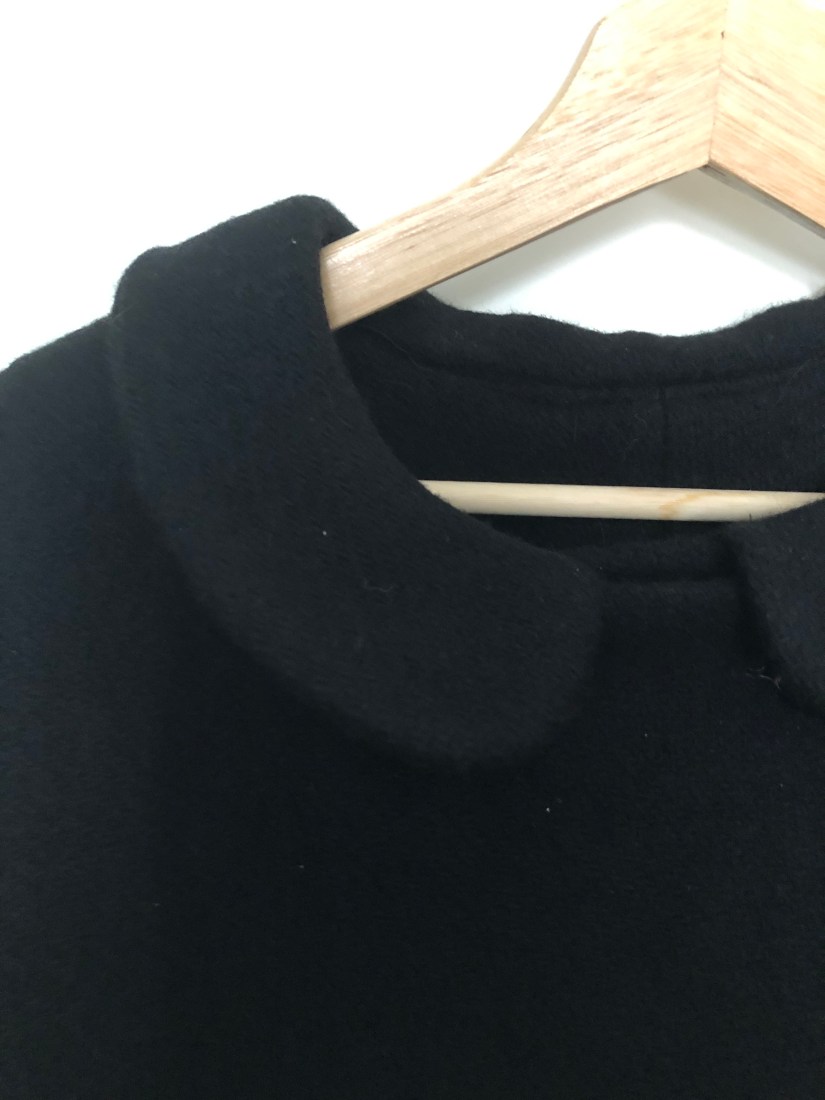
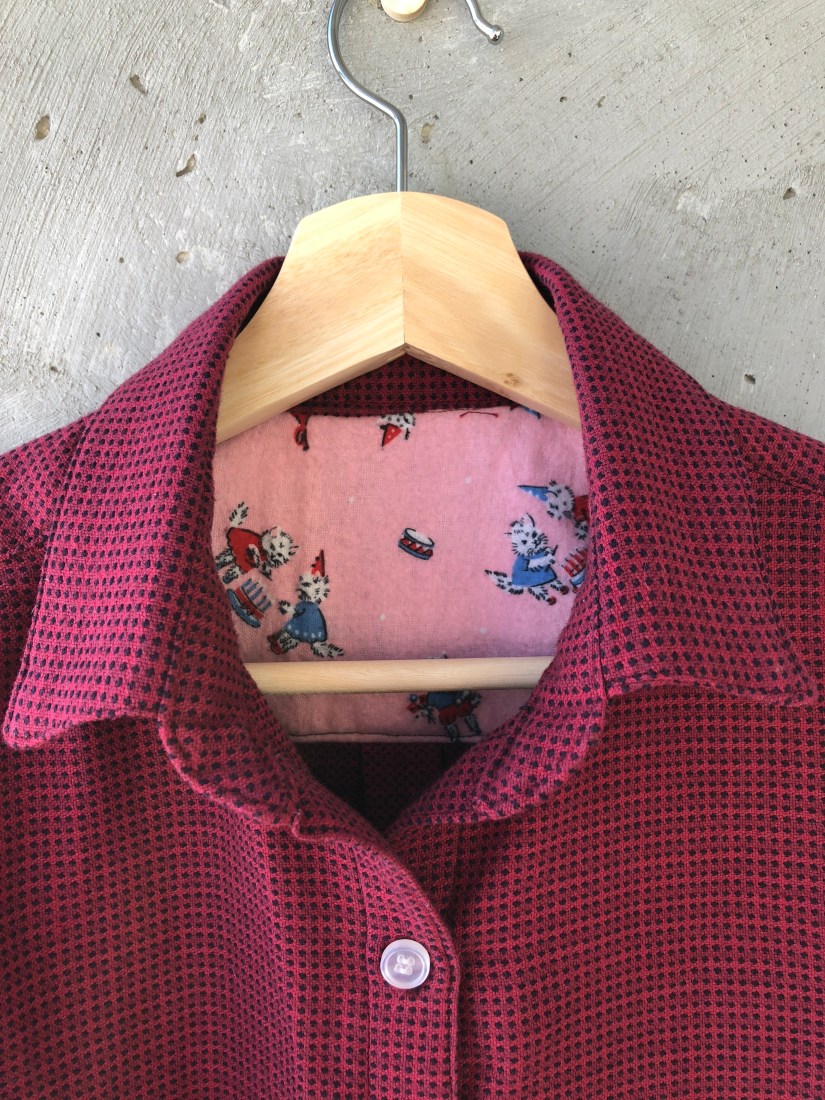
This pattern features a lovely Peter Pan collar with no undercollar.  It got a bit cumbersome and thick sewing the collar area on my little machine!IMG_0371

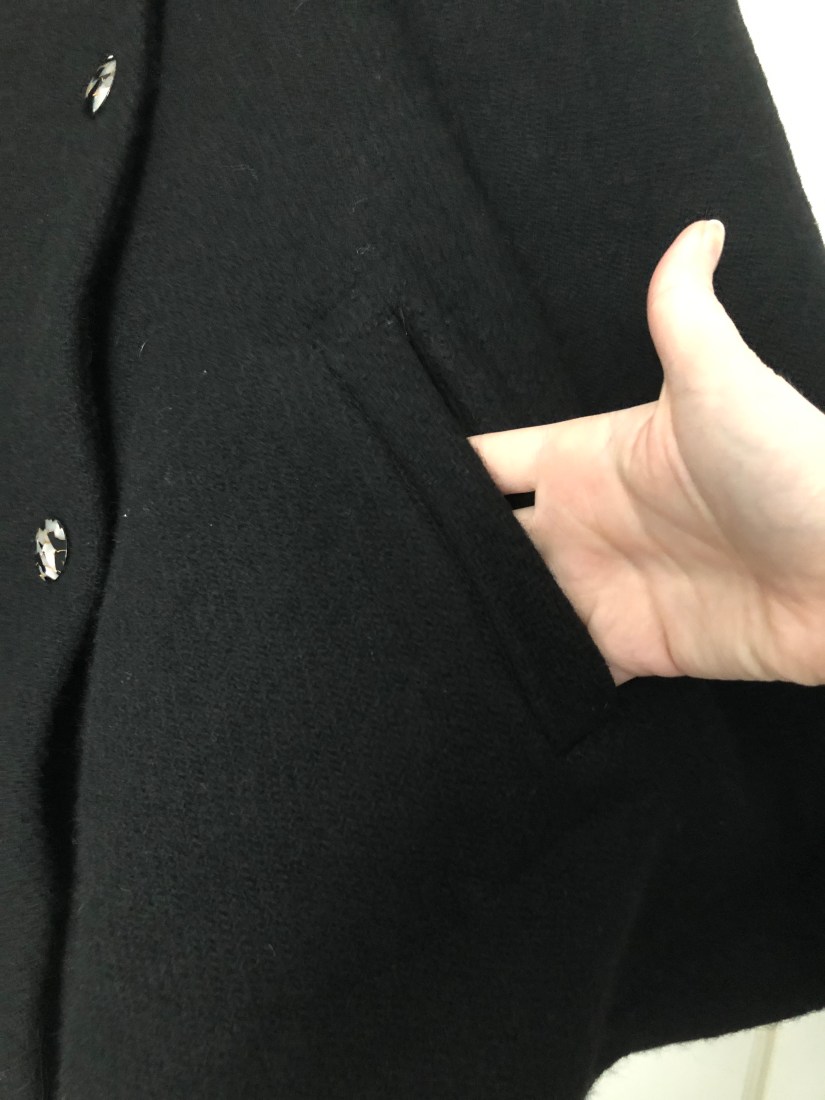
This pattern also has single welt pockets.  These are a bit scary to do, and were kind of hard to place evenly.  I also found that the welt pattern pieces were not the same length as the mark on the front pieces.  They were significantly different, not just a little, and it took a lot of checking and measuring to get it right myself.  IMG_0458

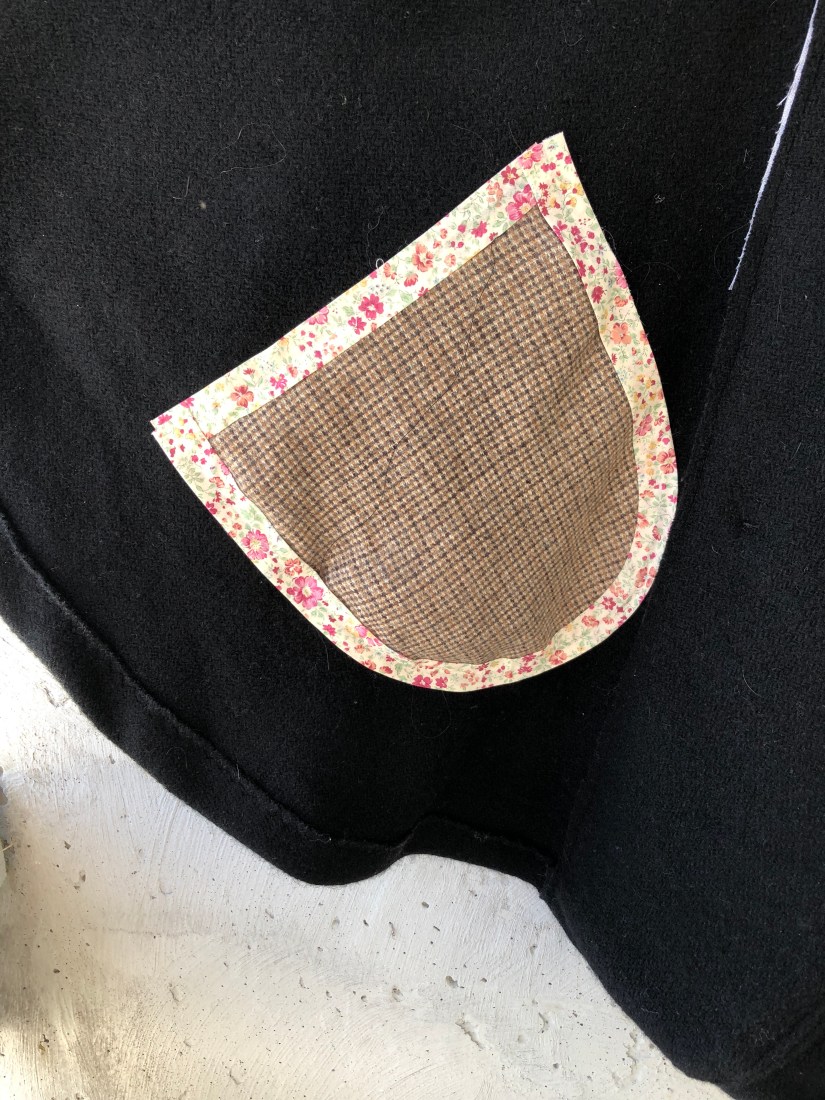
The pocket bags are some other wool suiting I had, and to prevent it from fraying I used a fusible hemming tape to glue some bias binding over the raw edges.  I could have just finished the edges before sewing them on but I didn’t think of it at the time!fullsizeoutput_5bf2

Who knows if I’ll wear this really.  I’m not a cape kind of person, yet.  I’d like to be one of those women who just swoosh around in a cape and look so cool, but so far I’m not quite convinced!fullsizeoutput_5bf4fullsizeoutput_5bf5fullsizeoutput_5bf6

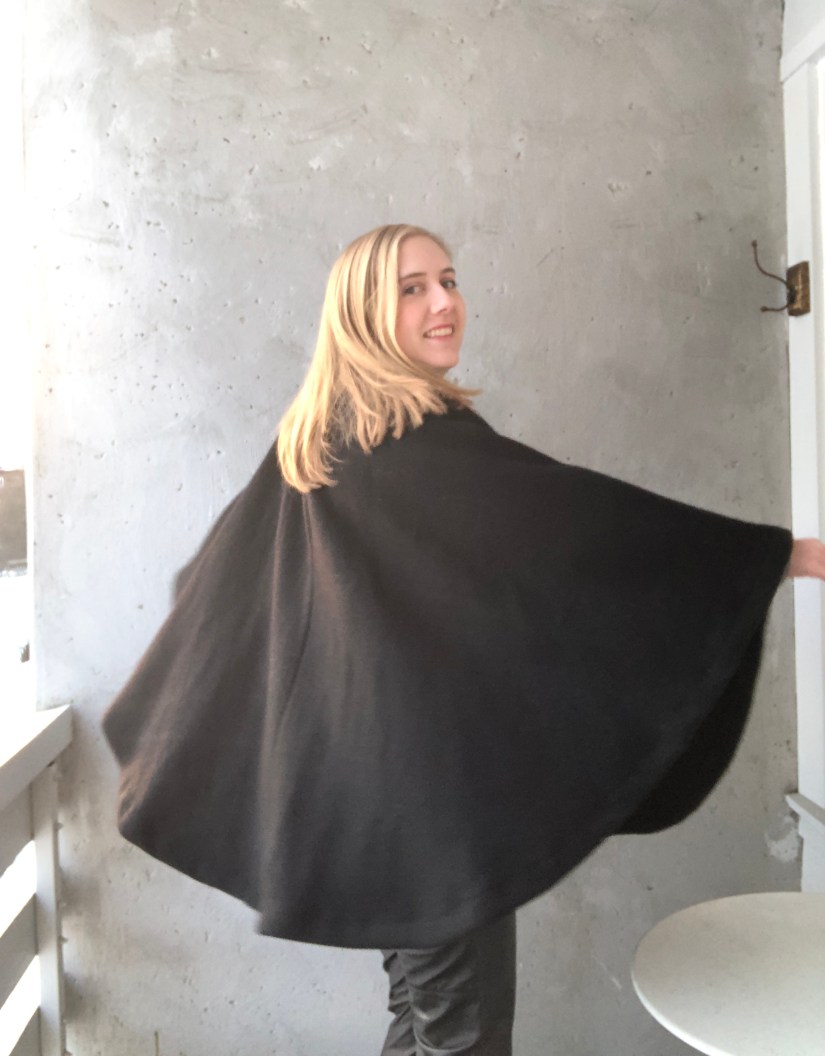
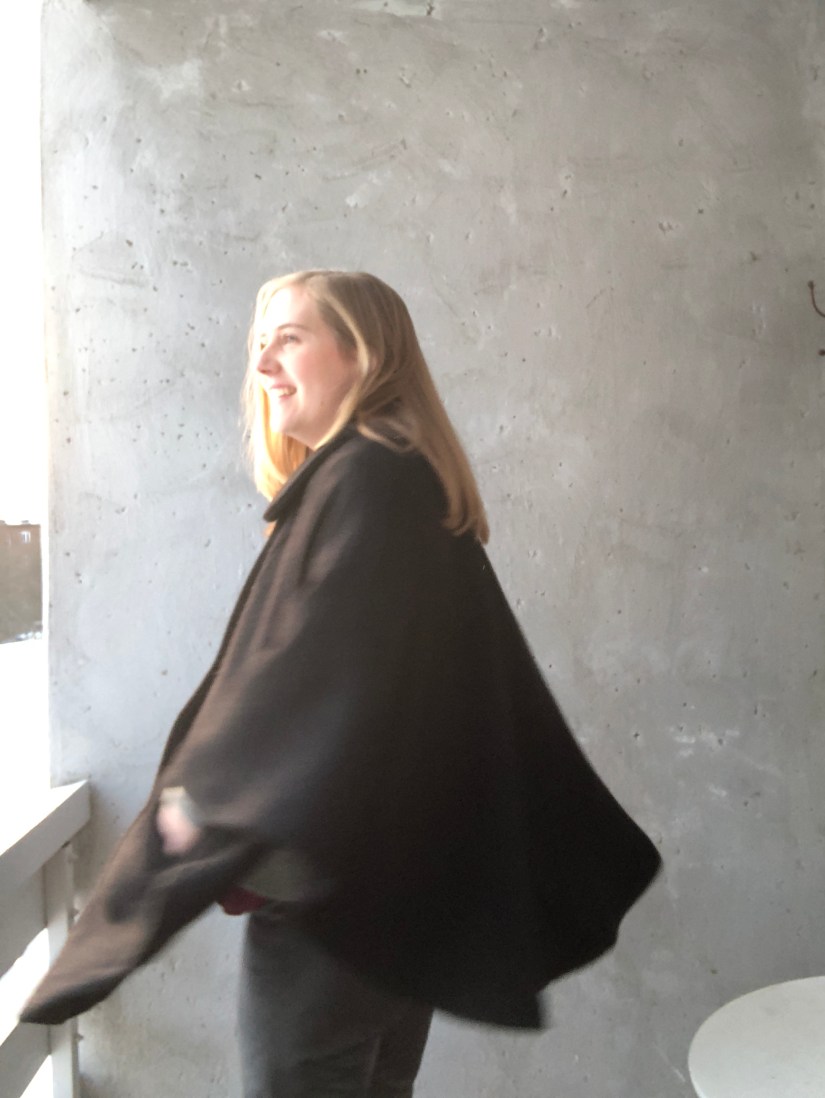
It is very swishy, though 🙂