bendigo woolen mills, knit, wool

Completed – Marion Cardigan!

I’m ripping through the knits these days you guys.

I bought this pattern a while ago, and sent it to my friend Violet for her birthday.  We both knit it at the same time and it’s amazing how different they are!  Hers is in a beautiful deep red and turned out much smaller in length AND width.  Hers is quite lovely!  I almost went and bought red yarn and made myself another!
The only modification I made to this pattern was to put in an extra buttonhole above the others (which I can’t use because the buttonband gapes), and to go down a needle size (as usual).  The cable patterns were fine once I got used to them but at first they were pretty confusing.  I’m bad at visualising what I’m doing when I’m knitting upside down (this is a top-down knit).
The wool is … very pink.  I didn’t expect it to be this pink!  It looked like a soft coral on the swatch but then turned out to be all HELLO HIGHLIGHTER PINK.  I still like it.
It came out a little longer than the original, I think because my gauge is quite loose.  I find it hard to get a gauge that matches the prescribed gauge both ways.  Although mine matches horizontally, it’s still a tiny bit longer.  I don’t mind though, as now I can wear it with pants!  I LOVE PANTS.  Although clearly not with these pants.
craft, wool

Completed – Lace chevron scarf

I finished a project!  My New Year’s Resolution is coming true!
This is a yarn I bought from the Braidwood Alpaca Shop, and it’s a 4ply 100% alpaca wool.
The pattern was free with the yarn!  But it’s a very simple 4 row repeat, using a multiple of 6 stitches plus 2.  I used 44 stitches for mine:

Row 1: K1, *YO, K2, K2tog, K2*, repeat until 1 stitch left, K1.
Row 2: Purl
Row 3: K1, *K2, K2tog, K2, YO*, repeat until 1 stitch left, K1.
Row 4: Purl.

As you can see, rows 1 and 3 are basically the same except moved along 1 stitch.
I did this mostly while we were away in Adelaide recently, and finished it off today.  It seemed to take me a long time, but that may have been because it was kind of tedious.  I also am really looking forward to starting something new, but I still have to finish off something else first!!

The “chevron” is a little hard to see actually, but the K2togs make little chevrons if you look at it the right way.

It’s just as long as my xylophone!  About 185cm.

After I steamed it, it flattened out and looked fantastic.  I love it!  Alpaca wool is so soft and beautiful, it drapes a bit nicer than sheep’s wool in my opinion. 

Now let’s wait for the weather to cool down so I can actually wear it!

bendigo woolen mills, craft, jumper, knit, wool, yarn

Nympheas Jumper – COMPLETED!

I’ve finally finished my Nympheas jumper!

Pattern: Nympheas by Susannah Hill
Started: March 5th 2013
Finished: June 13th 2013
Yarn: Bendigo Woolen Mills “Classic” 5ply, in Seaquest
Link to my project page on Ravelry, with further notes.

 This jumper is pieced – front, back, arms, and then the neckline is picked up and knitted.  The front and back are worked exactly the same except for the neckline.  Arms are symmetrical.  It was a pretty easy pattern to follow once I worked out the lace pattern.

I made a long-sleeved version of this jumper, instead of the cap sleeves in the pattern.  To do this, I just cast on 34 stitches instead of 58, and gradually increased up my arm.  I was worried they were going to be a little long but they turned out just fine.
The little picot edgings are lovely!

 The neckline was a bit of a worry.  Because you don’t decrease, there’s a danger it can flop out.  To solve the problem (mine did flop a bit), I threaded some yarn around the edge on the inside and pulled it slightly tighter.  Now my neckline isn’t stretchy but it doesn’t flop or sag.

There’s a tiny bit of extra bulge near my underarms at the front – don’t know why, and it doesn’t really bother me.  It goes away if I pull it down a bit.

I really need to learn how to join nicely!  I did it in such a rush because I just wanted to wear it!

This jumper is so beautifully fitted!

I’ve literally been wearing this every day since I finished it about ten days ago.  I love it so much!  It goes with so many clothes in my wardrobe and I’m so proud of myself.  This jumper took a long time to make – much longer than my other cardigan – but it’s so worth it.  The wool keeps me nice and warm.  I just love this jumper!!

A nice thing happened the first day I wore this.  I went to the wool shop to get some needles for my next project, and the shop lady complimented me, asked my username on ravelry, and wanted to know the pattern to make it herself!  She like it so much, I was really thrilled 🙂 The knitting community is lovely!
My Ravelry profile
Thanks for looking!

beanie, cardigan, clothing, diy, hat, knitting, wool

Simple knitted beanie(s) pattern!

Scroll down for the pattern!
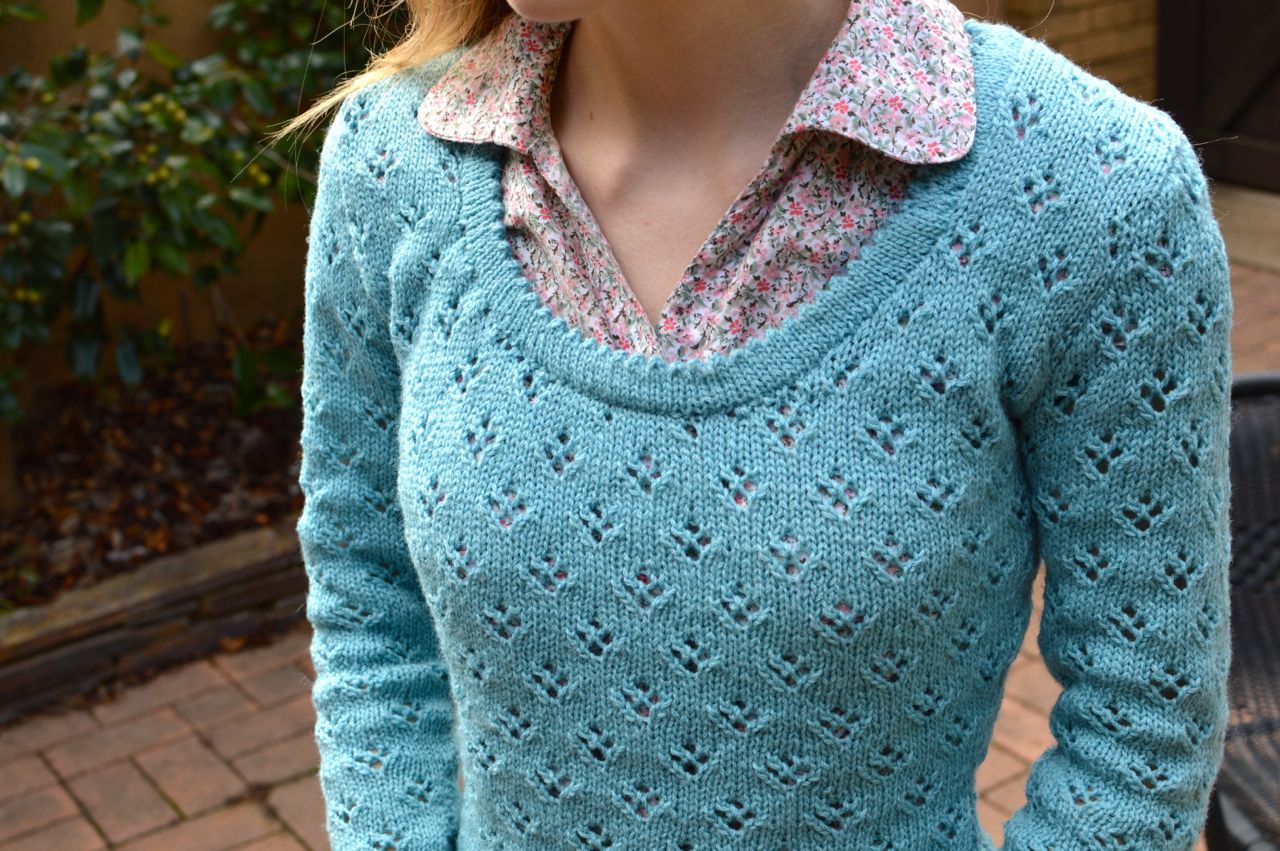
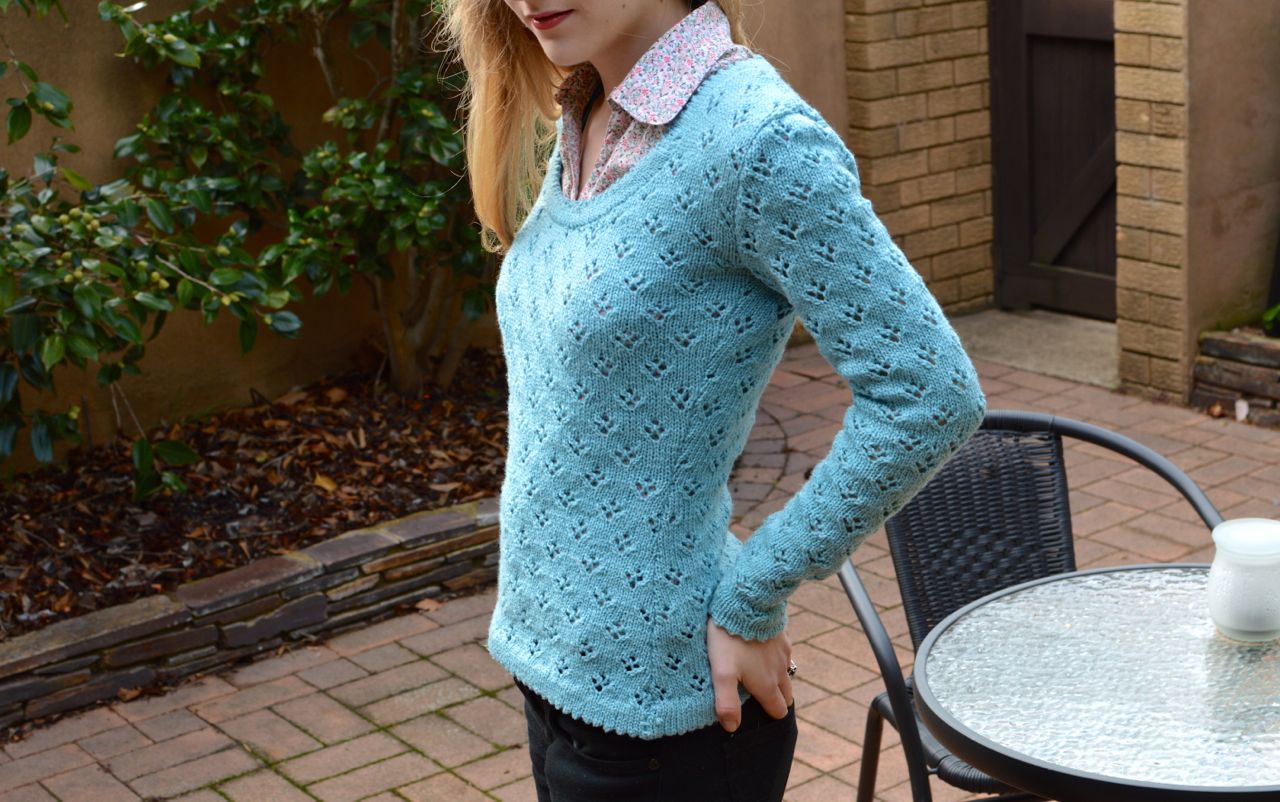
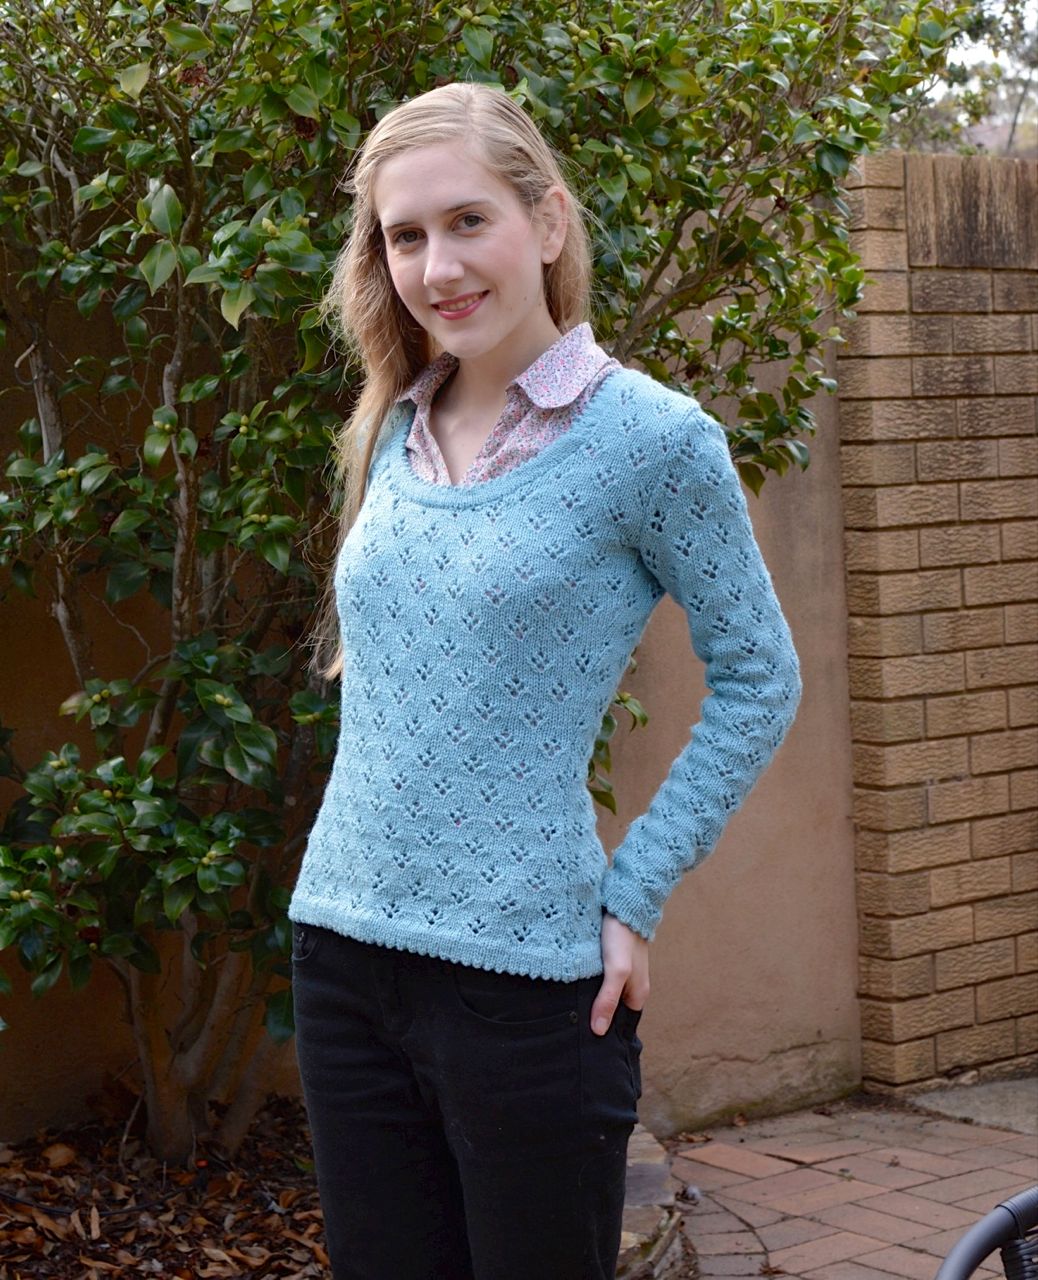
I just finished knitting a beanie from the leftover yarn from my Miette cardigan.  I don’t know if I’d actually *wear* it with the cardigan, since it’s all a bit matchy-matchy but I love it!  I’m going to wear it a lot in winter, so comfy and warm.
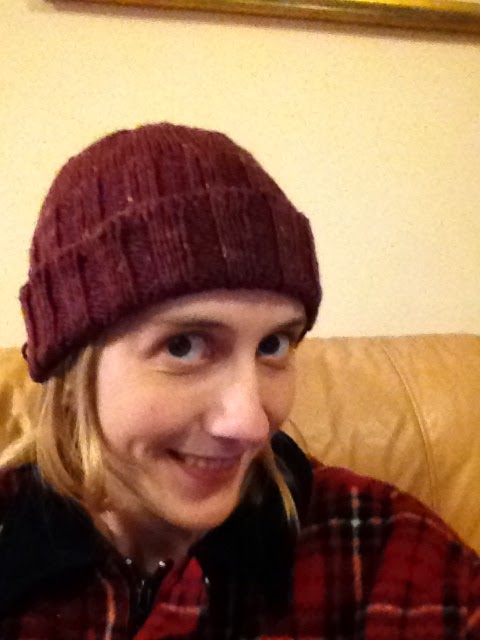
But this is actually the FIFTH TIME I’ve made this pattern.  Firstly  I made a dark burgundy one for my good friend who went through chemo and needed a hat.  She loved it so much and wore it almost every day of her bald period, and I knitted her another one in white too.  She wore the white one for “good”.
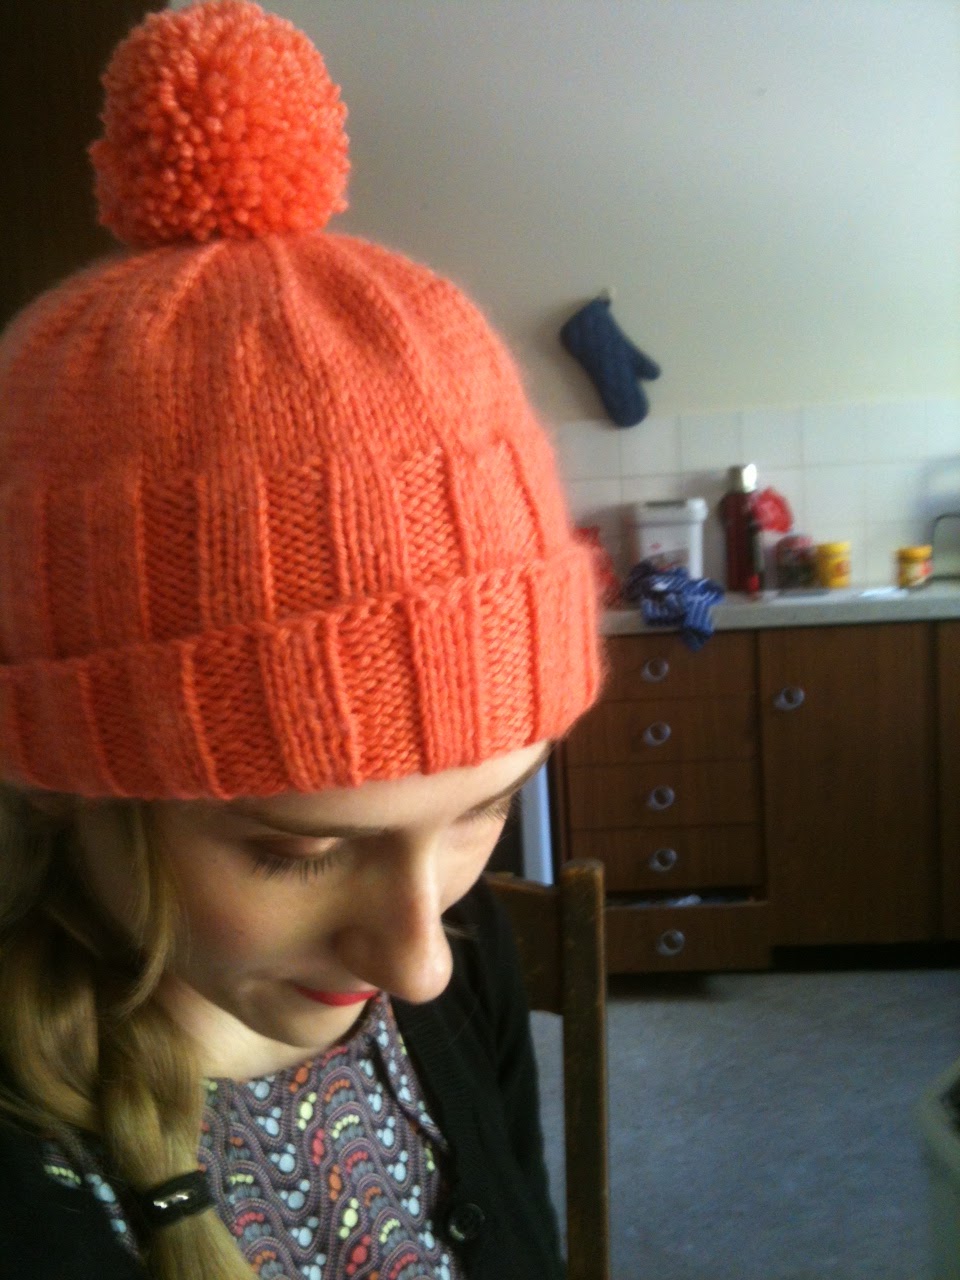
The red hat before I gave it away.  Yes I’m wearing a mens flanny.
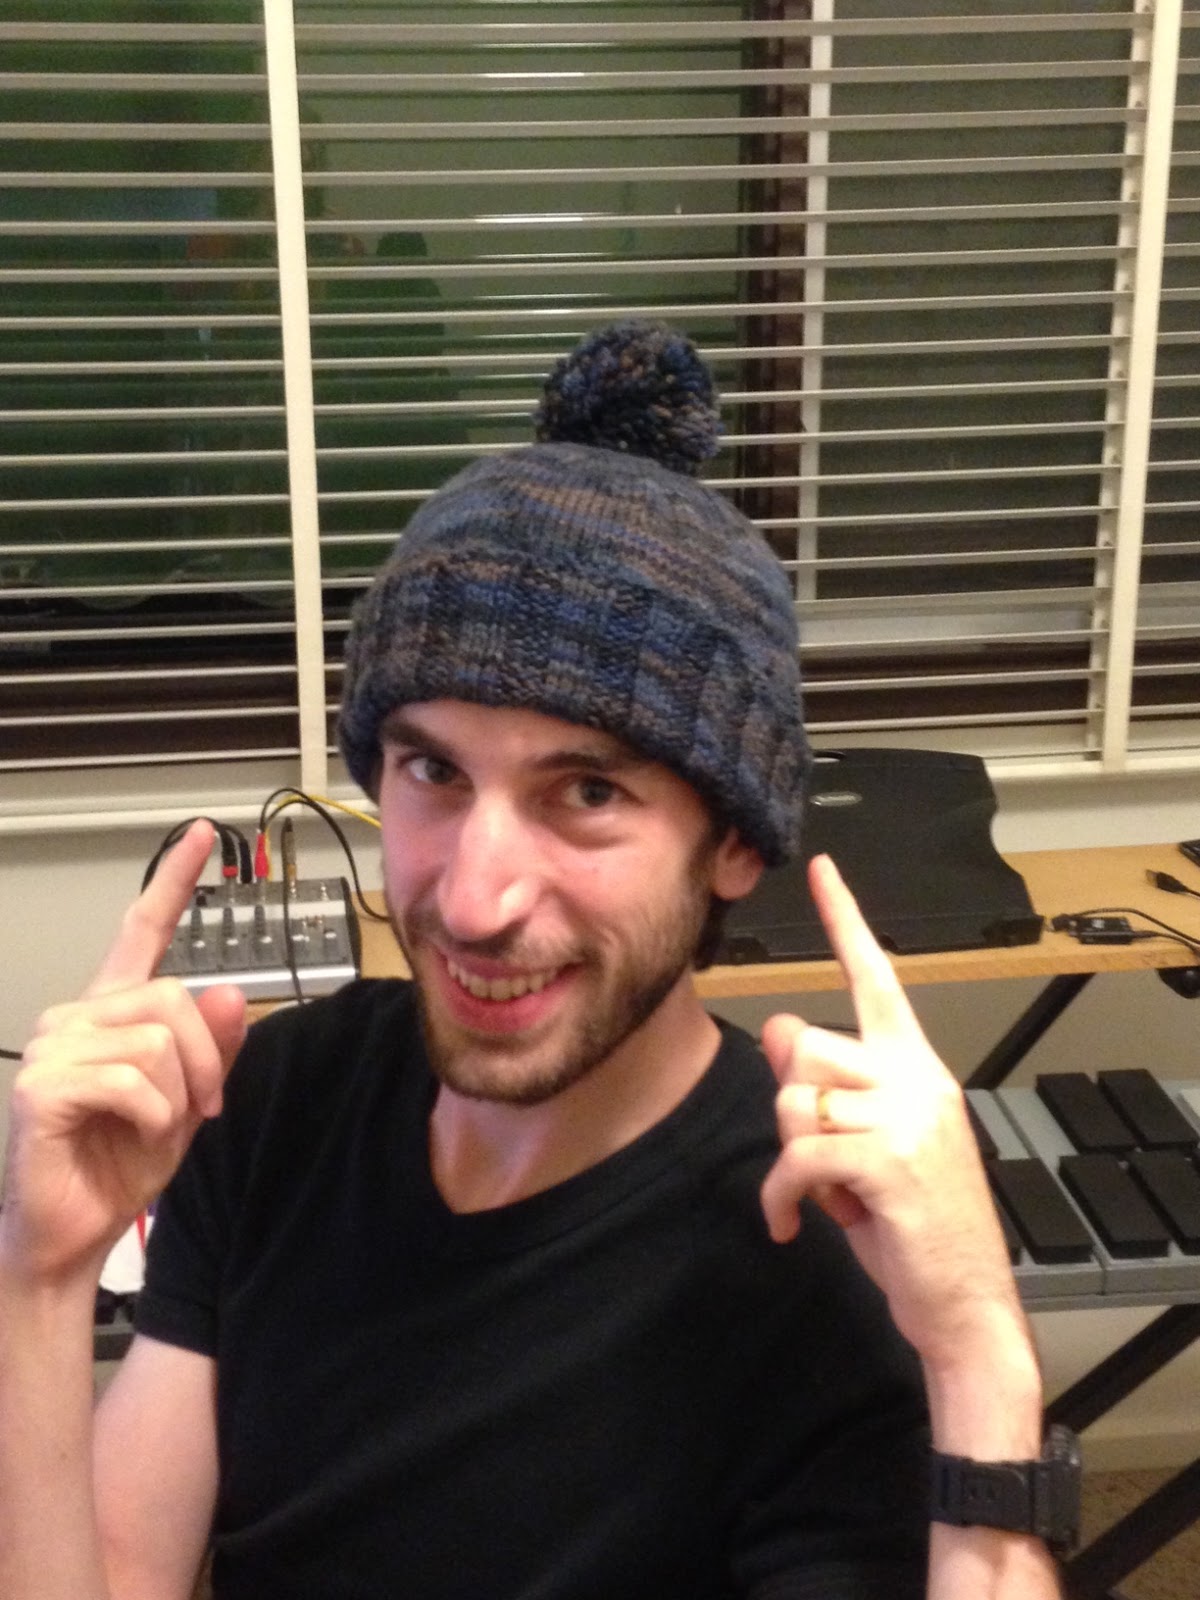
I also knitted a cream coloured one for my mum, and then a nice dark blue one for Charles!  I made Charles’ one bigger than the ladies’ ones so it was nice and comfy and roomy, and then I put a pompon on top!  And now he loves it!

 So here’s the pattern!  It’s from the March 1973 edition of Stitchcraft (do they still make that?).
You’ll need some nice 8 ply (worsted weight) yarn (I used a bit less than 2 50g skeins), and some 3.25mm needles (UK size 10, or US size 3), and 4mm needles (UK size 8, or US size 6).

With the 3.25mm needles, CO 108 sts. Work 6.5 inches of k3, p3 rib, decreasing 3 sts evenly on last row: 105sts.
Change to 4mm needles and starting with a k row, work straight in stocking-stitch until hat measures 2 inches from top of ribbing.

Shape as follows: 
1st row: k. 7, (k. 2 tog., k. 9) 8 times, k. 2 tog., k. 8. 96 sts. 
2nd row and every alternate row: purl.
3rd row: (k. 6, k. 2 tog.) 12 times: 84 sts.
5th row: (k. 5, k. 2 tog.) 12 times: 72 sts.
7th row: (k. 4, k. 2 tog.) 12 times: 60 sts.
9th row: (k. 3, k. 2 tog.) 12 times: 48 sts.
11th row: (k. 2, k. 2 tog.) 12 times: 36 sts.
13th row: (k. 2, k. 2 tog.) 12 times: 24 sts.
15th row: (k. 2 tog.) 12 times: 12 sts.
17th row: (k. 3 tog.) 4 times: 4 sts.

Break yarn, thread through remaining sts, draw up tightly and fasten off.
To make up, press and join back seam with remaining yarn (I used a crochet hook). Fold ribbing in half to right side, or wear as desired. You can also make a pompon for extra cute.

To make Charles’ hat bigger, I cast on 12 extra stitches initially, so that at the end of the ribbing I had decreased 3 sts to 117.  Then the shaping:
1st row:  k. 9, (k. 2 tog., k 10) 8 times, k. 2 tog., k. 10. 108 sts.
3rd row: (k. 7, k. 2 tog.) 12 times: 96 sts.
5th row: as for 3rd row in above pattern.
7th row: as for 5th row.

So basically you extend the shaping by one row, but still decrease 12 sts each time.  You could make it even bigger if you wanted!  Sometimes I like to wear Charles’ hat because it’s so roomy and comfy, so you might want to just make a bigger one!

I hope this pattern is useful!  It’s honestly a really great hat!

Matchy matchy!