Several months ago, the lovely Vanessa of Nessbow asked me if I would complete and review her ecourse, Nessbow’s Personal Style E-course. I said yes immediately because I really like thinking about style, clothes, fashion, and inspiration! And then I promptly got super busy, then sick, then it was Christmas, and then I went away! So it went on the back burner for a while. I’m sorry, Nessbow!
The course is set out in 30 lessons, which are all either something to read or watch, and then some homework, where you write down your responses to some questions or do something with your wardrobe. The idea is to do one lesson each day for a month.
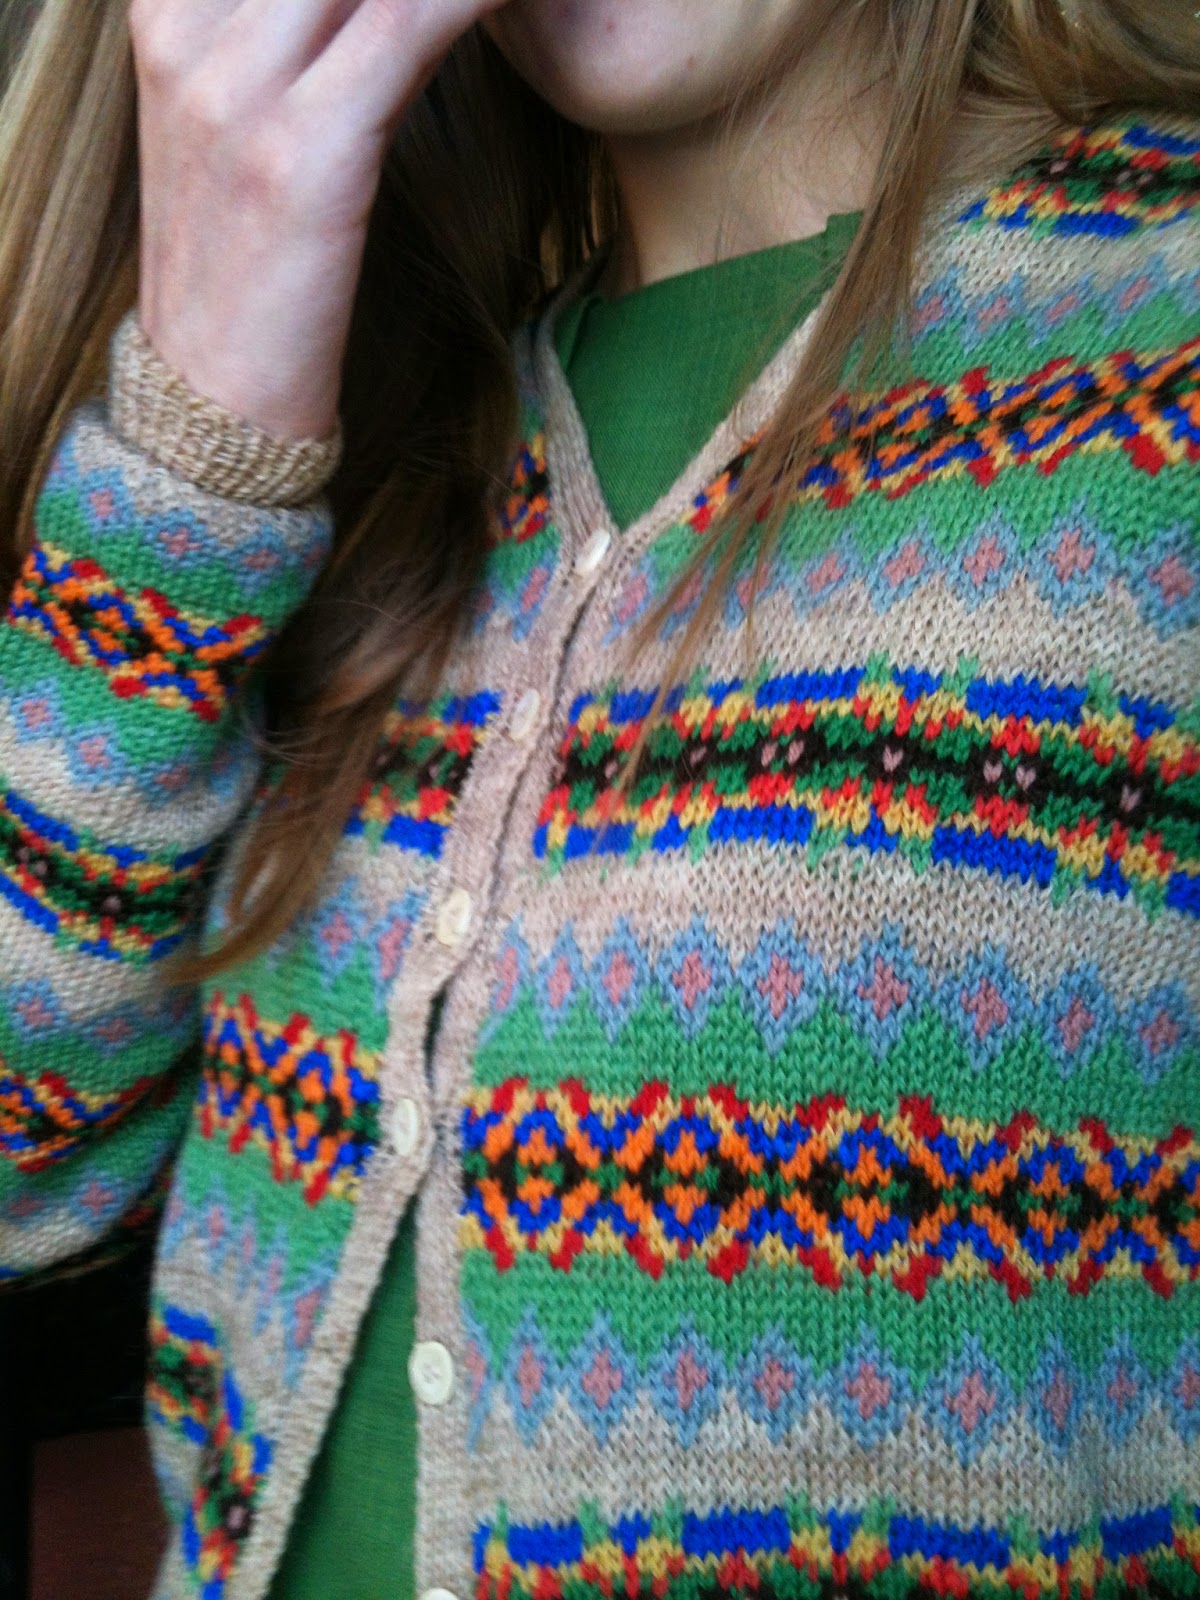
The lessons are carefully set out on a wide variety of topics, such as your style inspirations and icons, your wish lists, how to mend your own clothes, how to style neglected clothes in your wardrobe, body image, tips on how to personalise a uniform, and adding more colour into your outfits. The homework is designed to make you really think and distil your own opinions on the topics.
One thing I really liked about this course is that some of the lessons are videos! They are links to youtube videos that are only available when you know the address, which is such a cute idea!
My favourite lesson was definitely the one on cleaning out your wardrobe! I always feel almost guilty about the amount of clothes I own, so it’s helpful to get rid of a bunch. I always feel like a weight has been lifted when I get rid of stuff! I also really loved the lessons on mending clothes, and also on what clothes I consider staples. No more party dresses until I actually get invited to a party!!
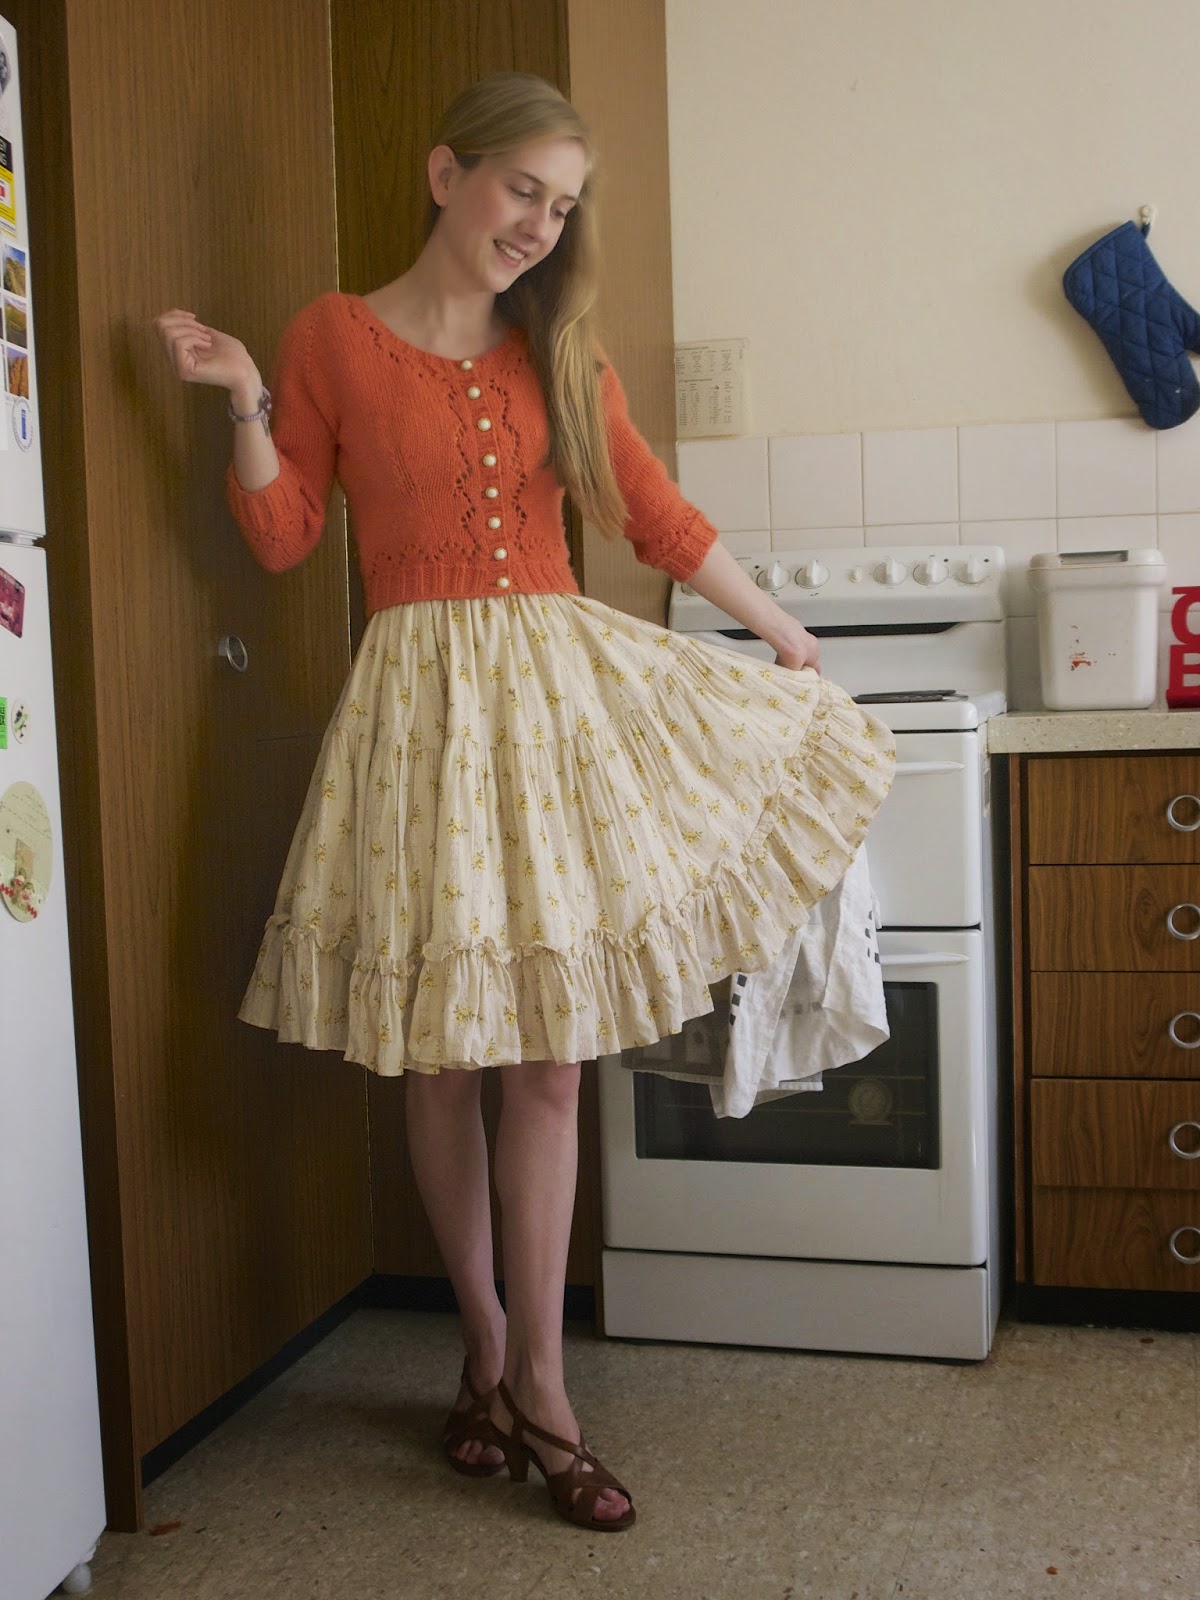
I found this course really thought-provoking, and it enabled me to nail down some thoughts about my style, such as who I get inspiration from, why I dress the way I do, and how to cultivate my wardrobe so that it suits me and I get less unworn items. I think we all have that item in our wardrobe that never sees the light of day!
So, get this ecourse if you:
Have an item of clothing you really love, but never wear,
Don’t seem to have any clothes that match,
Are unhappy with your personal style,
Have an overflowing wardrobe,
Have negative thoughts about your own looks,
Wish to develop, refine, or alter your personal style