About a week ago, I held a Labyrinth themed birthday party. Labyrinth is my favourite movie ever! I don’t know why I didn’t think of having a Labyrinth party earlier. Some people might think it’s a bit juvenile for a 23rd party. I guess I just like dressing up? I should say that I got a lot of useful pictures from the Labyrinth page on this website –
the Costumer’s Guide to Movie Costumes. It’s a wonderful website! It has pictures of costumes from a lot of great movies, and sometimes instructions on how to make them. It’s super great, I can’t recommend it enough.
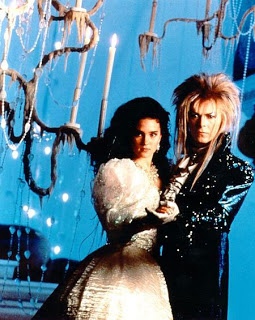 Jareth and Sarah in a promo photo from the film. This is how I decided to dress Charles and myself – as Jareth and Sarah from the crystal ballroom scene. Note puffy sleeves and huge dress on Sarah, and ridiculous hair and blue sparkly coat for Jareth.

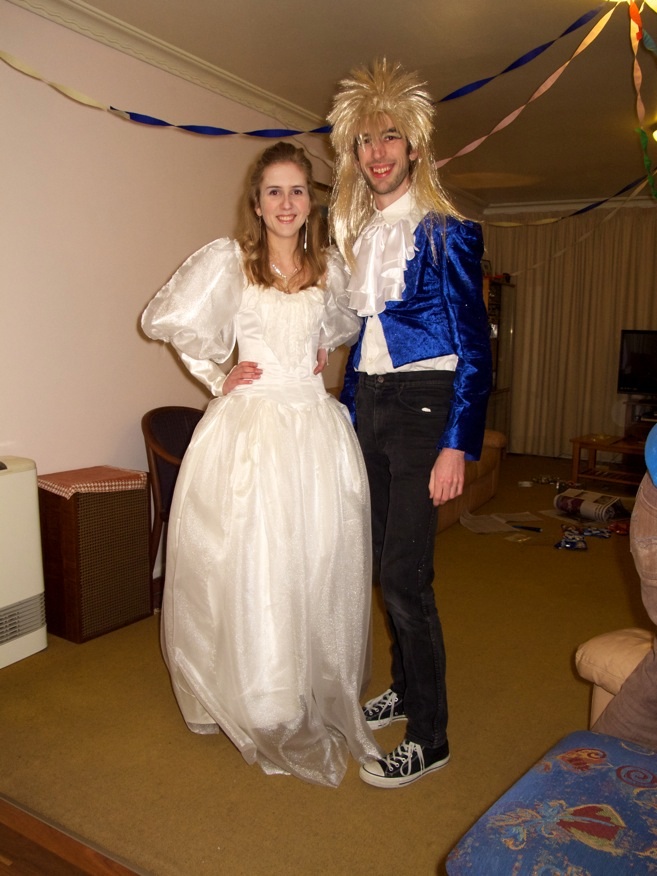
Here’s our costumes. I was a bit skeptical about Jareth wearing cons, but whatever. My entire costume is handmade except for my singlet top, and I also made Charles’ tiny jacket. I made it while he wasn’t there, which is why it’s tiny. I tend to think I’m a normal size, which means I think everything else is tiny. Turns out that I’m the tiny one. His jacket was made out of stretch crushed velvet, which was fortunate.

A Jareth still from the movie, including mask.
My Jareth with his mask from the masquerade. I made this mask using a plastic mask from Lincraft and paper mache. I made the nose bigger and gave it some character around the eyes. I completely forgot about the horns and hand thing on Jareth’s mask, but I did remember to paint it red. It’s also glittery.
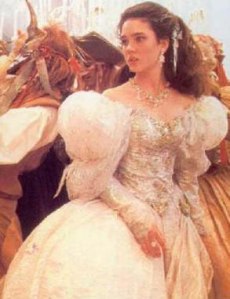
Sarah’s dress in the film. It’s amazing. It’s sparkly gauzy fabric with lots of embroidery on the bodice, and sleeves that are twice puff’d. It’s a highly horizontal dress.
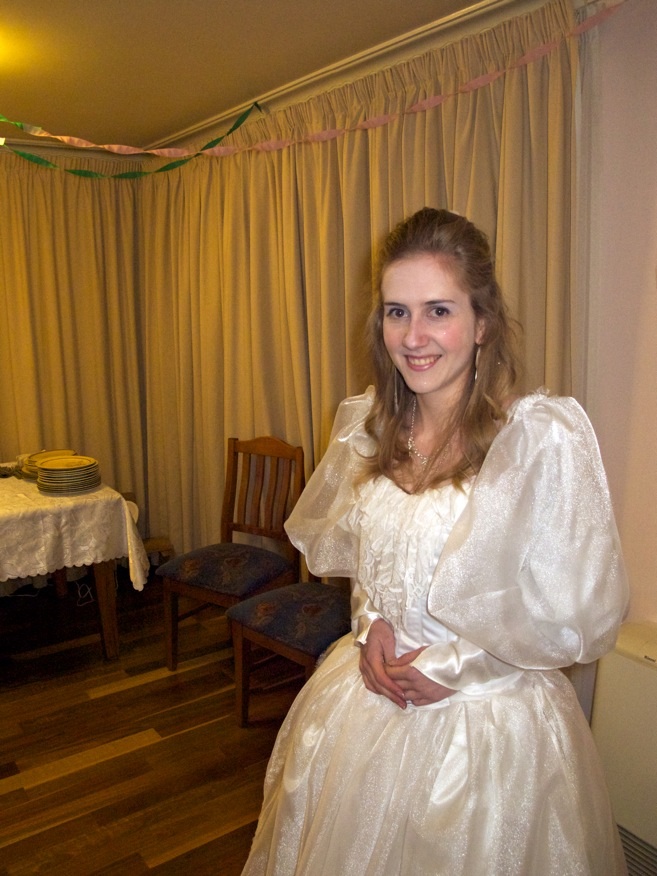
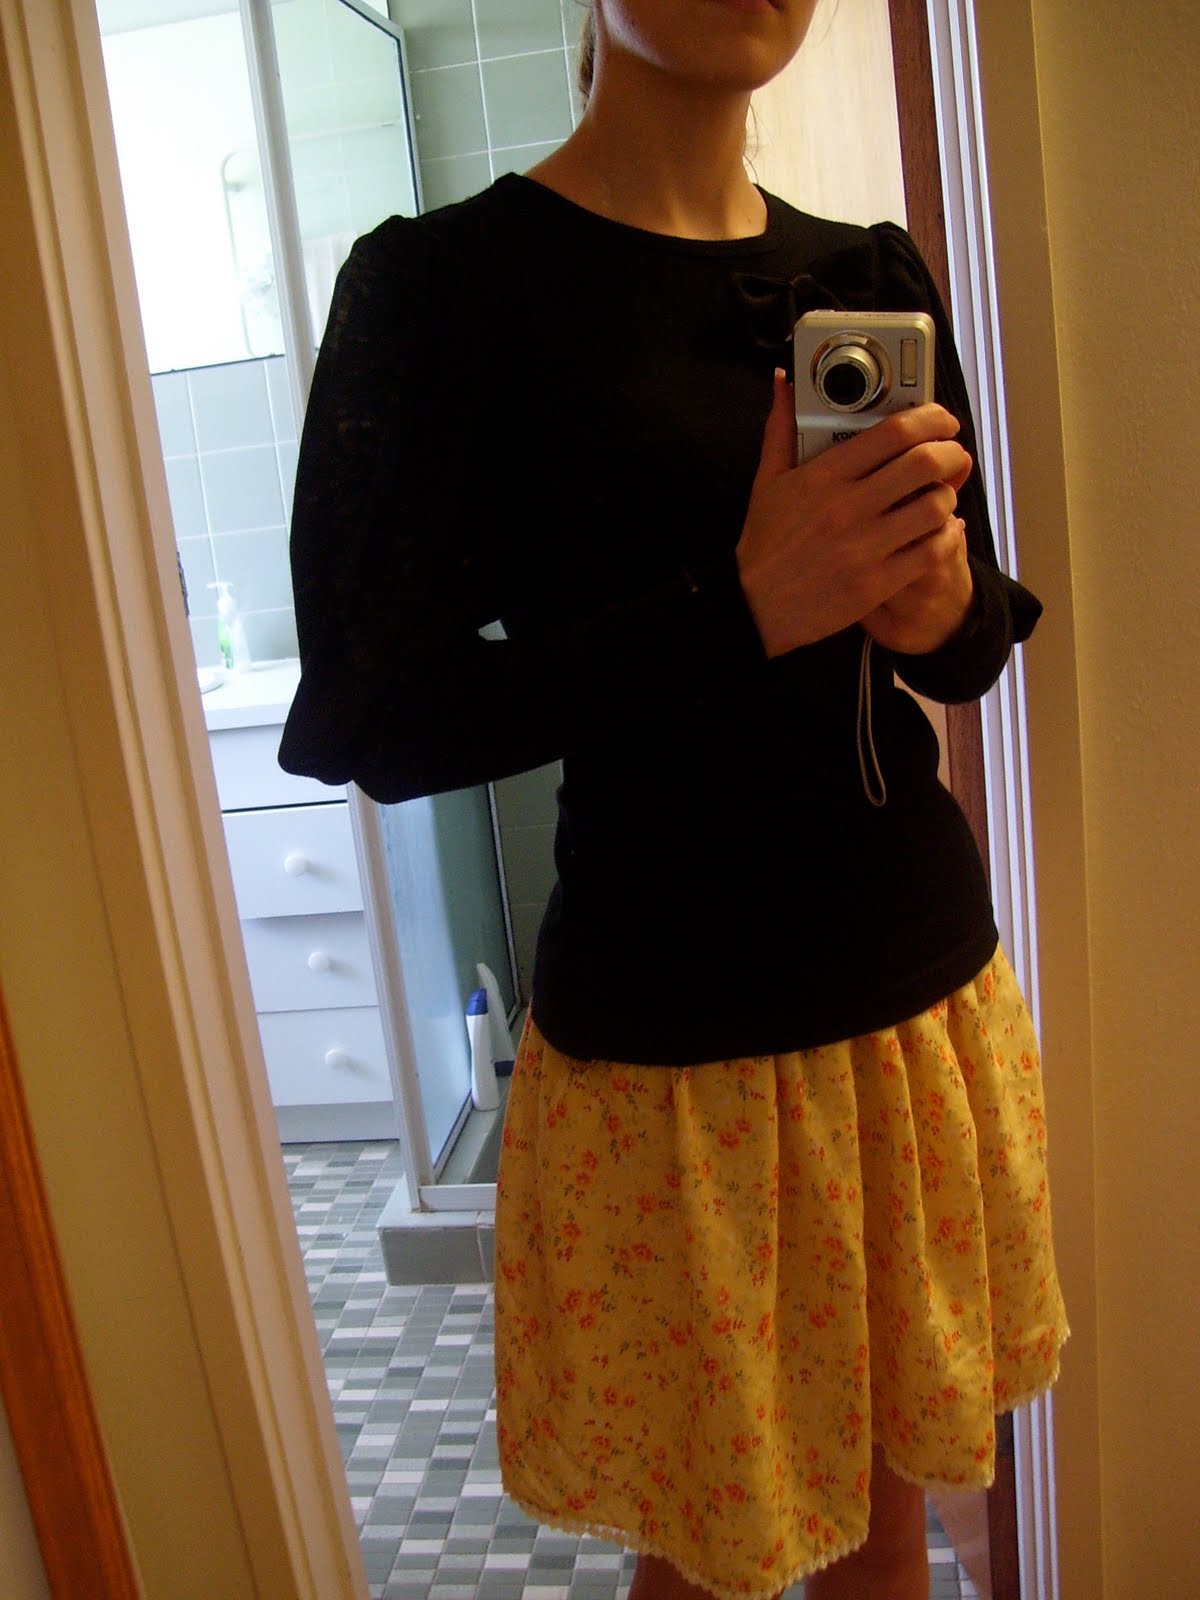
 Me. After that photo of Sarah this looks so saggy in comparison! I think to have the right level of puff in the skirt you need some hardware under there.
Each part of the “dress” is separate. It’s hardly a dress at all! The skirt is basically a long rectangle of gathered satin overlayed by a long rectangle of gathered organza.
The sleeves are a loose fitted sleeve down to my hands, with a faux puffed sleeve on top. I made that by making two wide cylinders – one organza for the outside, and the other some cotton I had around. I gathered them at the top and bottom with elastic and voila! In the film she had sleeves with TWO puffs, somehow.
The bodice is the best. I made a corset! Well, the facade of a corset. It’s not lined, but it is partly boned. The fabric is some beautiful off white cathedral satin (I don’t know why cathedral, it’s just quite thick and luscious). It was a remnant at Lincraft – cheap! I’m going to do a further post about this corset, so no more here. It was rad. Underneath that I wore a lacy singlet top, and the lace bits spilled over the corset top.
How many pieces is that? 9 pieces, if you include the giant petticoat I wore underneath!

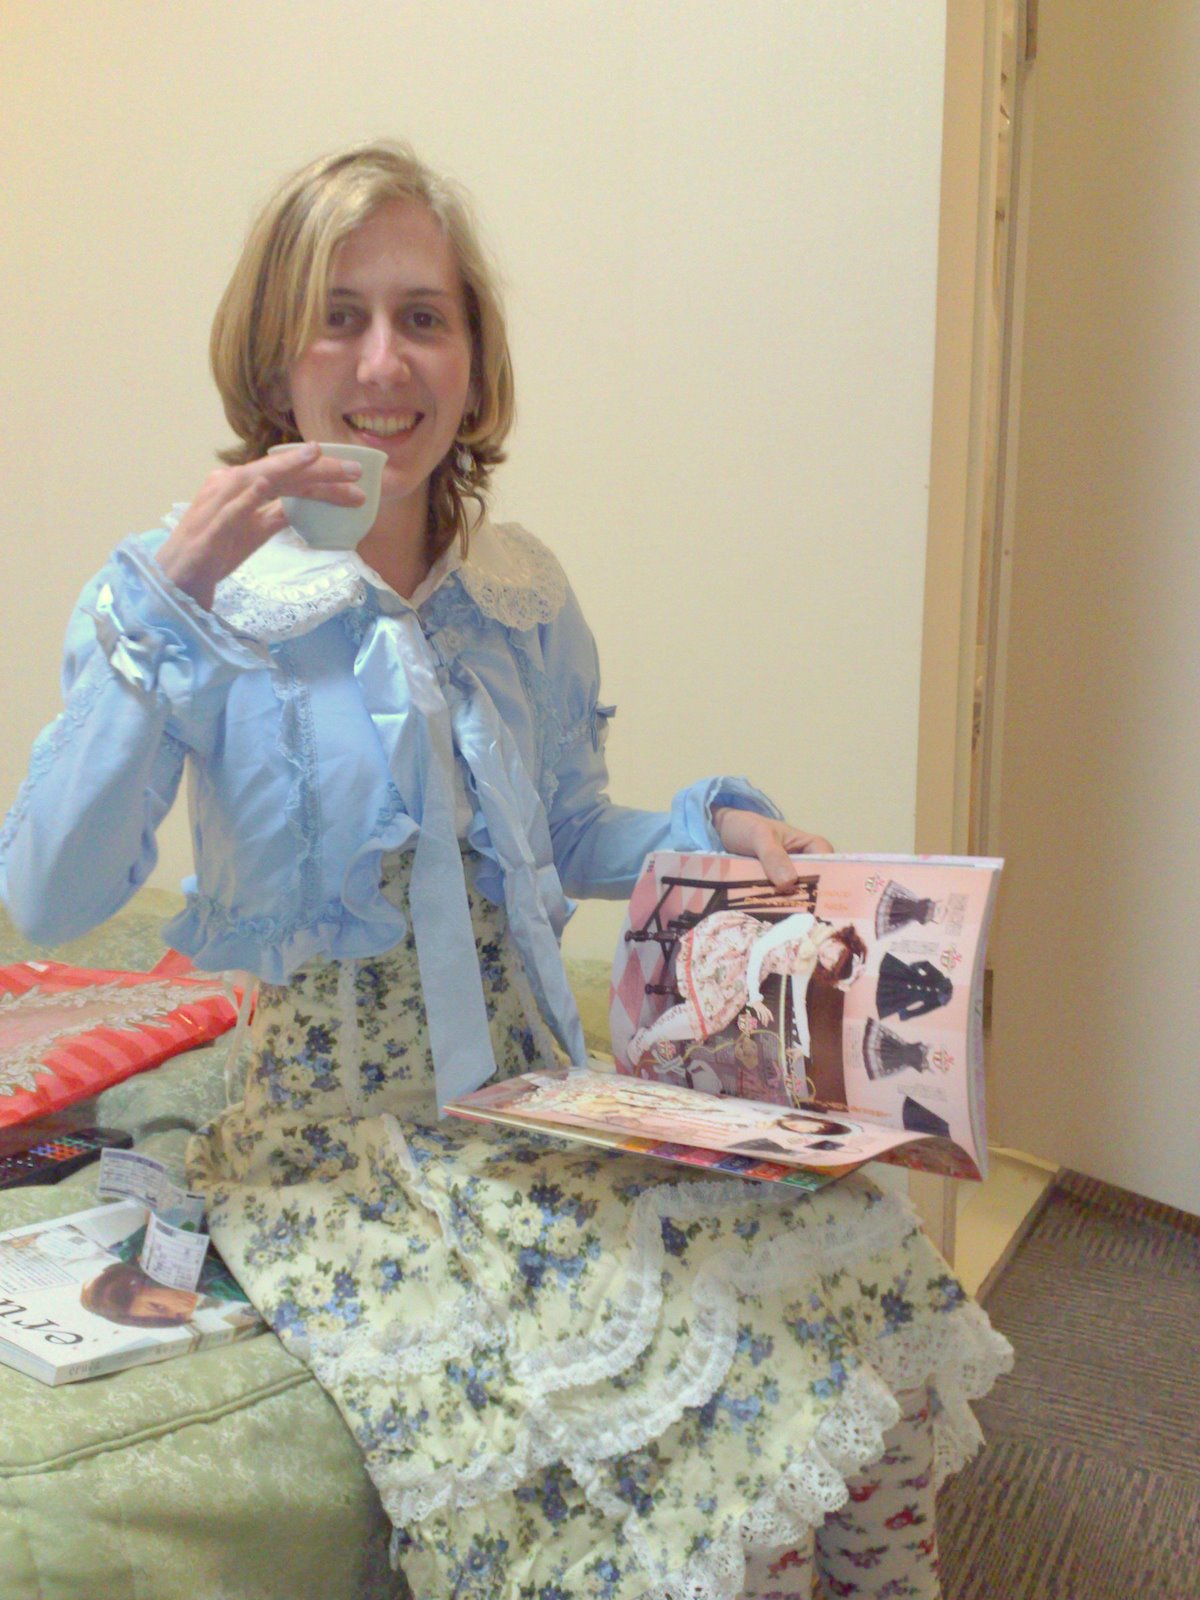
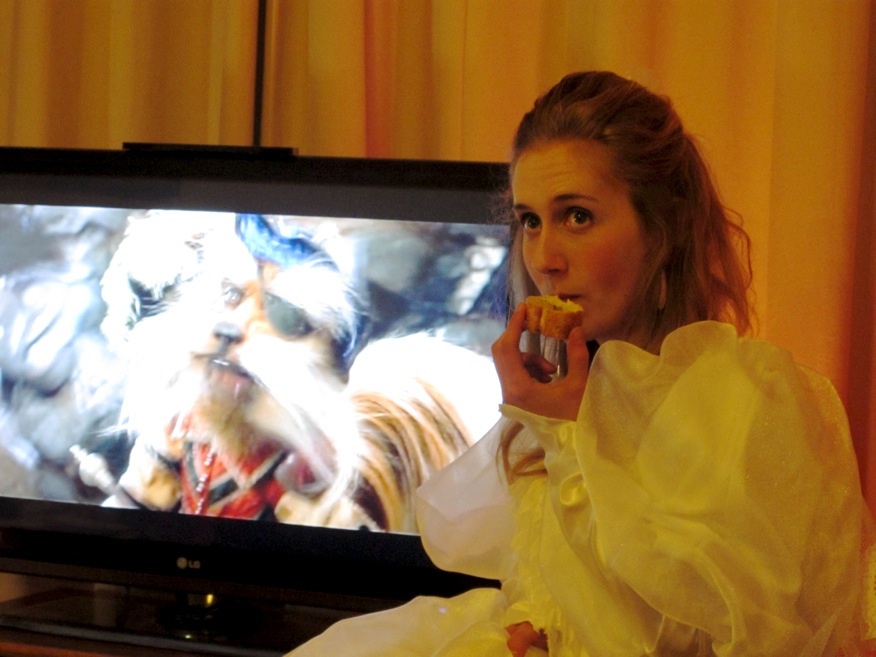
Me eating a fairy cake in front of Sir Didymous. I tried to have Sarah hair, but it’s difficult with a fringe and without dark hair or a team of stylists. I curled it with my curling iron, used a BumpIt (look it up) to create height, some bobby pins to hold it back from my face, and a LOTof hairspray.
Despite my dress not looking as huge as Sarah’s, it was still massive. It was really hard for me to move around during the party, and I got quite puffed when I had to get out of a chair etc. I can’t imagine what Jennifer Connely went through.
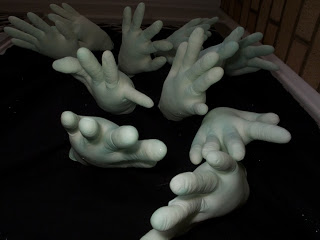
I also made a kind of “shaft of hands”. I dyed some latex gloves green (as best I could), stuffed them, and stapled them onto a black cloth. Glitter was applied liberally. I clipped it to the front wire door. It actually looked really dumb, but Charles has taken a good photo here that makes it look spoooooky!
Lots of other people came and dressed up for my party. I had a really great time! A weird thing is that I was the only one who made my costume. It’s weird – whenever I have to dress up for something in particular, I just make whatever I have to wear. I forget that nobody else thinks this way. It’s often a lot easier than searching the shops for what you want – all the shops ever have is what’s in fashion right now. Which is whyyyyyyyy I was the only ballroom Sarah at my party!
Thanks for looking!


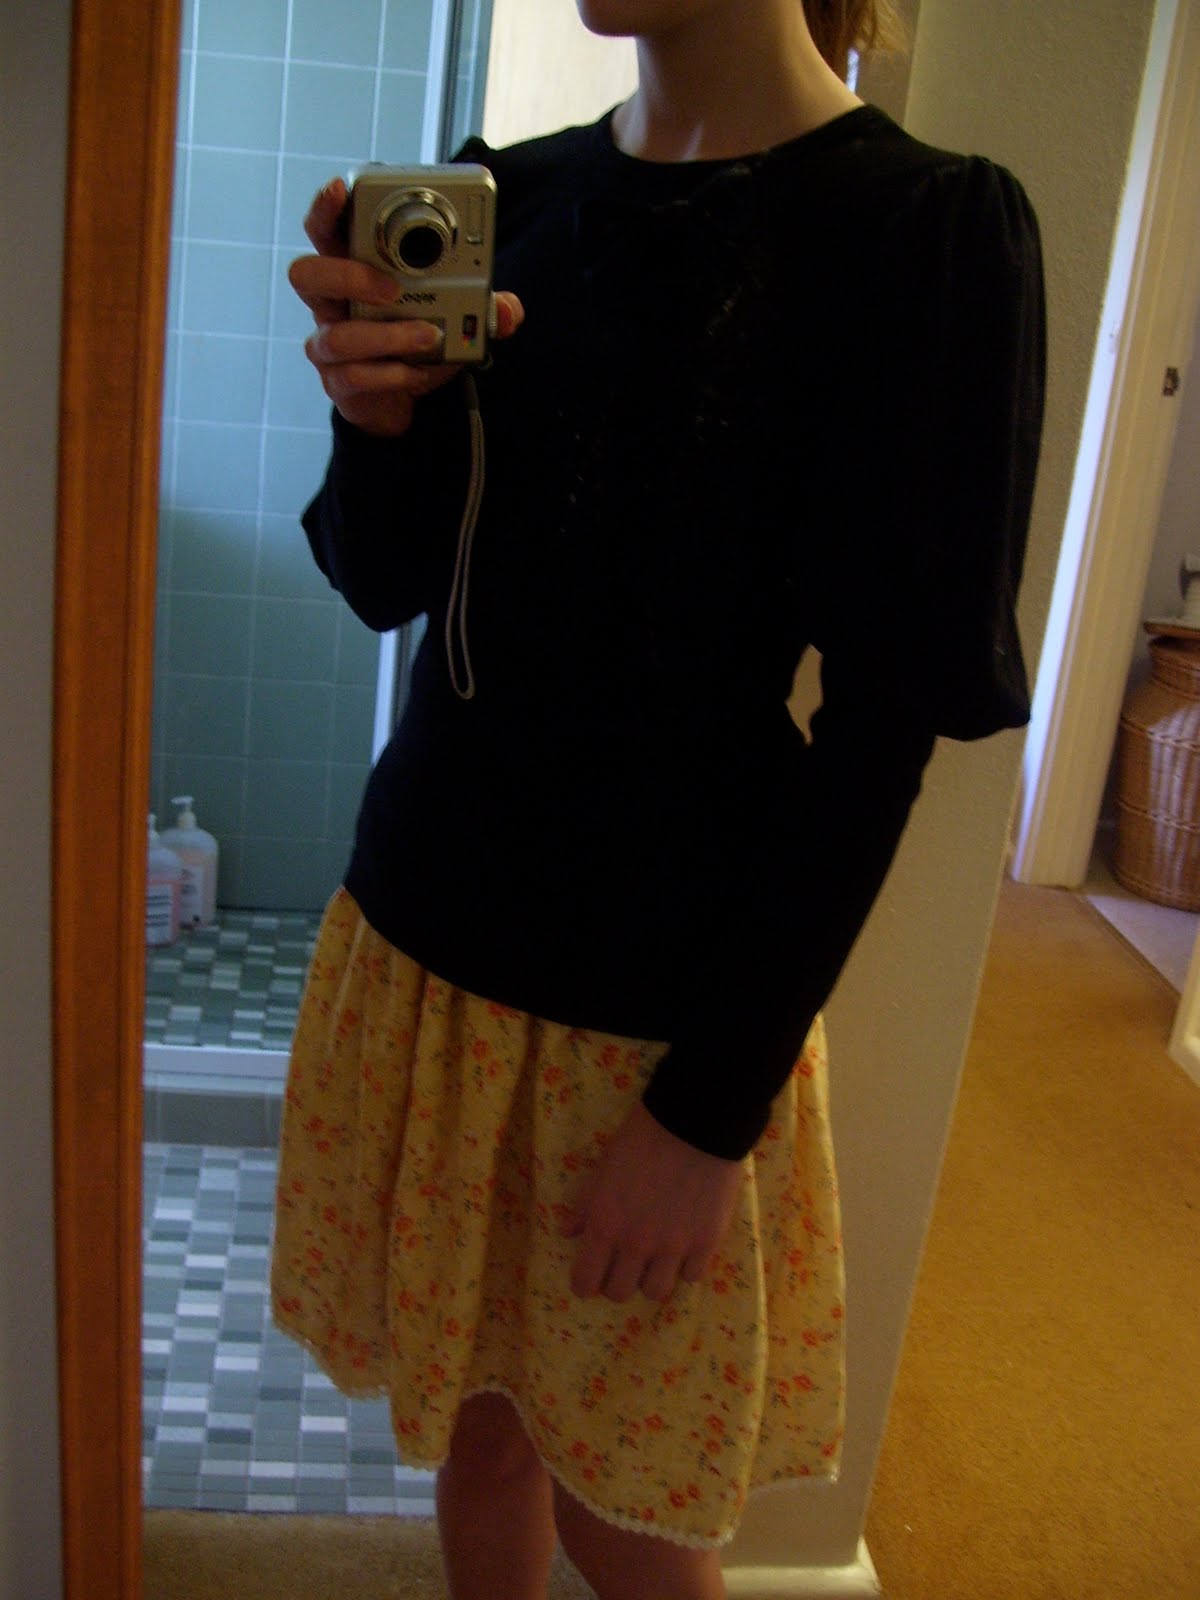
 See? Puffed. Lame photo quality, but it’s usually dark when I want to take photos, and also… I’m kind of embarrassed asking my parents to take photos of me in stuff I make. So self-portraits all the way! Parents don’t understand blogging.
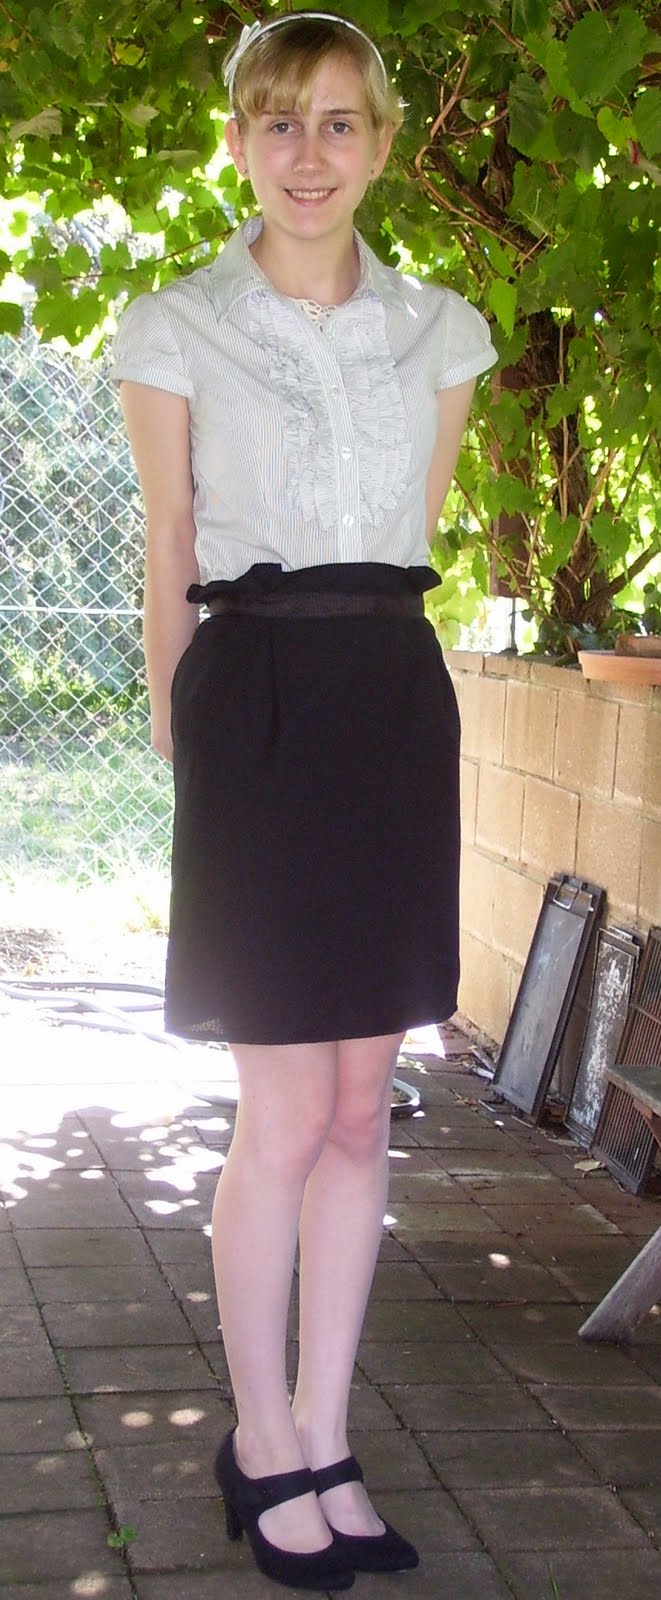
