co-ordinate, fashion, hair, outfit, sewing, skirt

How to sew a half-circle skirt!

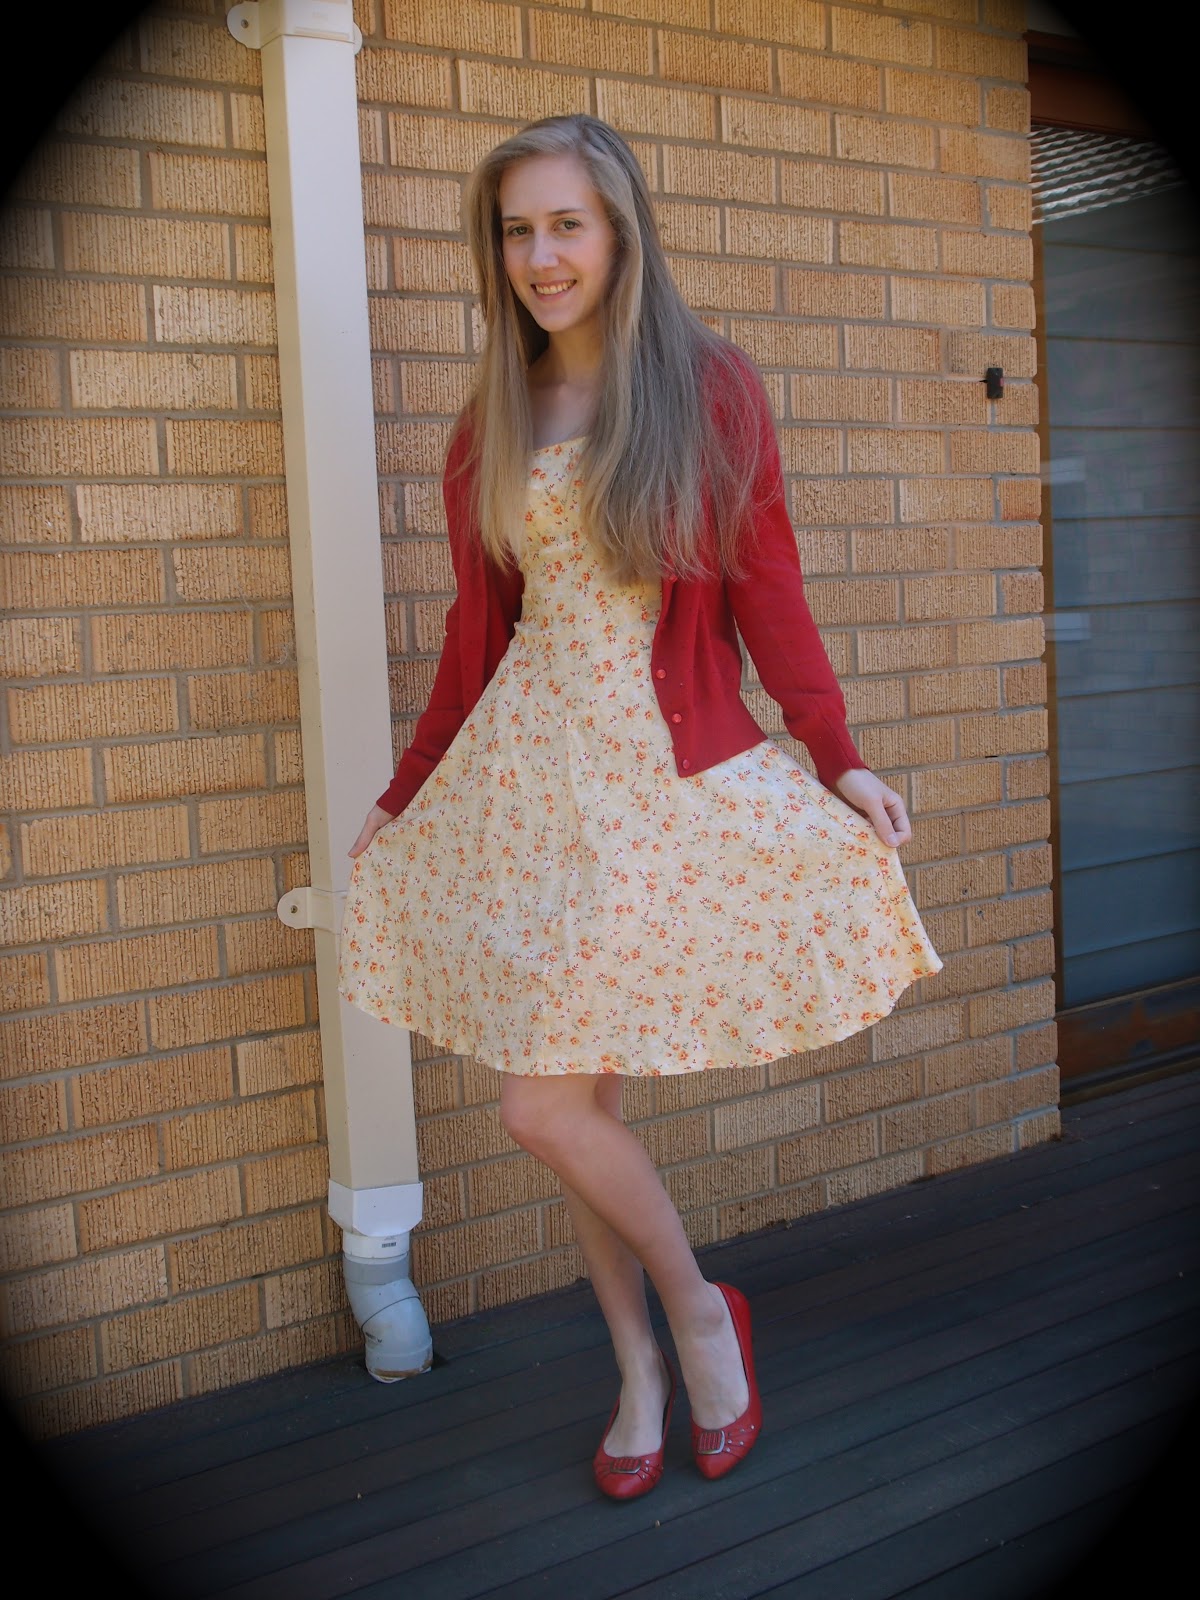
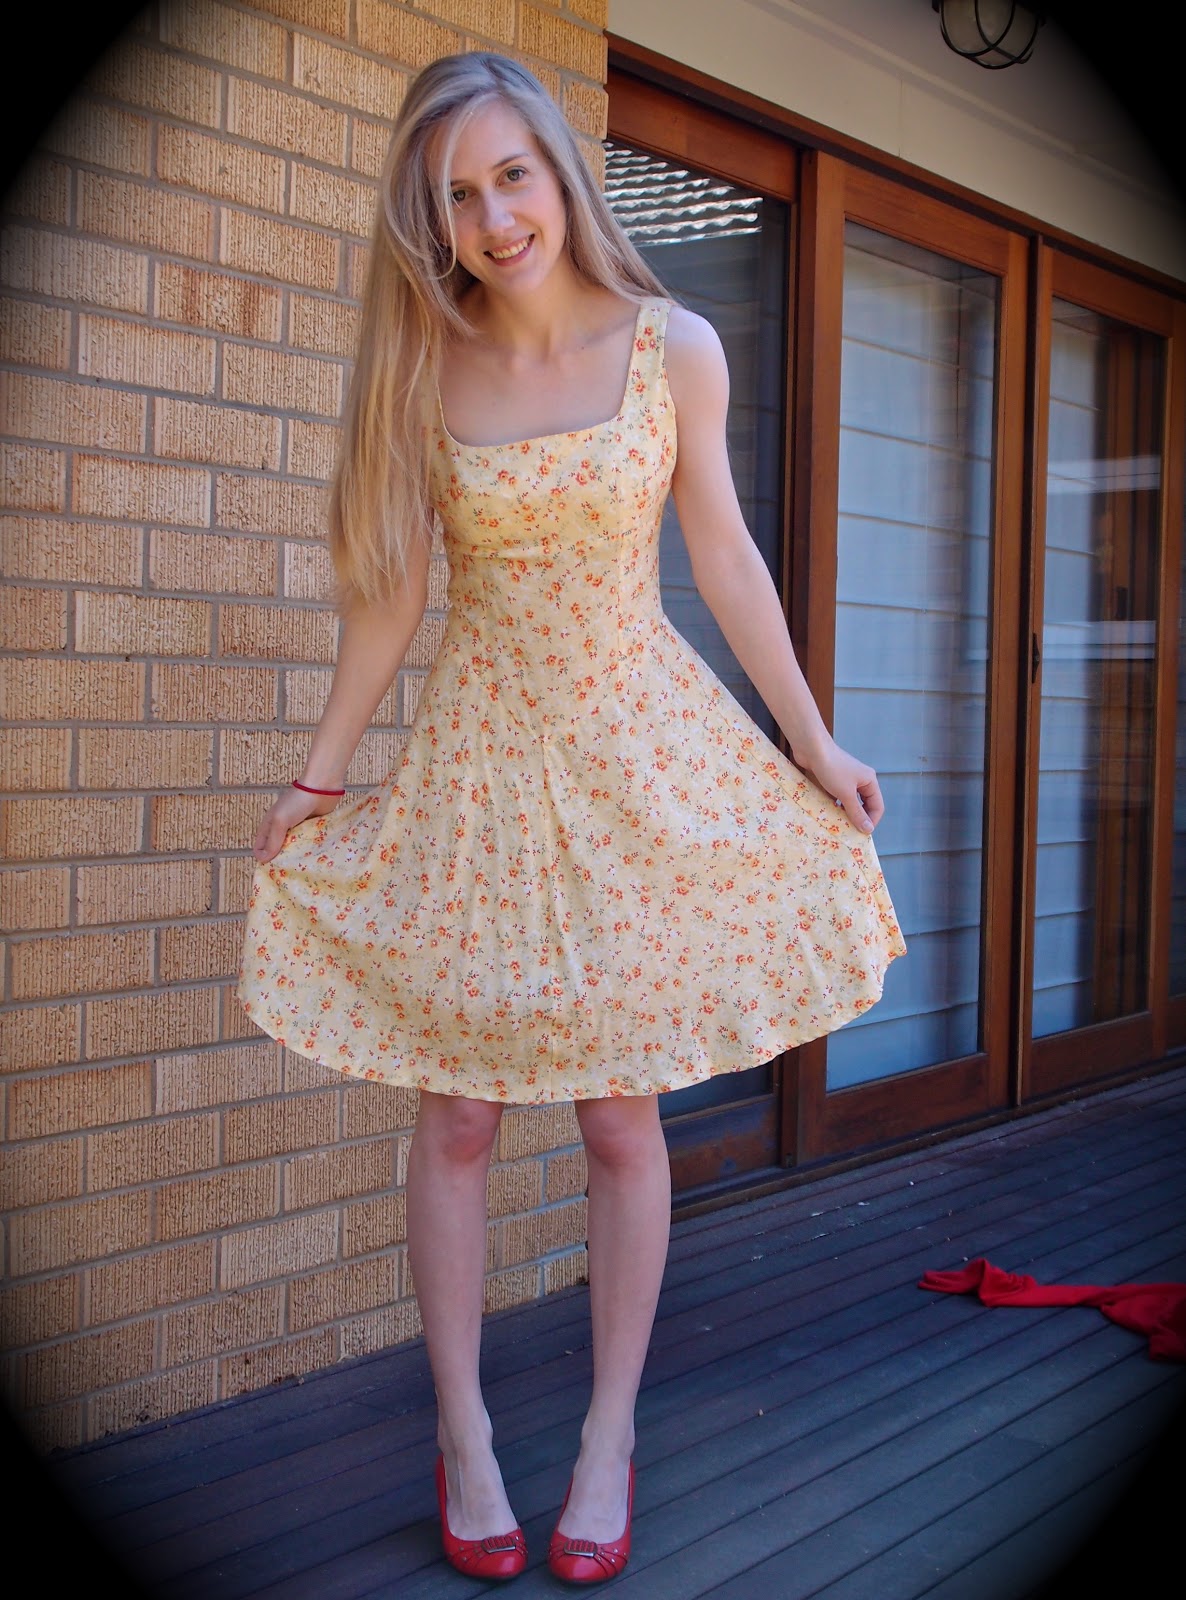
 Yesterday I made myself a half-circle skirt, and I am in love with it!  It’s surely the best thing I’ve made!  It’s much more wearable than a full circle skirt, and it falls beautifully.  The photos I too don’t do it justice.  The Best.  I took inspiration from Four Square Walls (which is my new favourite blog), and watched a couple of youtube tutorials.  It’s a very easy skirt to make!  Even You can do it!

Let the tutorial commence.

Materials: 
Jersey fabric in the colour of your choice (not too stretchy), and matching thread
Sewing machine
Tape measure
String/ribbon
Hook and eye
Skirt zipper (15cm)
Pins and sewing needle
Paper


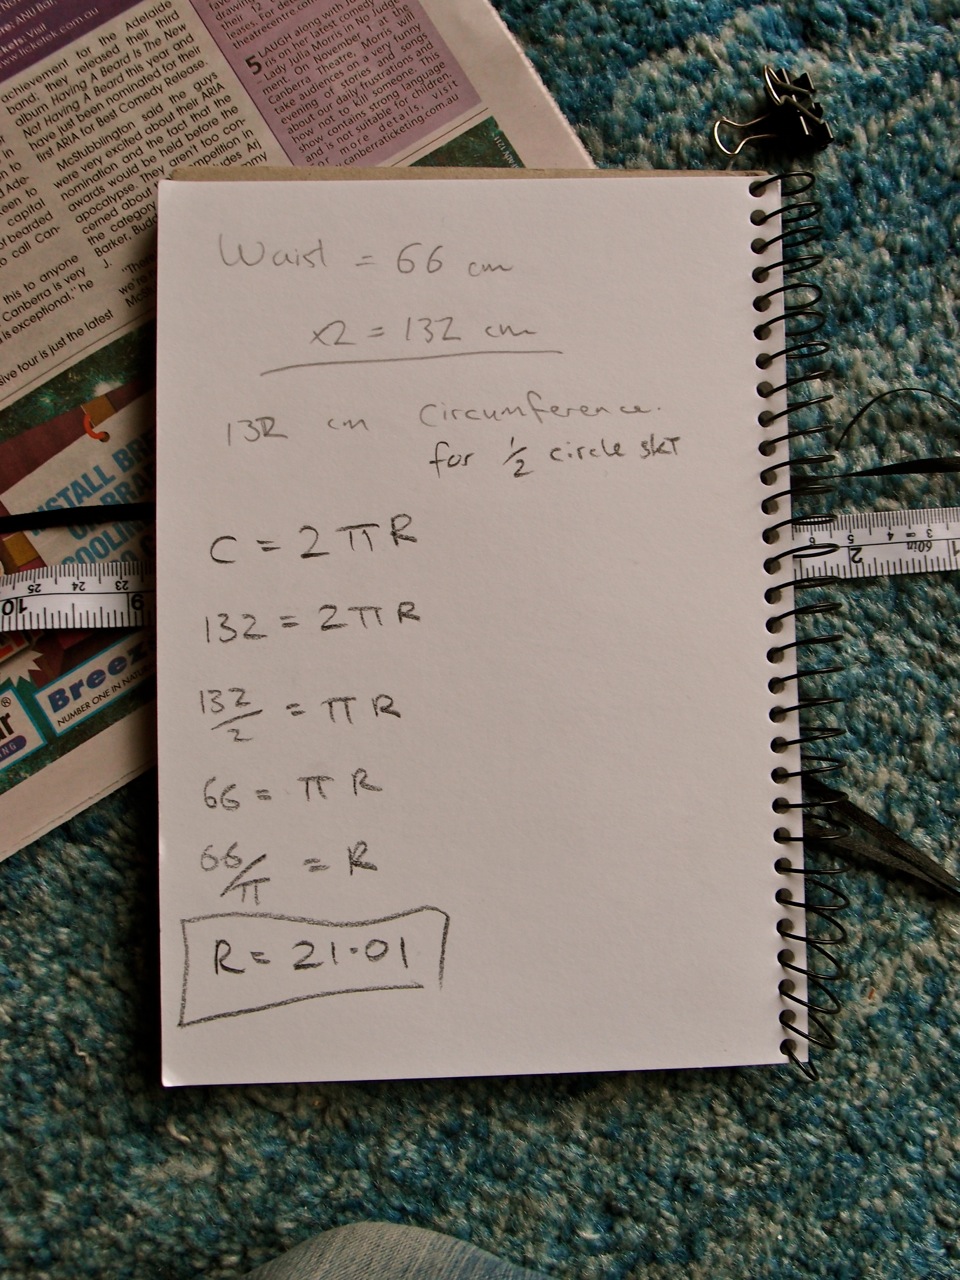
First you need to do a little maths.  Since this is a half circle skirt and not a full circle skirt, you need to double your waist measurements so that the half-circle radius is your actual waist measurements.
Circumference = 2 * Pi * R (we’re after R, the radius).
Circumference = 2 * waist measurement, so for me 66 * 2 = 132.
132 = 2 * pi * R
132/2 = Pi * R
66 = Pi * R
66/ Pi = R
R = 21.01

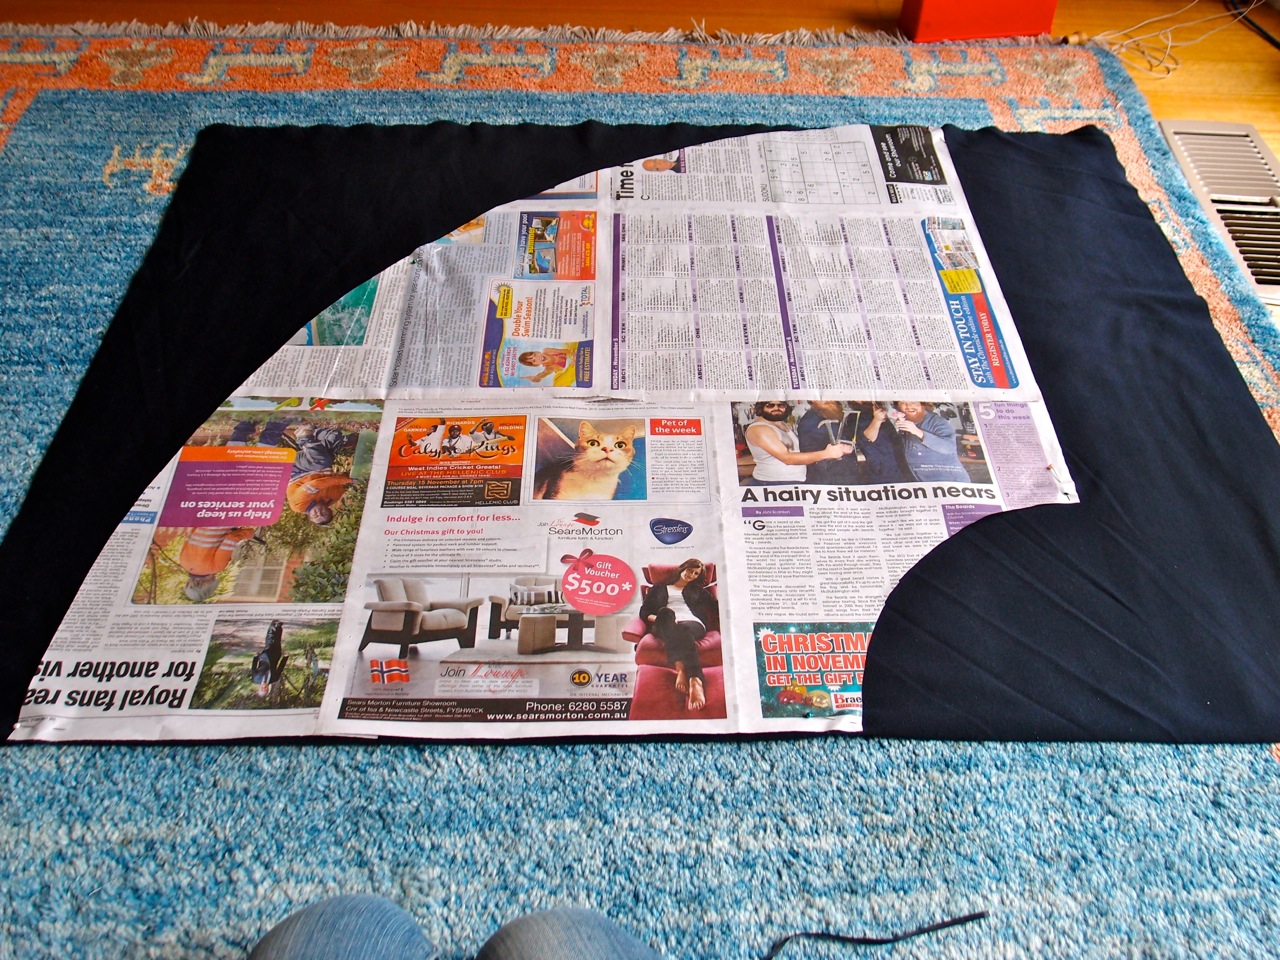
You’ll need a big piece of paper (I stuck some newspaper together) with a right-angle corner. Most (all) newspapers or whatever are right angled rectangles.
So to draw the pattern, tie a pencil to a bit of string and measure out your radius (mine being 21cm).  Put a pin in the string at that point, and stick it in the carpet.  Put your right-angle corner at the pinpoint.  Now draw your radius arc on the paper.  This is one half of your WAIST measurement.

 Now decide how long you want your skirt. Just hold a measuring tape to your waist and measure to where you want the skirt to end. I wanted mine 62cm from my waist.  Remember to add a little seam allowance.
Now add that measurement to your Radius measurement.  So mine was 62 + 21 = 83.  Put a pin in the ribbon at that measurement and draw an arc on the paper the same as before.  Cut it all out.

 It should look like this.  Please note that this is a quarter of a circle, as we will cut on a fold for the full half circle.

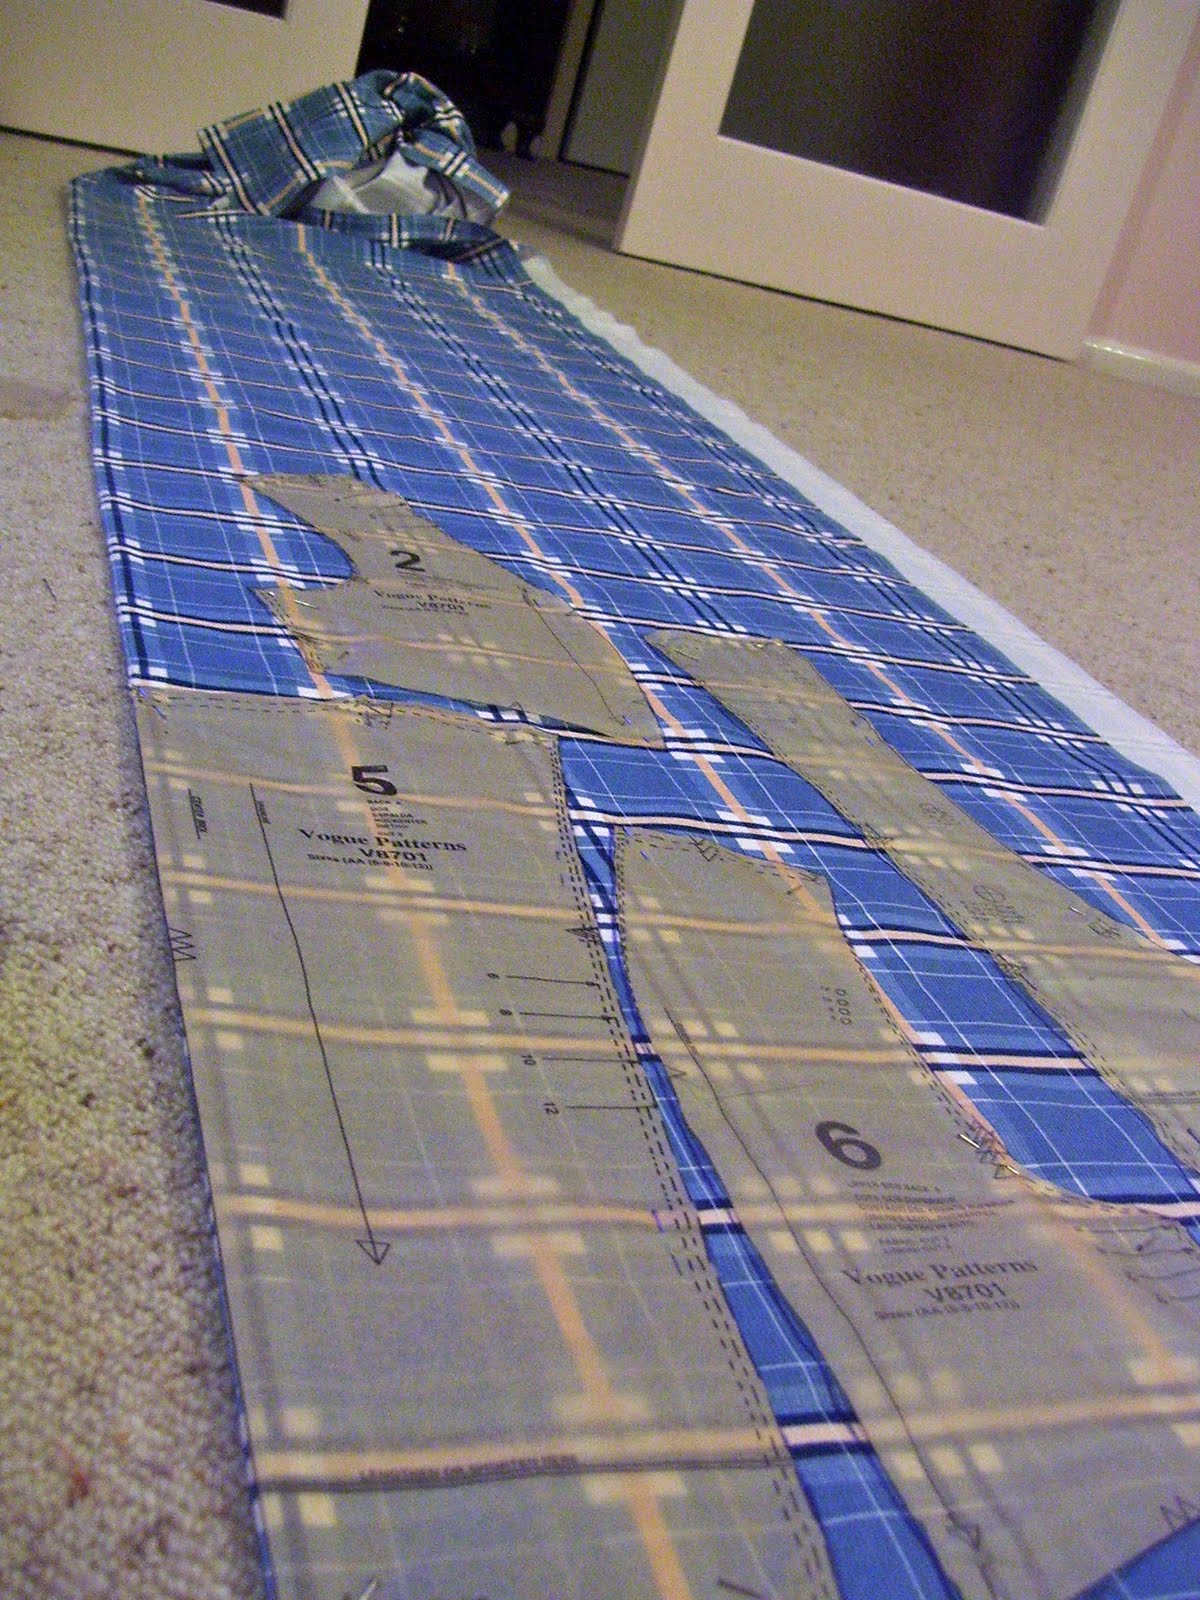
Lay out your pattern on your fabric.  In my case, the fabric is folded in half with the fold at the bottom of the picture.  Pin and cut.

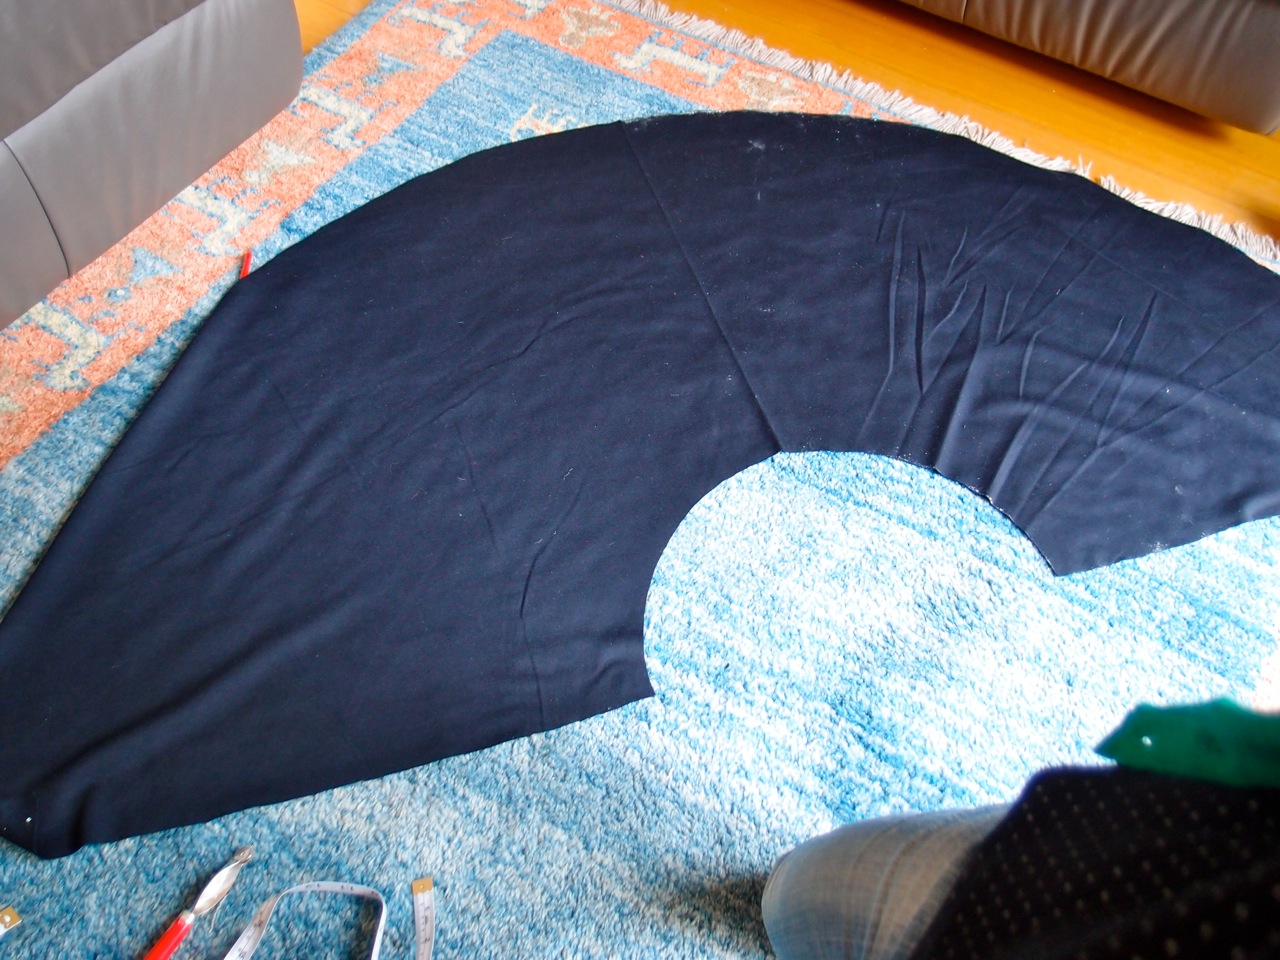
 You should end up with this.  Did you?  Yay!  Hold it up to your waist and gad about the house.

Now for the waistband.  If your fabric is stretchy, cut a rectangle exactly the length of your waist (don’t worry about seam allowance).  This way it will hug your waist nicely and won’t fall down.  If your fabric is non-stretch, you’ll have to give a few cm seam allowance.  You don’t want to be cut in half.
You can make the waistband as wide as you choose, mine is around 5cm.  Just cut a rectangle with your waist measurement as the length, and your waistband width x 2, plus 4cm turnover.
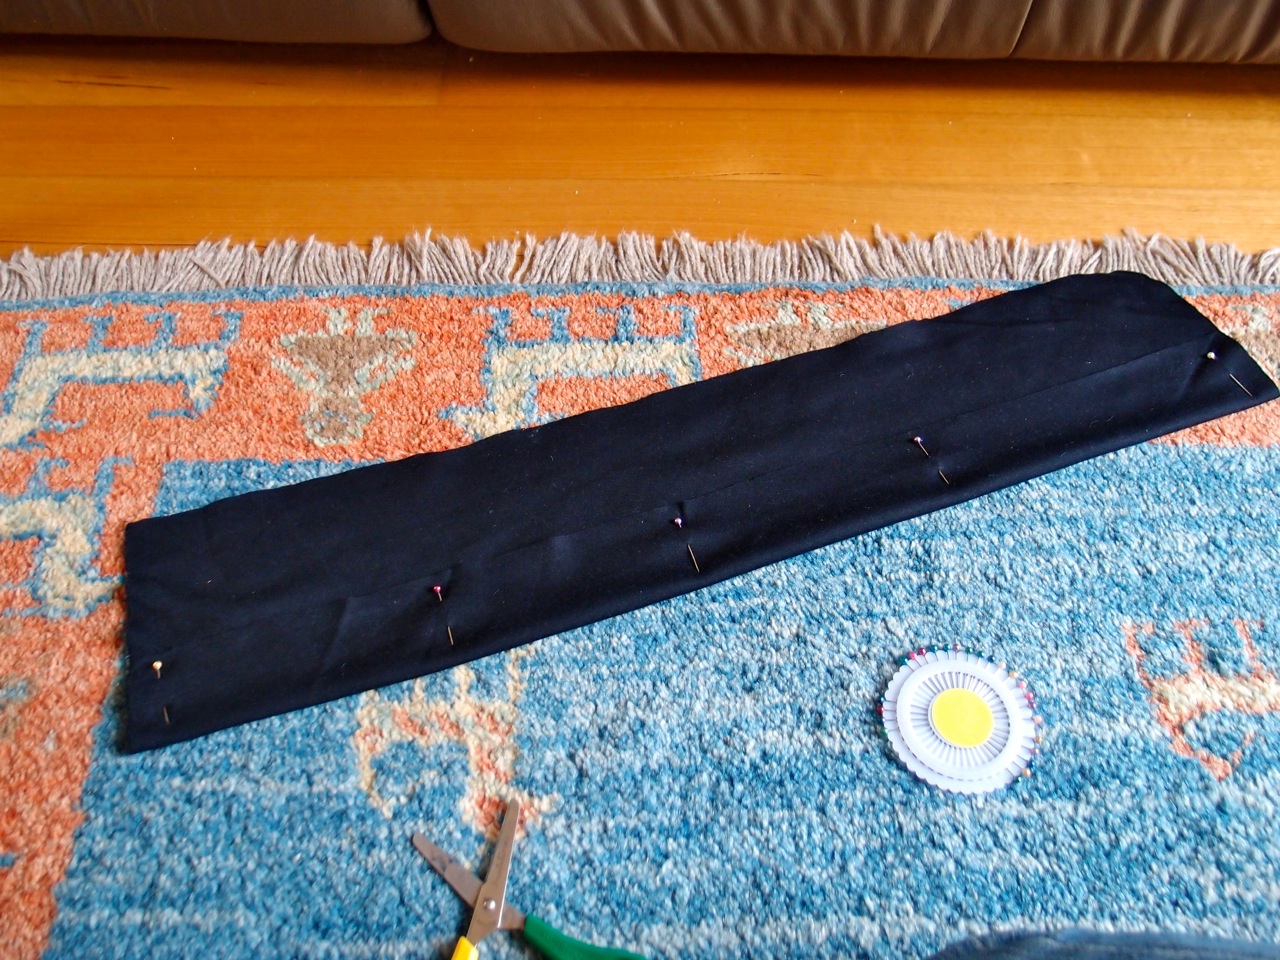
There are plenty of tutorials on how to make a waistband (and I probably do it wrong!) but all I did was fold up some seam allowance on the long edges, and fold it in half.  I pinned it so that the folds wouldn’t come out.

 Next pin your skirt into the waistband.  I just put about 1.5cm of skirt fabric inside the waistband.  My advice is to pin the ends first, then find the centre and pin that.  This is so that you can figure out if anything is too long or short, and stretch it to fit.  It’s probably best if your waistband is a little smaller than the skirt top.

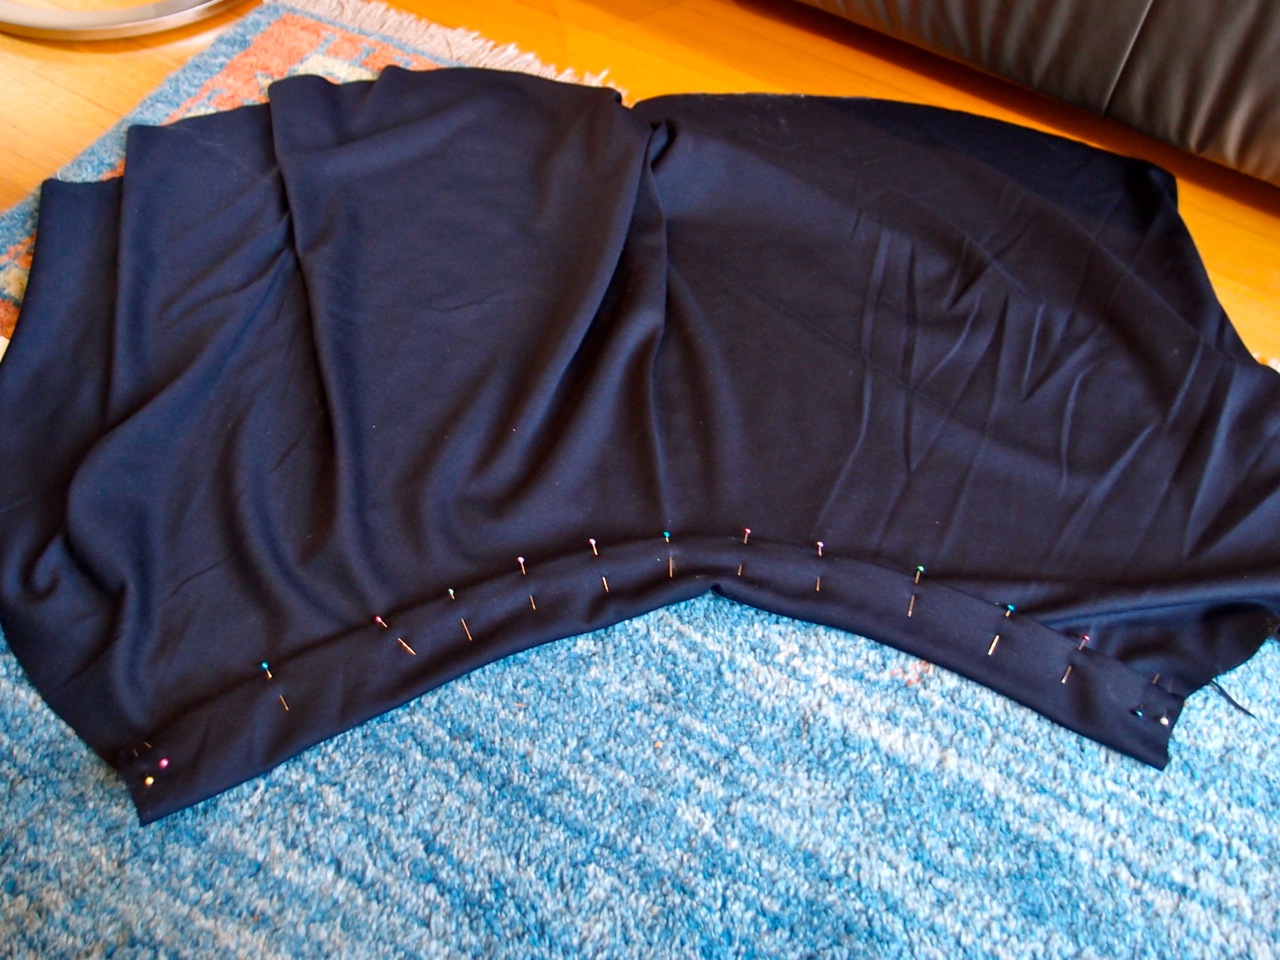
 Now topstitch the waistband to enclose the skirt inside.  It shoud look like this when done.  Now you get to pick which side looks best as it’s been made the same on both sides.  I had some daggy stitches on one side so it was easy for me to choose!  Hot Tip: Stretch the fabric as you sew it, so that it will be stretchy afterwards!

Next you get to sew up the side seams.  Place your zipper where you want it to go and mark where you want to sew up to.  Then go ahead and sew it up!  I’d recommend sewing from the top down, so that if the skirt hem is uneven you don’t end up with a weird uneven waistband.
Sew your zipper in next, in whichever way you choose.  I had to hack away some of the inside waistband so that the sewing machine could go over it, but it looks fine on the outside!

Just pop in a hook and eye closure on the top of the skirt!
Next pop it on and see how much you want to take it up.  I took mine up about 1.5cm, as I was after a mid-length skirt.

Worn.  I paired it with a cute top from Target and a pink ribbon.  Next time I’ll take some more awesome photos that are less dappled and more high-heeled.

Also, I put some pink in my hair!  It ended up being a bit more peach than pink, but I love it!  My mum, not so much.  I’ll show you how in another blog post 🙂

dress, frocktober, outfit, sewing

Frocktober 26th!

Today I wore two dresses!  But I only took good photos of the first one.  I was busy today!
This dress I made back in January 2010!  I haven’t worn it much because it’s too tight around my chest. I think I might cut off the bodice and make a skirt from it.  Here’s the original post form when I made it!

 Me back when I made it.

Then since the dress was strangling me, I changed into my Gilroy Garlic Dress!  Much more comfy.  The tights have little hearts on them and are from Forever 21.

blog, life, news, sewing, wedding

Past events! Wedding photos! Upcoming projects!

So things have been fairly quiet around here recently on the ol’ blog.  But I have plans to come back in a big way in the next few weeks!  Here’s what’s been happening with me:

1.  I got married!  Charles and I finally married on the 18th of August.  We had one attendant each, and had a church wedding, and a beautiful reception at University House.  It was all perfect and I was really happy.  Our photographer is a good friend of both of us, and he also happens to be an amazing photographer.  We were so comfortable taking pictures with him since he’s our friend.

We had a photoshoot in a little pine tree glade behind the church.

This is at the University House library. 

Here we are looking serious.

After all the festivities, we took a couple of photos under these picturesque lights.

Our photographer’s website can be found here!

2.  We moved house!  Because Charles lived overseas until 6 weeks before the wedding, we just never moved in together until we were married.  We now are essentially house-sitting for our friend’s dad, whose house used to be full of kids until they all moved away, and he’s always overseas or interstate for work.  So we’re alone in the house most of the time.  We have one big bedroom that’s OURS, and we share a kitchen and bathroom.  Luckily it’s really close to our workplaces.  But we can’t fit all of our stuff there, so our poor parents’ houses are still full of our stuff!

Now for the upcoming projects!!
Not all of these are confirmed or particularly well planned, but…

We are going to start a YouTube channel!
That is us, as in Charles and I.  We hope to make some V-logs about interesting things we do, funny things that happen, music stuff, and projects.  We got a new video recorder so we have no excuse!

Frocktober!
Frocktober is a month-long event which usually fundraises for Ovarian Cancer research.  But I’m not sure if they’re running it this year.  Either way, I thought I’d challenge myself to wear a dress every single day during October.   Now you may think “That’s easy, she wears dresses all the time!”.  This is true.  The challenge will lie in me actually photographing and blogging about what I wear every day.  For a start, I’ll be overseas and on a plane for the first three days of October.  I don’t know how that will work.  Plus, being photographed every day will challenge me to be interesting with my outfits.

Clothing Production!
I’ve decided to go to the local tech and become trained in clothing production.  The course is one semester full time, but I’m going to try to do the part time option for a year.  This will help me be able to become a seamstress and hopefully start my own business.  I’m looking forward to sharing projects on my blog, meeting new people, and getting away from ANU for a while.

Other than that, I’ve got some travel lined up for a wedding, lots of teaching to do, and my house to make into a home.  Thanks for reading, will blog soon!

sewing

Jacket work in progress!

The other week, Vogue patterns were 40% off at Spotlight for VIP members, so mum and I hurried off to have a look!
I intended to buy some of the vintage Vogue patterns but they were all a bit ho-hum.  I ended up getting this pattern for a jacket, dress, pants, and skirt.  Find it online here!
I got it for the jacket, but I also really like the dress!  The pants and skirt are super boring.
I also bought some of the lovely blue tartan fabric you see in the background.  My intention is to make a jacket similar to this Vivienne Westwood one!  In blue, obviously!
It is pretty similar to the pattern!
This is pinning pattern pieces.  I have to be super careful to line up the pattern on the fabric or I’ll end up with a weird looking jacket.  A lot of thinking was involved in placement of pattern pieces!
It was long.
I’m terrified to start sewing!  This will be the most complicated project I’ve ever started.  I have lining, facing, interfacing… gosh!  But I’m looking forward to having a rad jacket!