bendigo woolen mills, knit, wool

Completed – Marion Cardigan!

I’m ripping through the knits these days you guys.
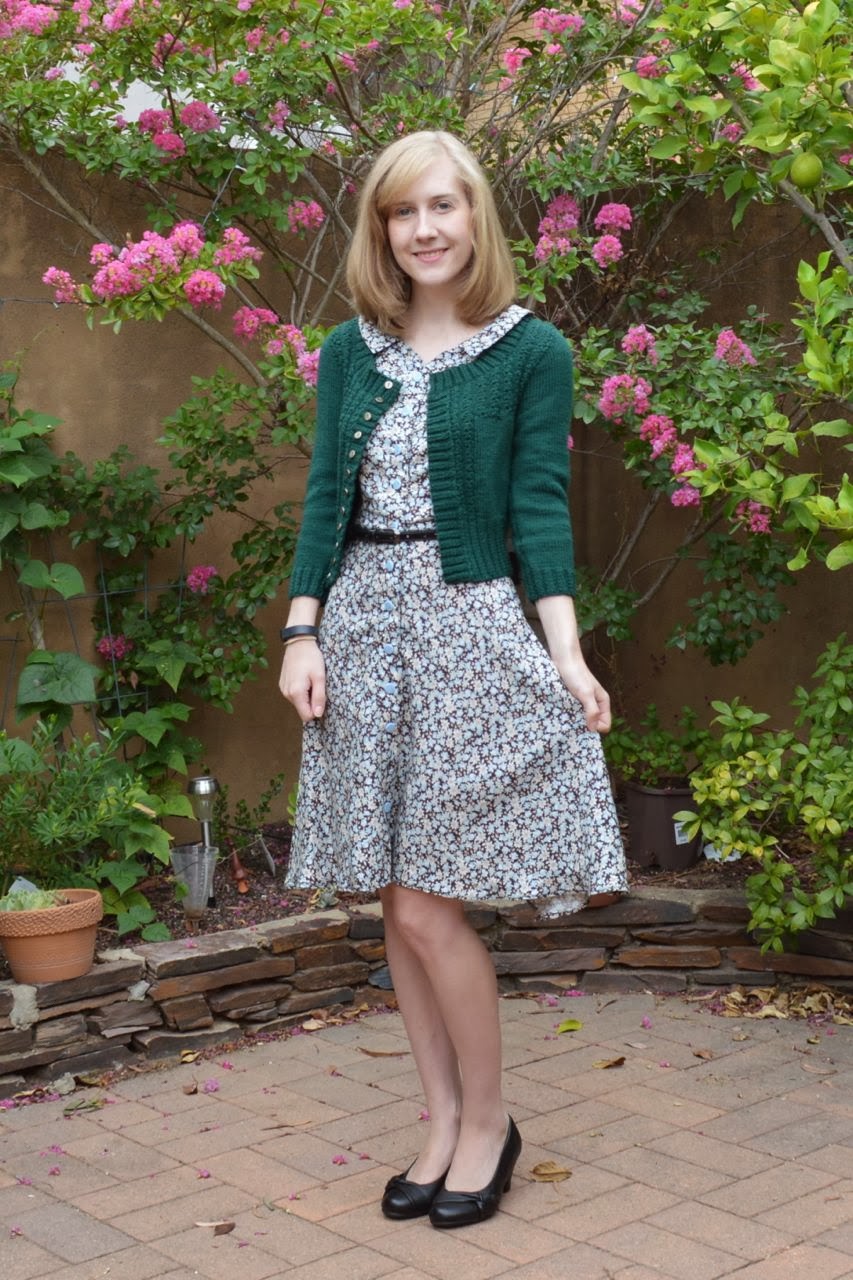
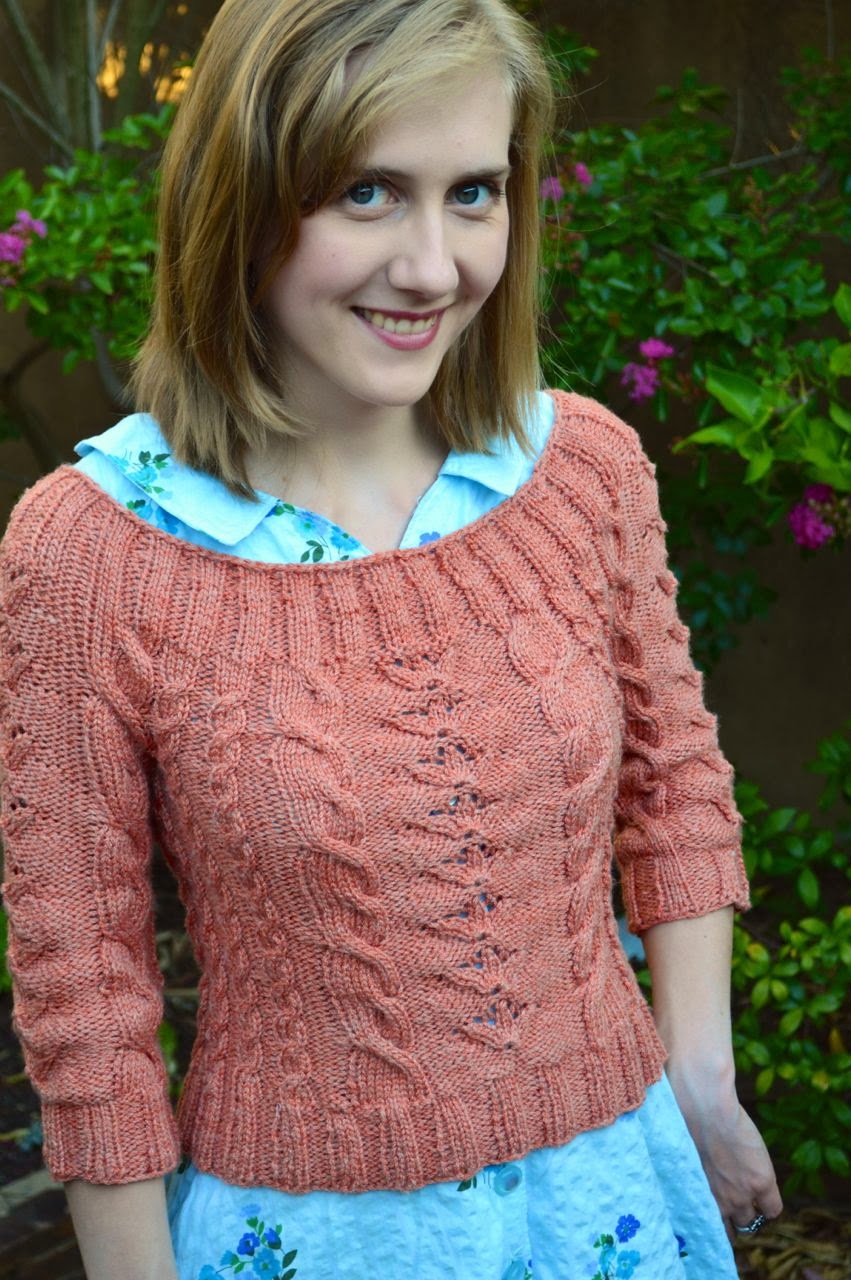
I bought this pattern a while ago, and sent it to my friend Violet for her birthday.  We both knit it at the same time and it’s amazing how different they are!  Hers is in a beautiful deep red and turned out much smaller in length AND width.  Hers is quite lovely!  I almost went and bought red yarn and made myself another!
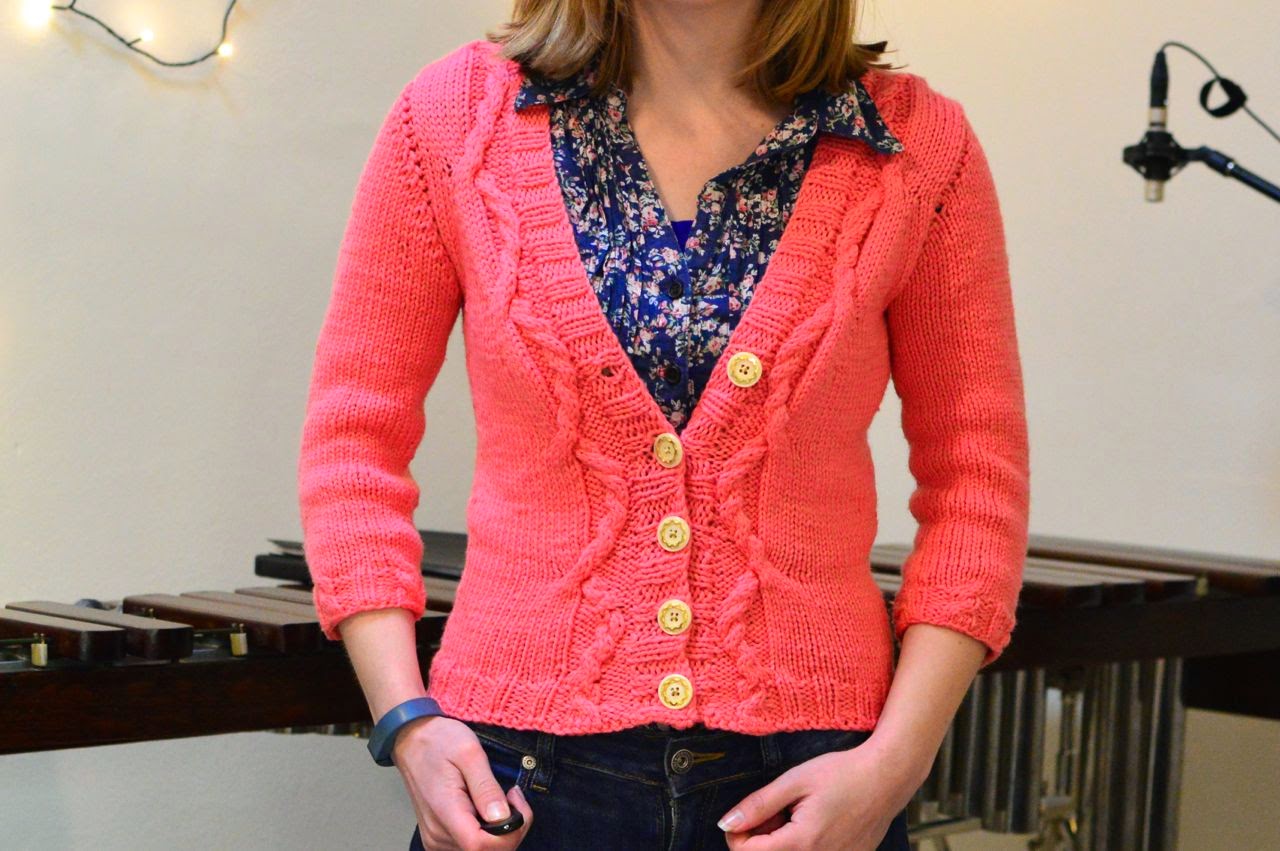
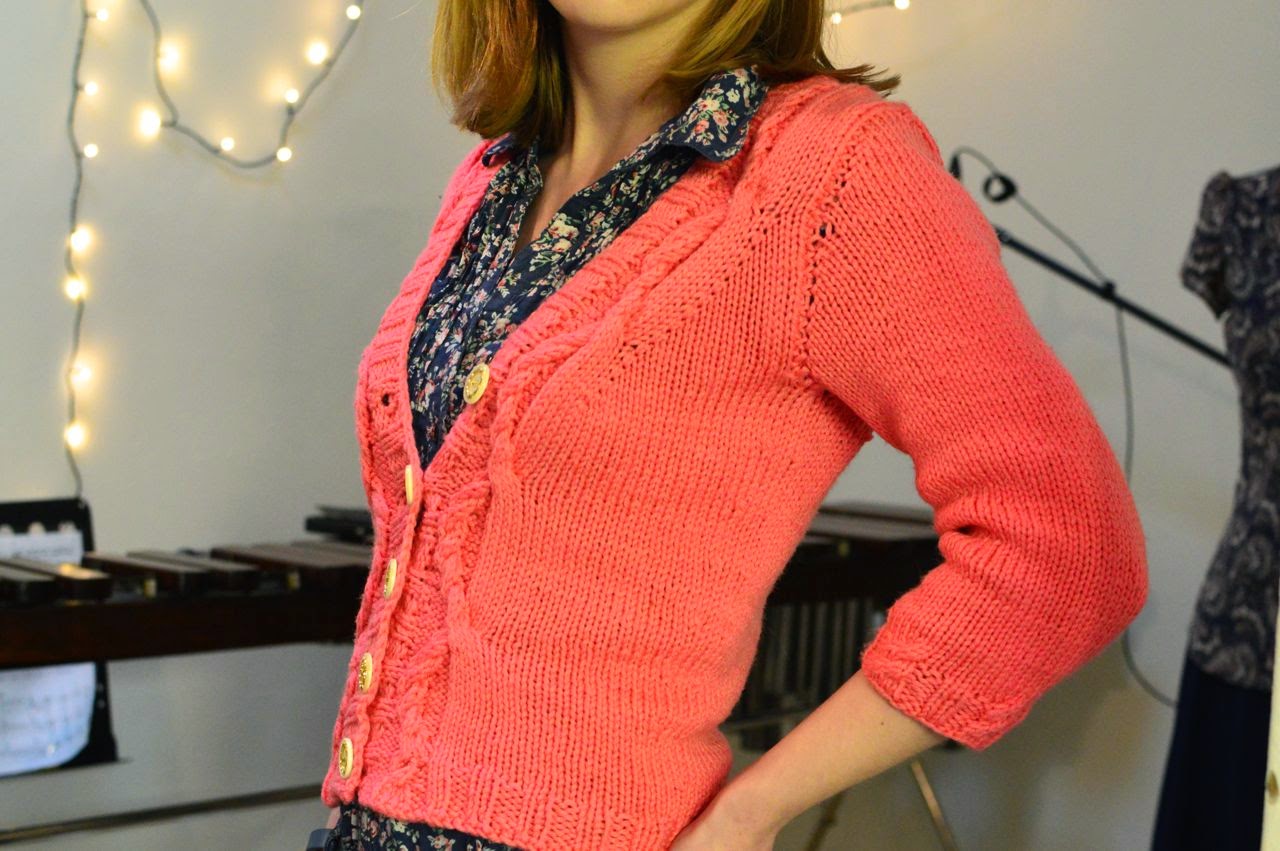
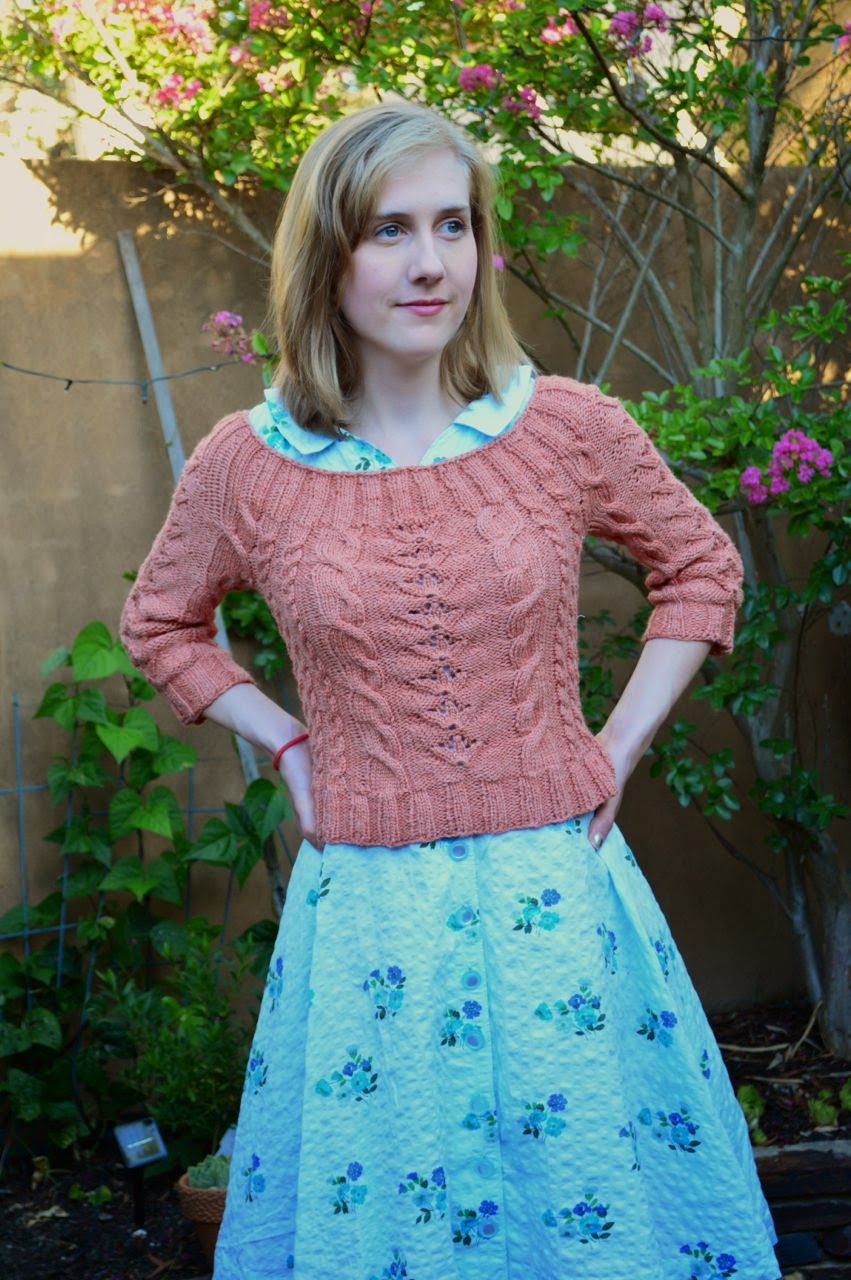
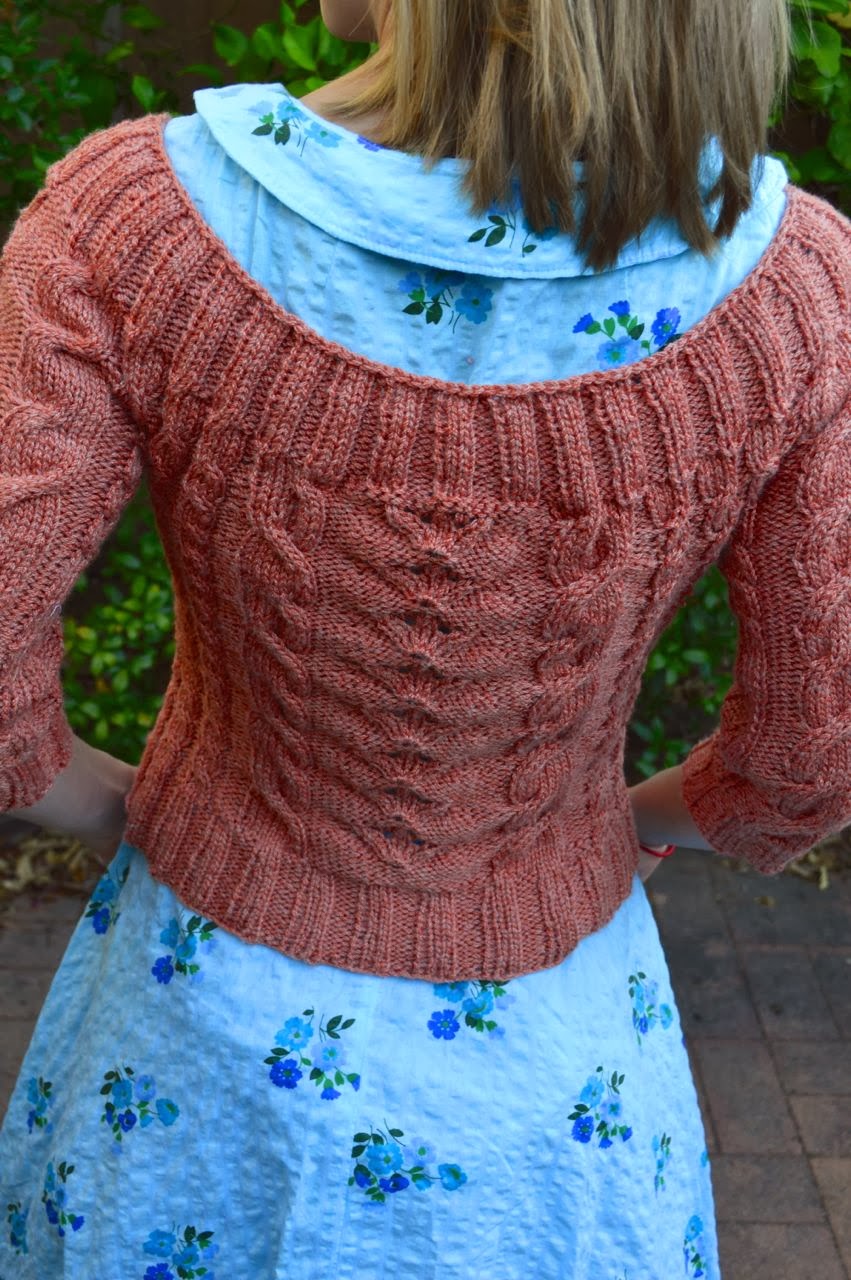
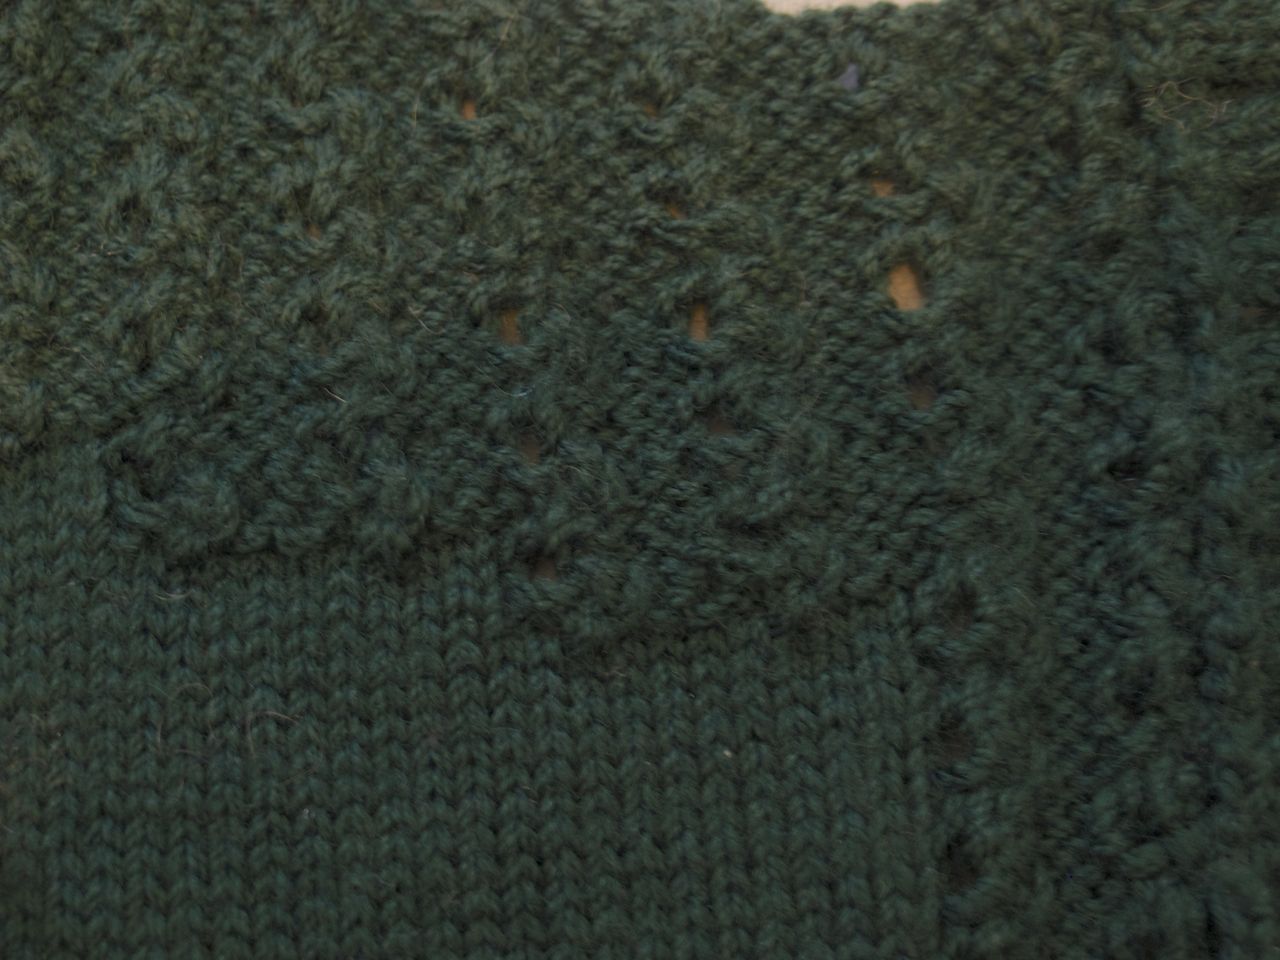
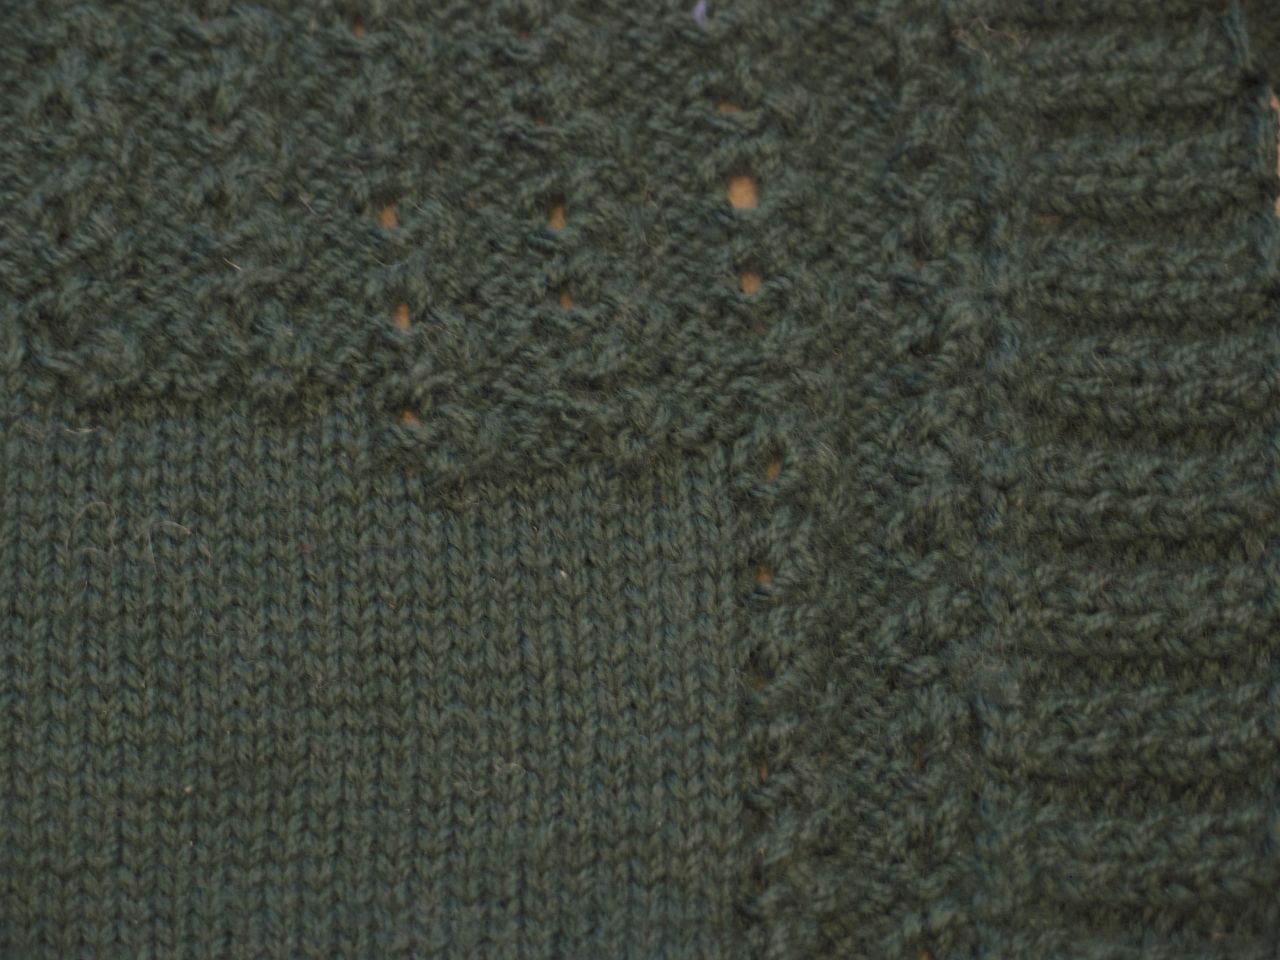
The only modification I made to this pattern was to put in an extra buttonhole above the others (which I can’t use because the buttonband gapes), and to go down a needle size (as usual).  The cable patterns were fine once I got used to them but at first they were pretty confusing.  I’m bad at visualising what I’m doing when I’m knitting upside down (this is a top-down knit).
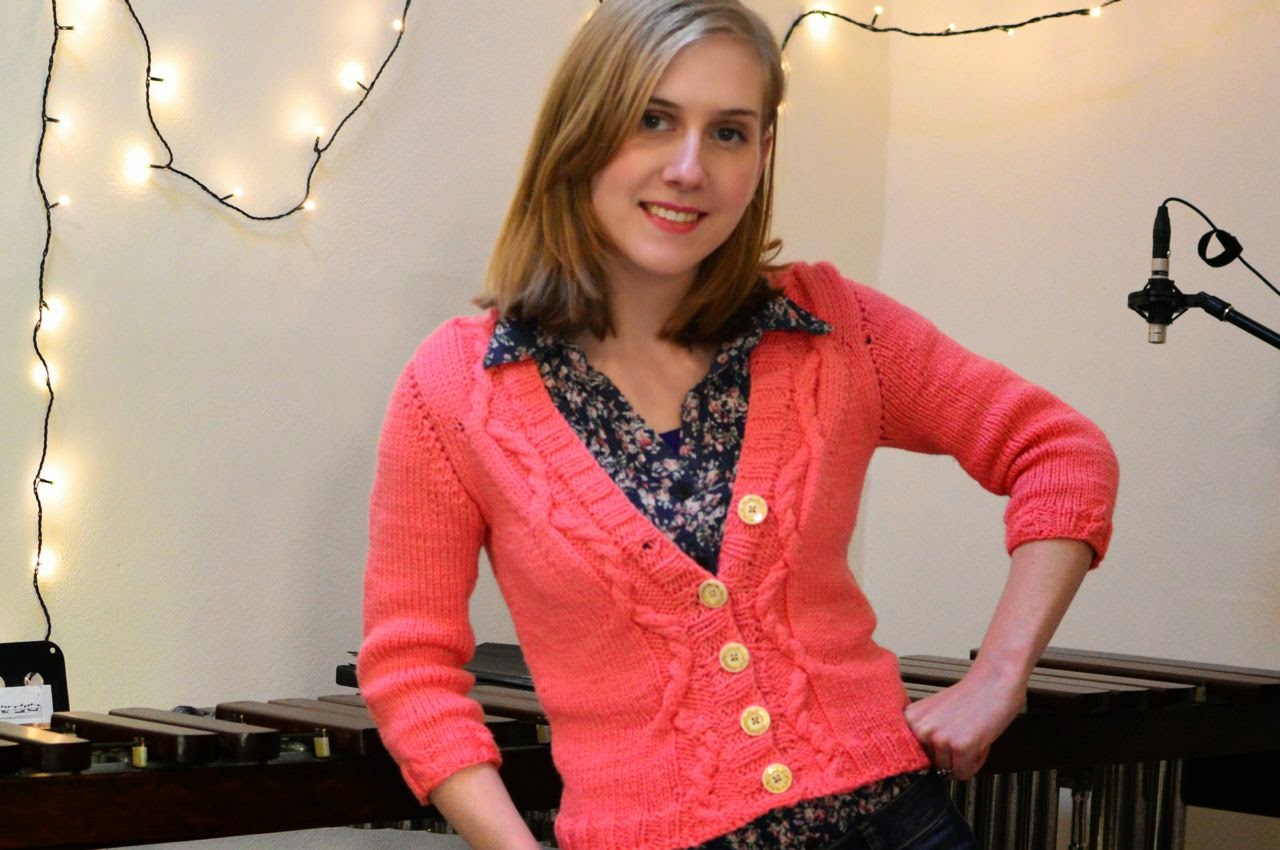
The wool is … very pink.  I didn’t expect it to be this pink!  It looked like a soft coral on the swatch but then turned out to be all HELLO HIGHLIGHTER PINK.  I still like it.
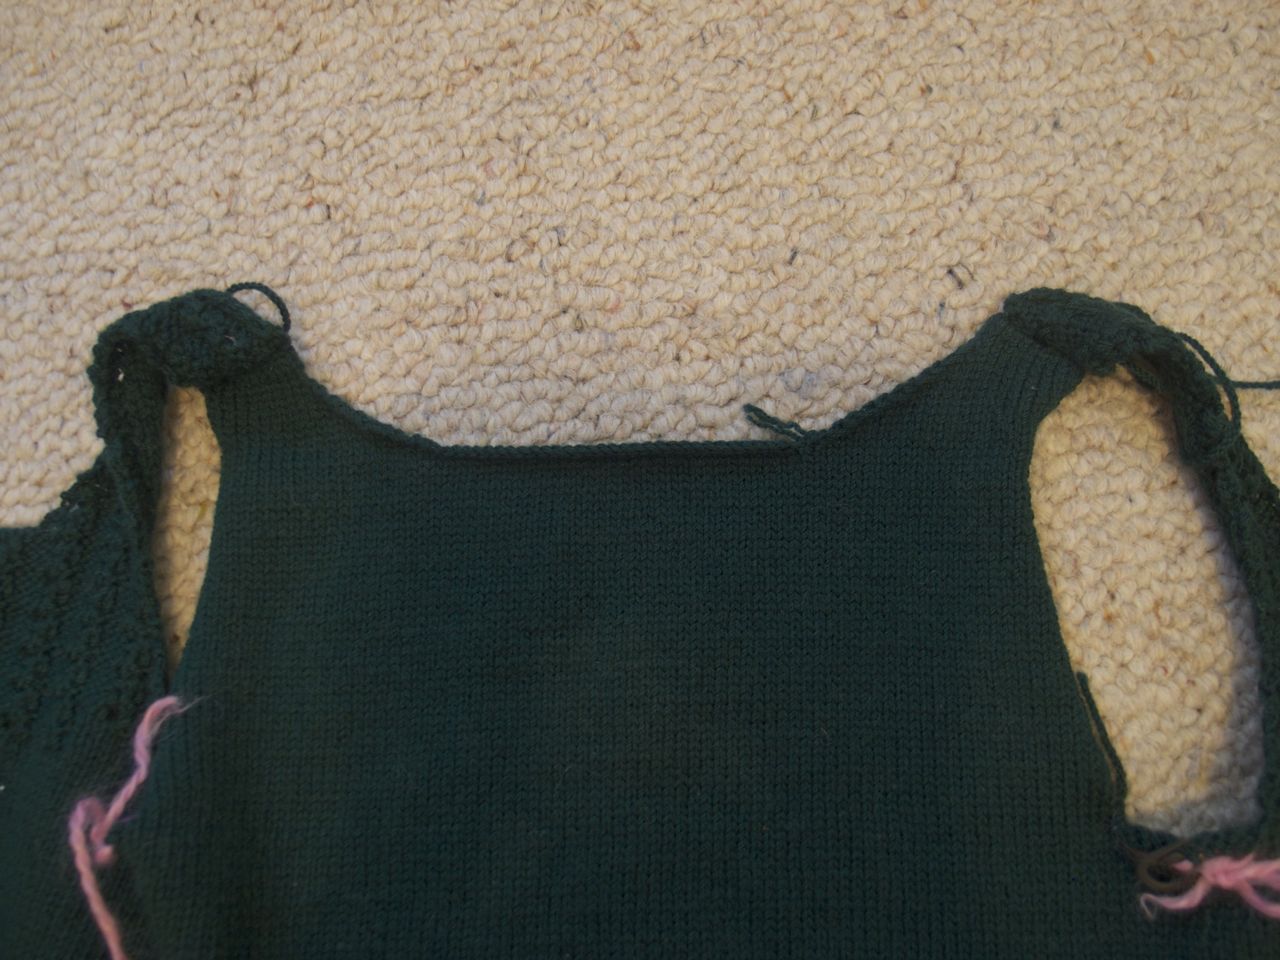
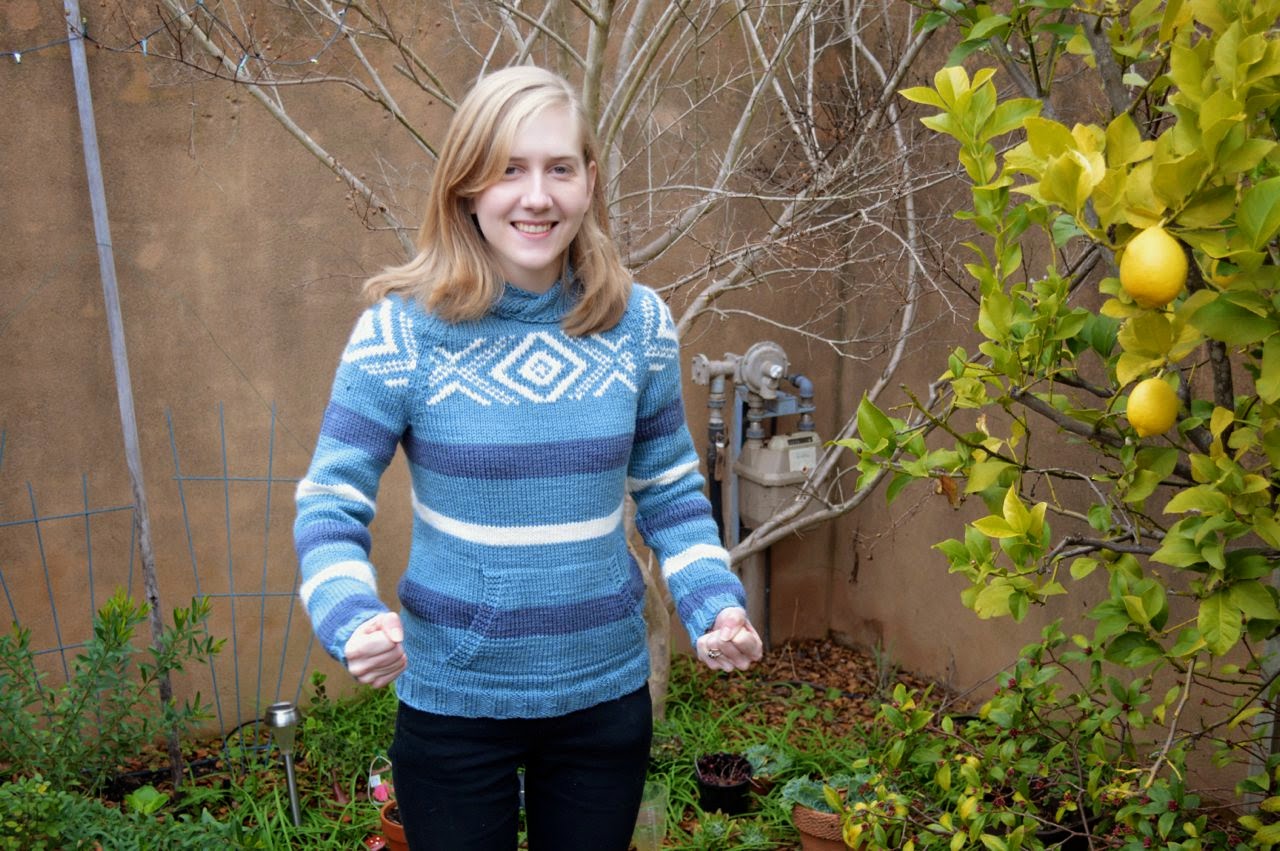
It came out a little longer than the original, I think because my gauge is quite loose.  I find it hard to get a gauge that matches the prescribed gauge both ways.  Although mine matches horizontally, it’s still a tiny bit longer.  I don’t mind though, as now I can wear it with pants!  I LOVE PANTS.  Although clearly not with these pants.
jumper, knit, knitting

Completed – Shilshole hoodie!

This jumper is soooo comfy you guys.  It’s so comfy I’m laughing in this photo.
 I made a LOT of modifications to this pattern.  If you have a look at the original design, you’ll immediately see some of the changes I made.  For reference, here’s the pattern photo:
1. Instead of garter stitch, I used 3*3 rib everywhere applicable: the bottom band, the cuffs, and the hood edge.  I just don’t like how garter stitch looks.
2. I changed the sleeves to seamed (in the round sleeves drive me bonkers)
3. I changed the stripe pattern on the sleeves to match with the body
4. I didn’t do little white squares, I did a stripe (who has time for that)
5. I changed the yoke design slightly (to simplify)
6. Did stripes on the hood istead of making it plain.
7. Added a stripe in to the pocket section.
Sleeves: I made up one as the pattern instructed and it was too long on my short arms.  This happens all the time.  So I worked out how many rows to take out, and then I wrote myself a new colour pattern so it matched the colours on the body.  You have to work down from the top so it matches properly.  My arms are longer than the body so there’s an extra grey and white stripe on the sleeves.  When I stand to attention they match!
This hood be POINTY!  But it’s cute now I’m used to it.  I really love the relaxed fit of this jumper, it’s so different from the usual style I’ve been making.  This is awesome because I can wear it over jeans and it’s so warm!
 The kangaroo pocket was fun to do – it was done by picking up stitches at the front using a lifeline, then knitting to the same length as the main front and then joining by knitting together.
 The raglan shaping was hard.  I just found the pattern really hard to follow somehow!  I’m not quite sure what went wrong but it was hard to follow.  I had to write it all out in longhand in order to get it right, and had to frog a few times.
I’m thinking of reverting back to Bendigo Woollen Mills Classic instead of luxury.  All my Luxury items are pilling beyond belief!  Although Classic is more scratchy, my Milena cardigan is still as new, whereas my Chuck jumper is already a world of pills.  I’d say I wear them about the same amount, so I might have to remake everything in Classic. But they don’t have 10ply!!!
I wore this jumper all weekend at the Arts and Crafts Show, got a billion compliments, and was super warm against the ridiculous weather.  It was sooo cold last weekend! But I was snuggy as anything in my beautiful new hoodie.  Two thumbs up!

As usual you can see more detailed notes and in-progress photos on my Ravelry page.  Thanks for looking!
cardigan, knit

Completed – Milena cardigan!

It’s finally finished!  This cardigan took me about 6 months to finish but I finally did it!

Presenting… Milena!


 I admit that I didn’t knit the entire 6 months.  I did loads of other projects in between and sometimes didn’t knit this for months at a time!  But it was pretty slow going.

 I made quite a few modifications to the pattern.  I didn’t do any 1×1 ribbing (because who has time for that), I altered the back slightly to lower the neckline, I made the armholes bigger, and completely changed the sleeves.  The sleeves I knit flat, bottom-up, and increased ad lib to the armpit, then cast off ad lib for the sleeve head.  I detailed all of this in my ravelry notes.  It worked out pretty well IMHO.  The pattern was free, and only in one size, so everything was fairly lucky!

 Trying to get a closeup of the lace pattern… it’s a pretty interesting one!  Mine came out a little more dense than the original, because it’s a thicker wool while the original was cotton.  

Fix your collar Christina!!

 There are 12 buttons on this sucker.  It takes ages to do them up, so I think I’ll wear it with every 3rd one undone, it gives a cute effect.
I accidentally was super dumb and sewed the button bands on the wrong way – so I have to do up this cardigan like a man’s cardigan.  I’ll get used to it!  You don’t really notice unless you’re a person who is picky about these things.

Overall a pretty nice cardigan!  I’m pleased this is finished, now I have a lovely deep green cardigan!
knit

Finished – knitted Amber Bramble jumper

Look!  I’ve finished a jumper!  This one has been taking forever but I powered through the last few days and got it done!

Yarn: Bendigo Woolen Mills Stellar yarn, 50% bamboo and 50% merino

This is from The Knitter magazine, which is my favourite knitting magazine!  It’s from the UK and it always has lovely, modern designs for people who aren’t between the ages of 0 and 6.  I always find something interesting in that magazine!
This is what the pattern actually looks like, as you can see I altered it quite a bit.  I added 3/4 length sleeves and a bottom rib band.  I didn’t like the unfinished look the original had.  Because I was adding on sleeves and this was bottom-up, I had to think quite hard about how to join them in and keep the cables correct!  In the end I joined them in like in my Owls jumper, and it turned out quite well (I think). 
This pattern is called “rose bramble”, because it has a kind of climbing flower design in the centre front and back.  Then it has some large cables on either side of that, and small cables next to them.  It took so much courage to start this pattern once I’d gathered my materials, I was terrified of all those repeating patterns!
The flower pattern is 19 stitches and 10 rows.  The large cable is 9 stitches and 20 rows.  The small cable is 4 stitches and 6 rows.  So I was always counting rows to make sure it all lined up.  My piece of paper is covered in tallies!
I made sure that the rose pattern went down the centre of the sleeves too!
This jumper is the same back and front – so it doesn’t matter which way I wear it!  It also looks kind of similar inside out 🙂
The only thing that didn’t quite work to my satisfaction was the neck opening.  It’s kind of large and floppy.  I had to undo it a couple of times to try and get it tighter, but I’m still not happy.  My solution is to thread some thin elastic through the top to keep it in shape, which I will do in the next few days.  
The yarn was a mix of bamboo and merino, which was lovely to knit with – it splits slightly more than 100% wool, but has a nice feel and is quite smooth.  It’s got a bit of lustre too.  The pattern called for merino/silk and I think this is pretty similar in all important aspects.  This means the jumper isn’t too warm to wear in all seasons!
Oh and also I got my hair cut!  It’s shorty short now!  I love it so much.

What are you knitting?  Let’s be friends on Ravelry!
craft, knit, WIP

Work-In-Progress Weekend – Milena

I know a few other bloggers have WIP – Wednesdays, but I am SO BUSY on Wednesdays that it’s never going to happen.  So I hope to keep you updated with my projects on the weekend instead!

Today I’m sharing my Milena cardigan so far.

Notes on Ravelry
Original pattern

I’ve done one button band (left), and the entire bodice.  Next is the other button band, the neck band, and then the sleeves!  This cardigan has taken a LONG TIME, partly because it’s knit on small needles, and partly because every so often I get sick of it and leave it for a week.  I’m feeling fairly positive about it now though!

 My only boo boo I can see… My button band doesn’t quite go to the bottom of the cardigan!  I hope some aggressive blocking can fix the problem.

 Lace pattern.  It will look a bit better worn, I think, because it will be more stretched out.

 Worn with just a pin in the top.  Enjoy my armpit.  It DOES fit all the way round me (tight though), but I couldn’t manage to pin the whole thing by myself.  I’ll do the buttons soon and then I’ll be able to wear it as a vest!

 I’ve modified the pattern quite a bit, as it wasn’t the best pattern.  This photo shows how I lowered the neckline at the back, because in the pattern it just went straight across!  I think I could even have lowered it a bit more.

I also made the whole thing longer at the top by 12 rows.  This is because I thought the armholes were way too tight!  It’s fine now 🙂 Thanks for looking!