colourwork, jumper, knitting

Completed – Colourwork jumper!

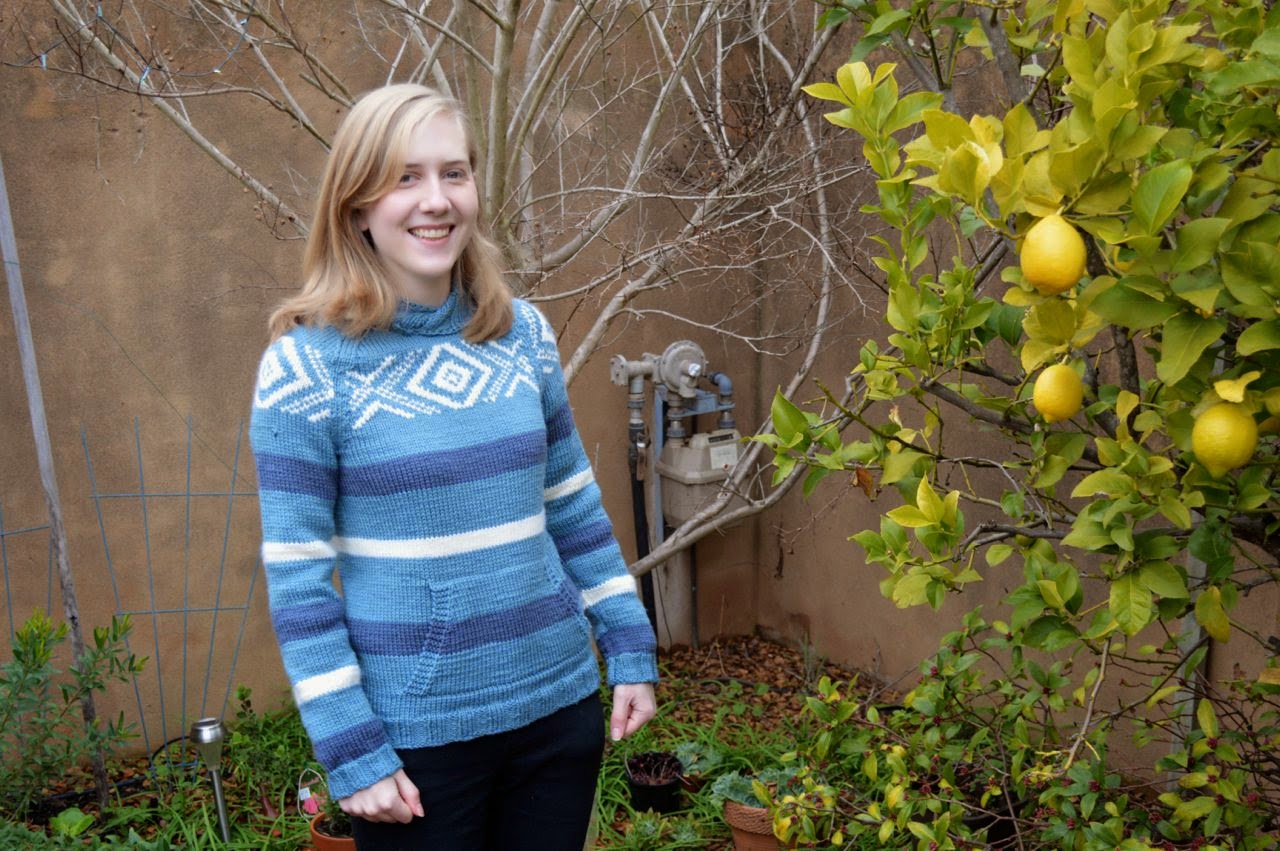
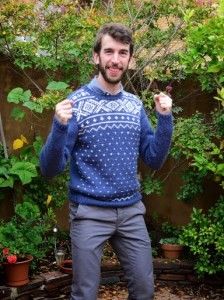
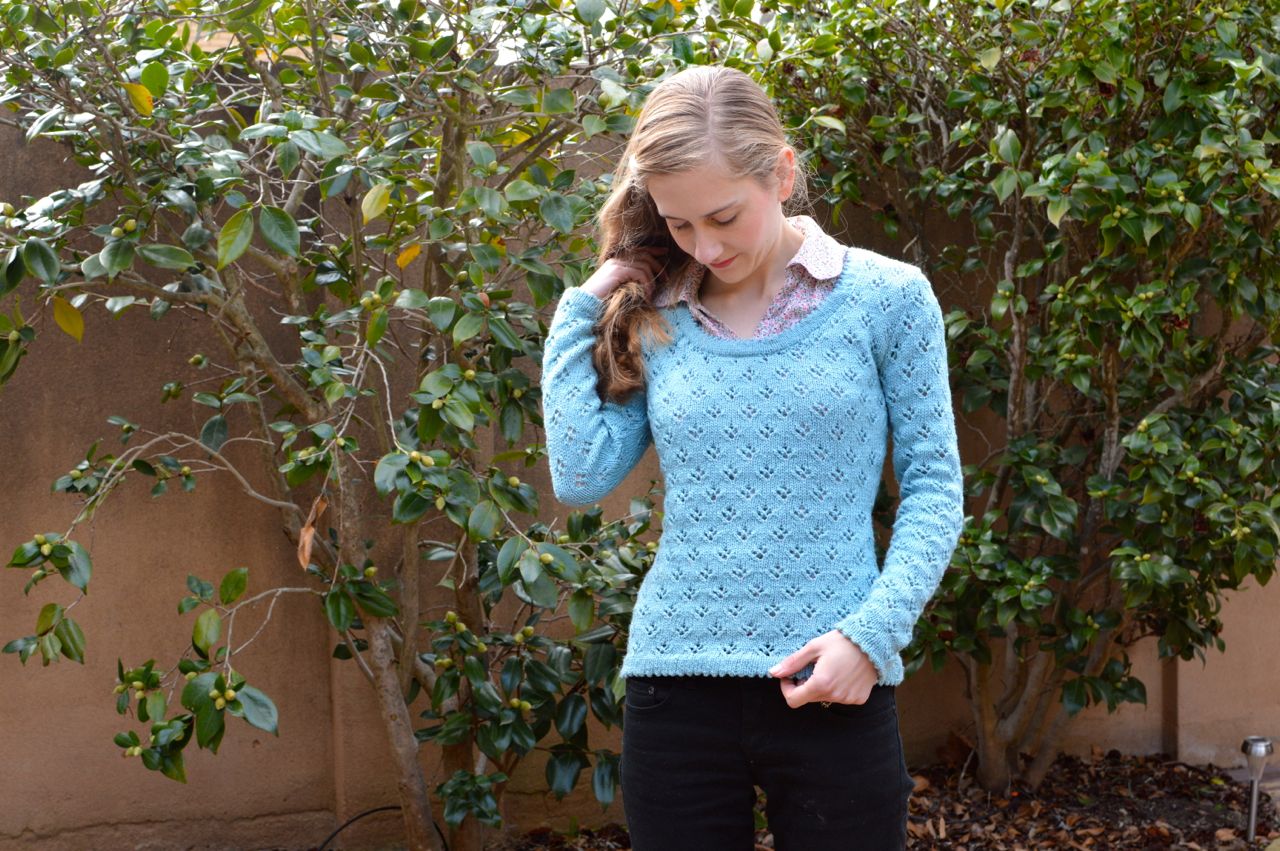
This knit was lightening fast you guys!  It took me a week!  A WEEK!  It would have taken 6 days but I fell into some difficulties…
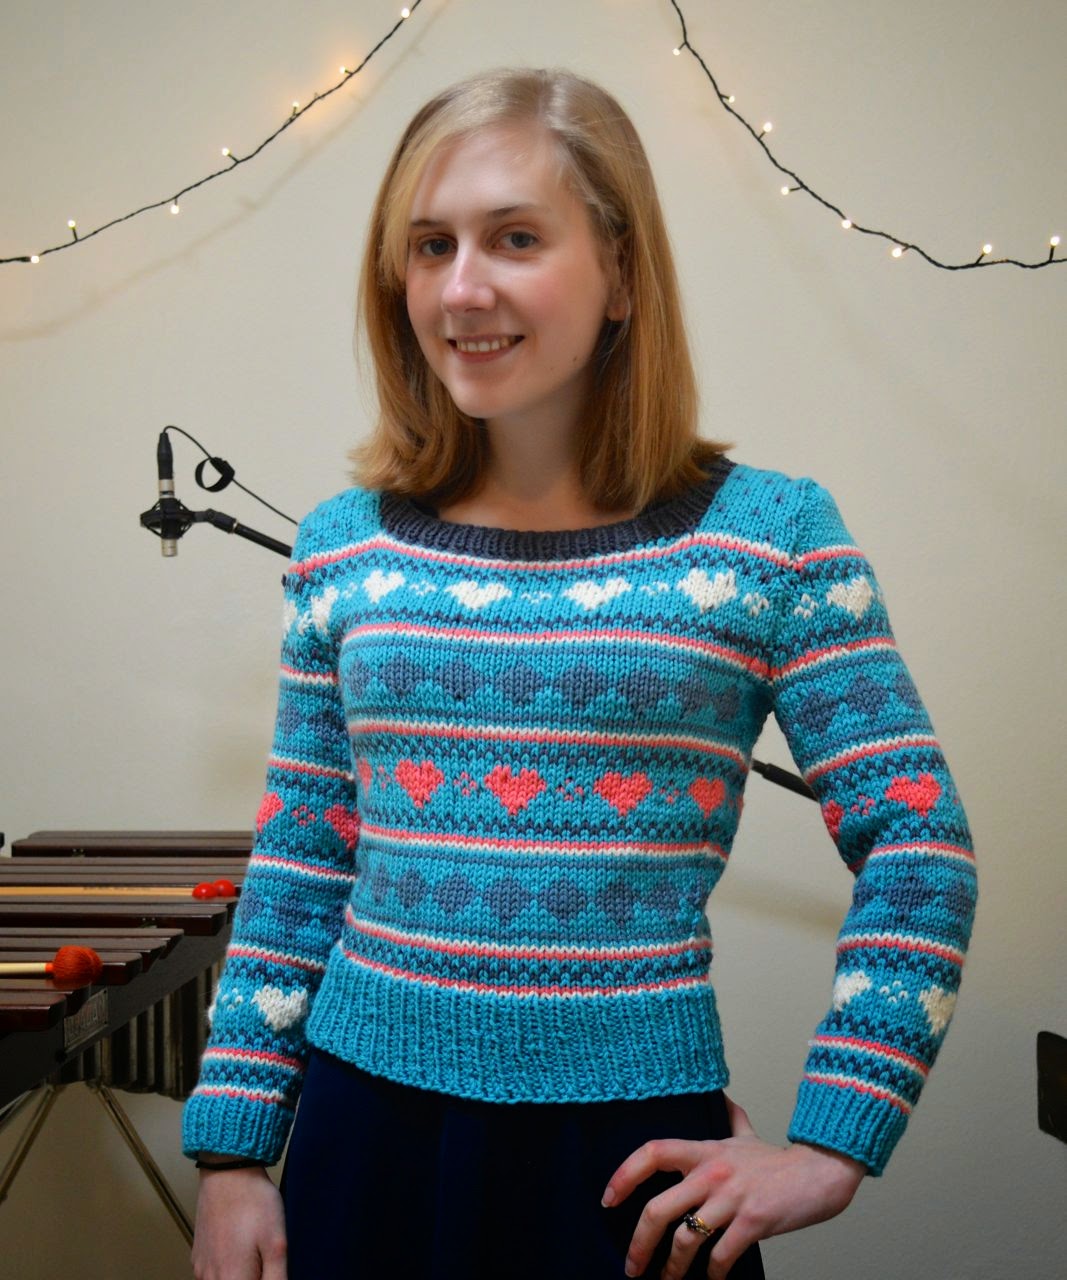
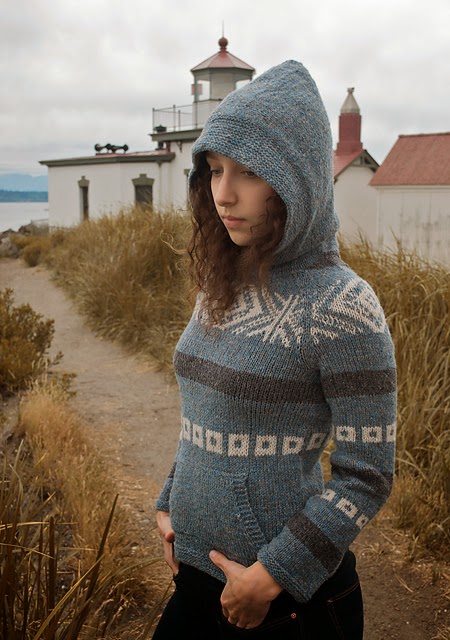
Wool: Bendigo Woollen Mills Luxury 10ply in Lotus, Aquarium, Slate, etc.
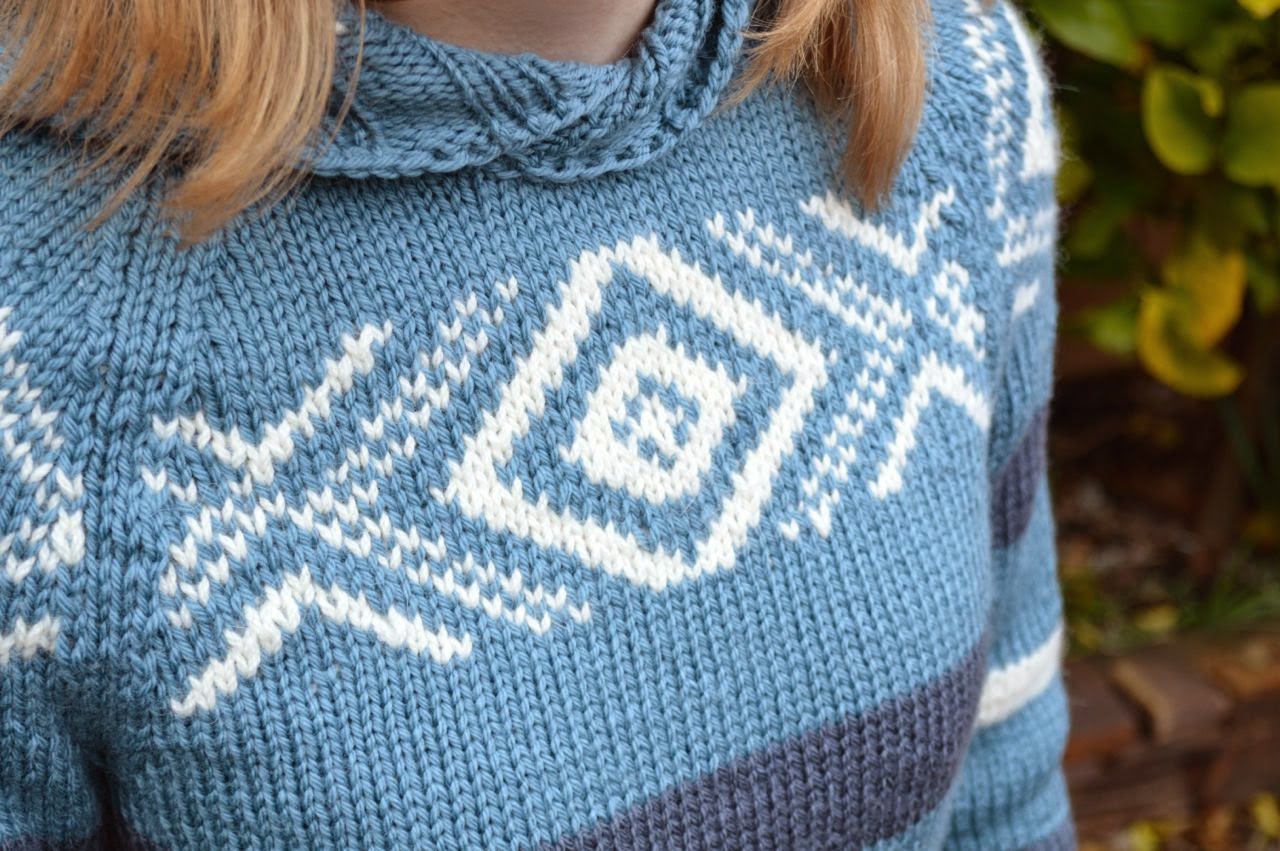
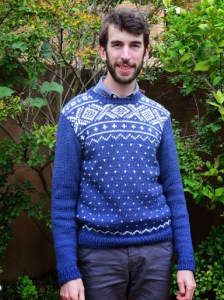
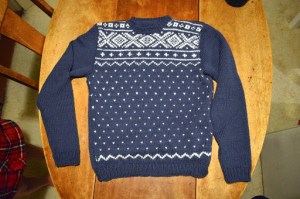
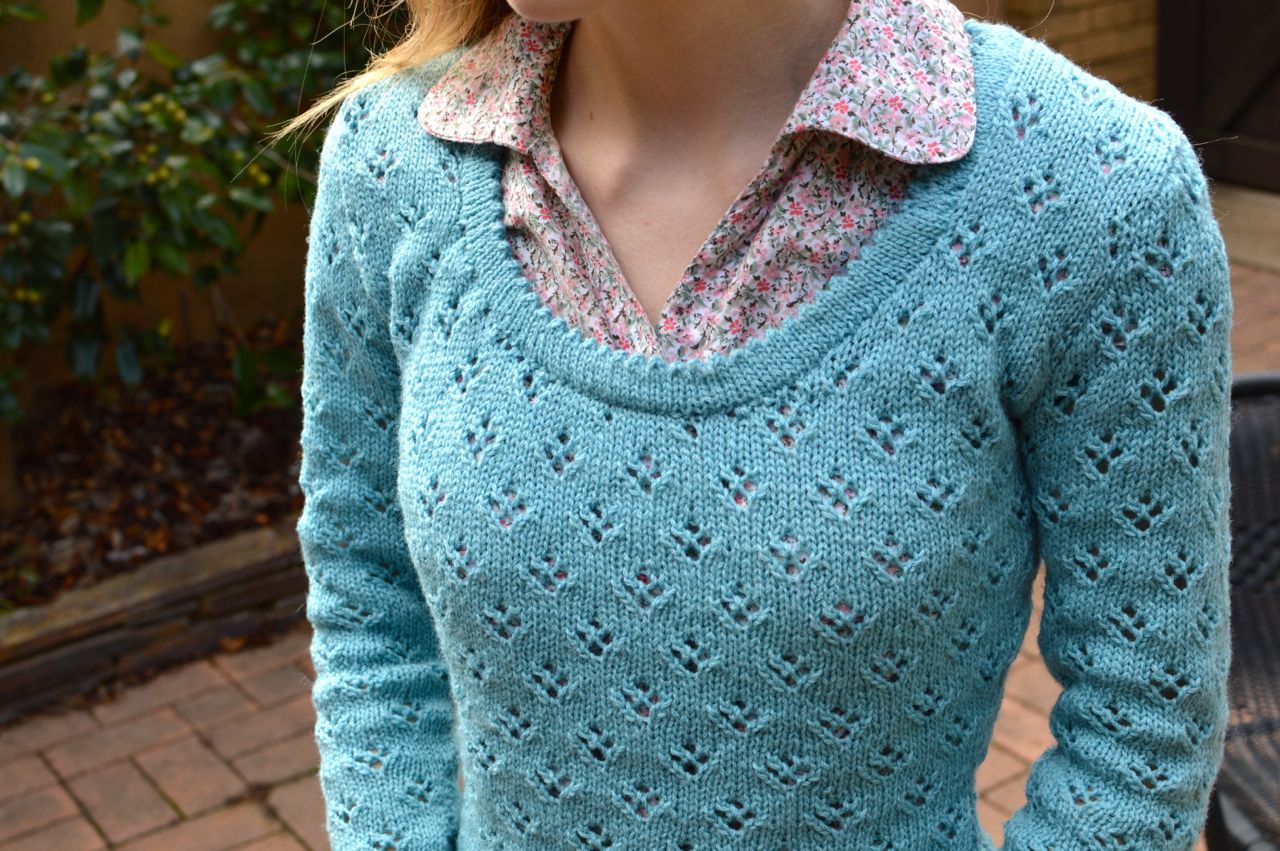
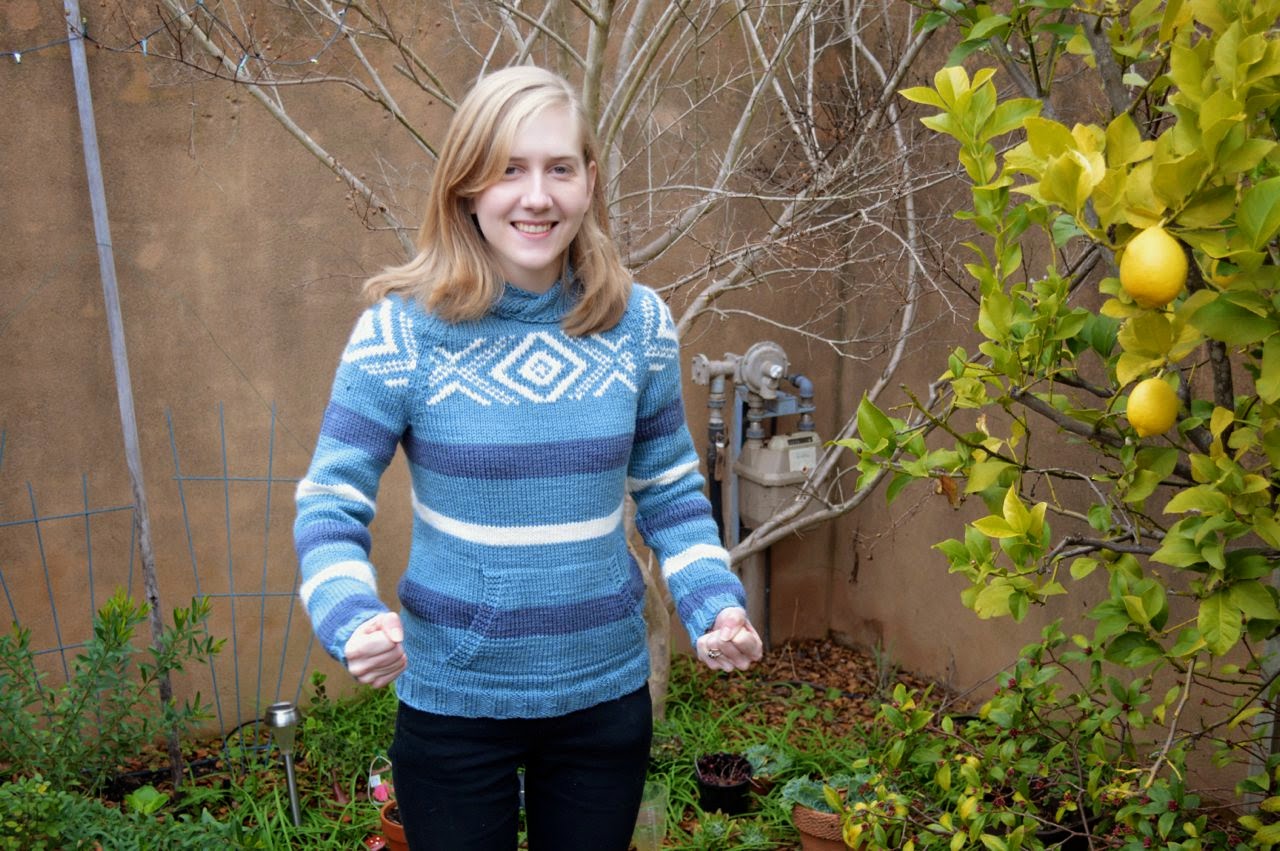
This pattern doesn’t actually have hearts and diamonds and stripes and spots on it.  I made that part up!  I took the basic sweater instructions and made myself an Excel spreadsheet outline (making all the boxes square).  Then I basically… coloured in!  Making sure all the stripes lined up, and there weren’t more than 2 colours in a row.
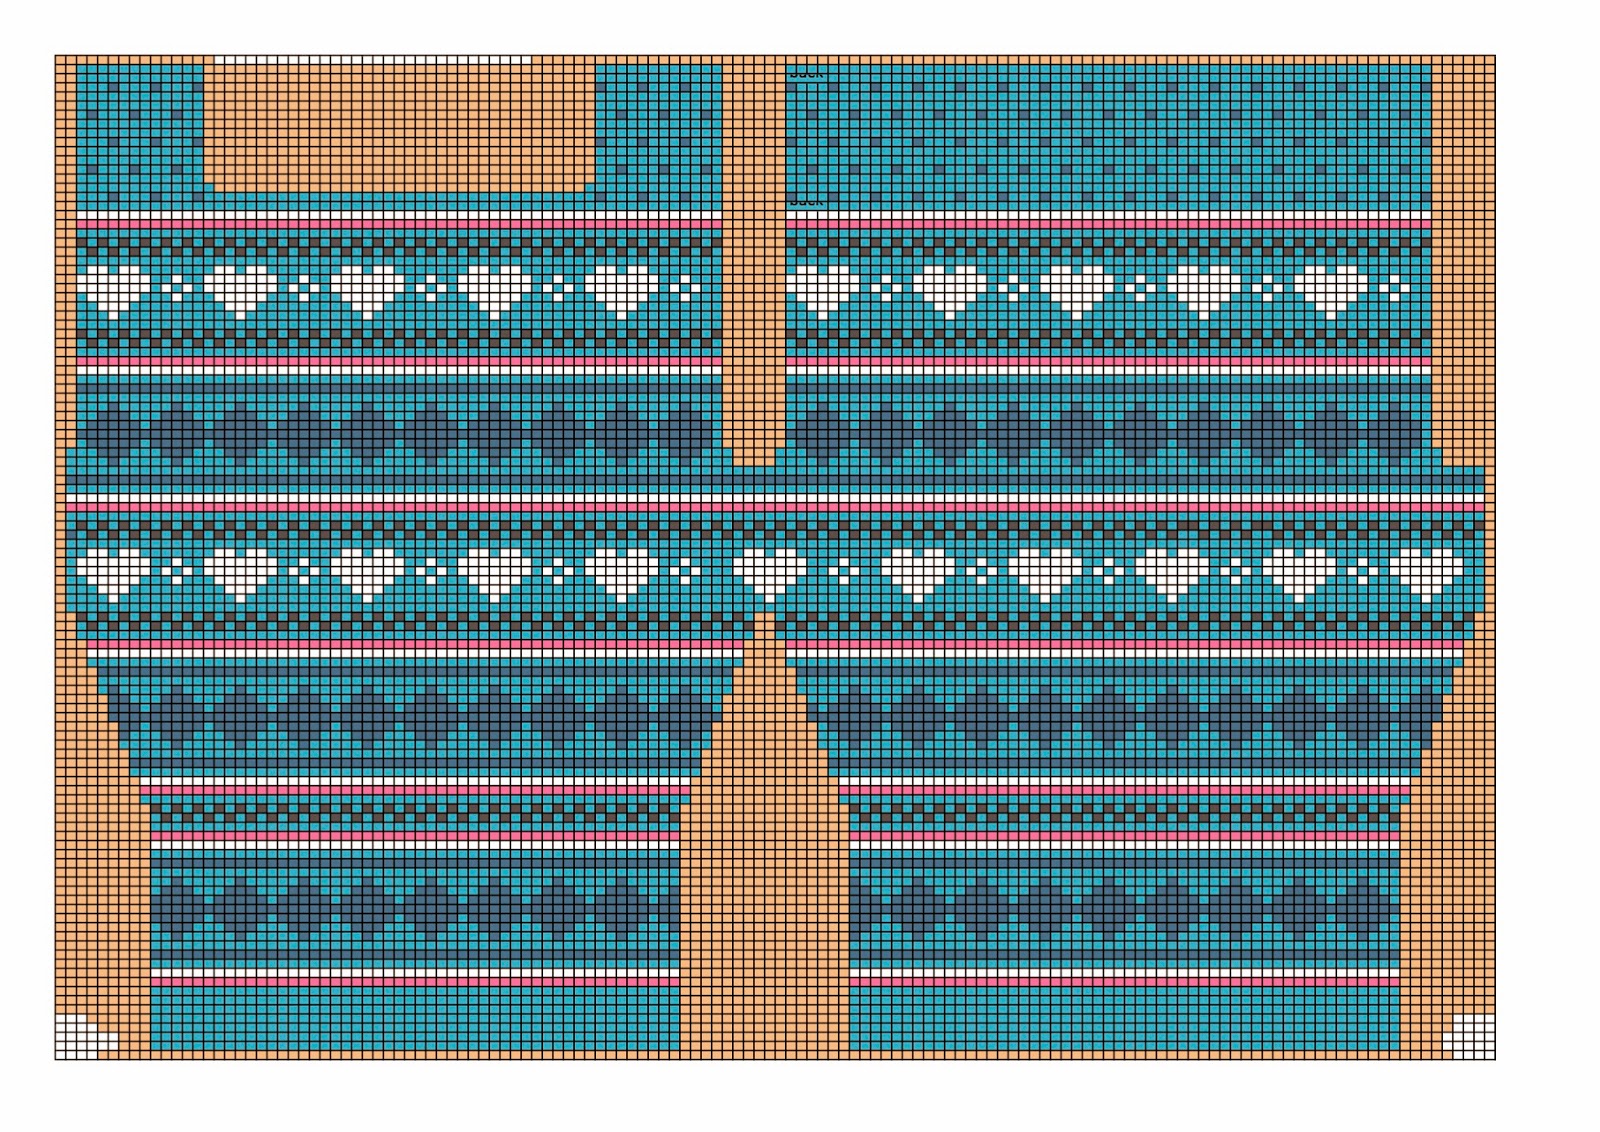
I obviously made some changes from my design, and that was because I almost ran out of white! So pink hearts made an appearance. If I were to do a similar thing again, I’d make sure the hearts ran across the bust line, because they’re prettier than diamonds. 

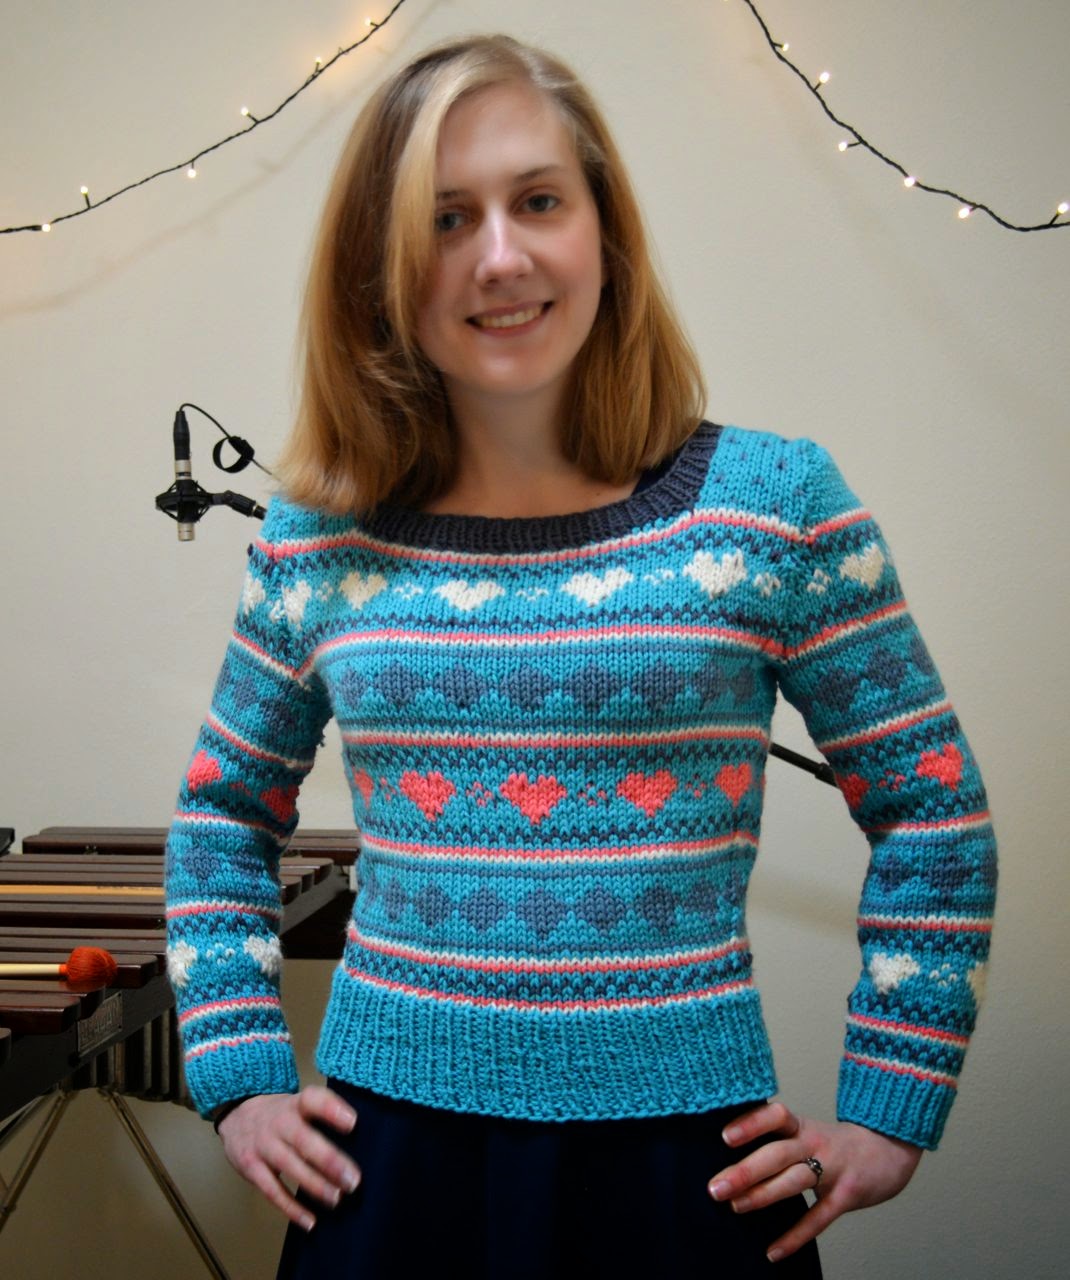
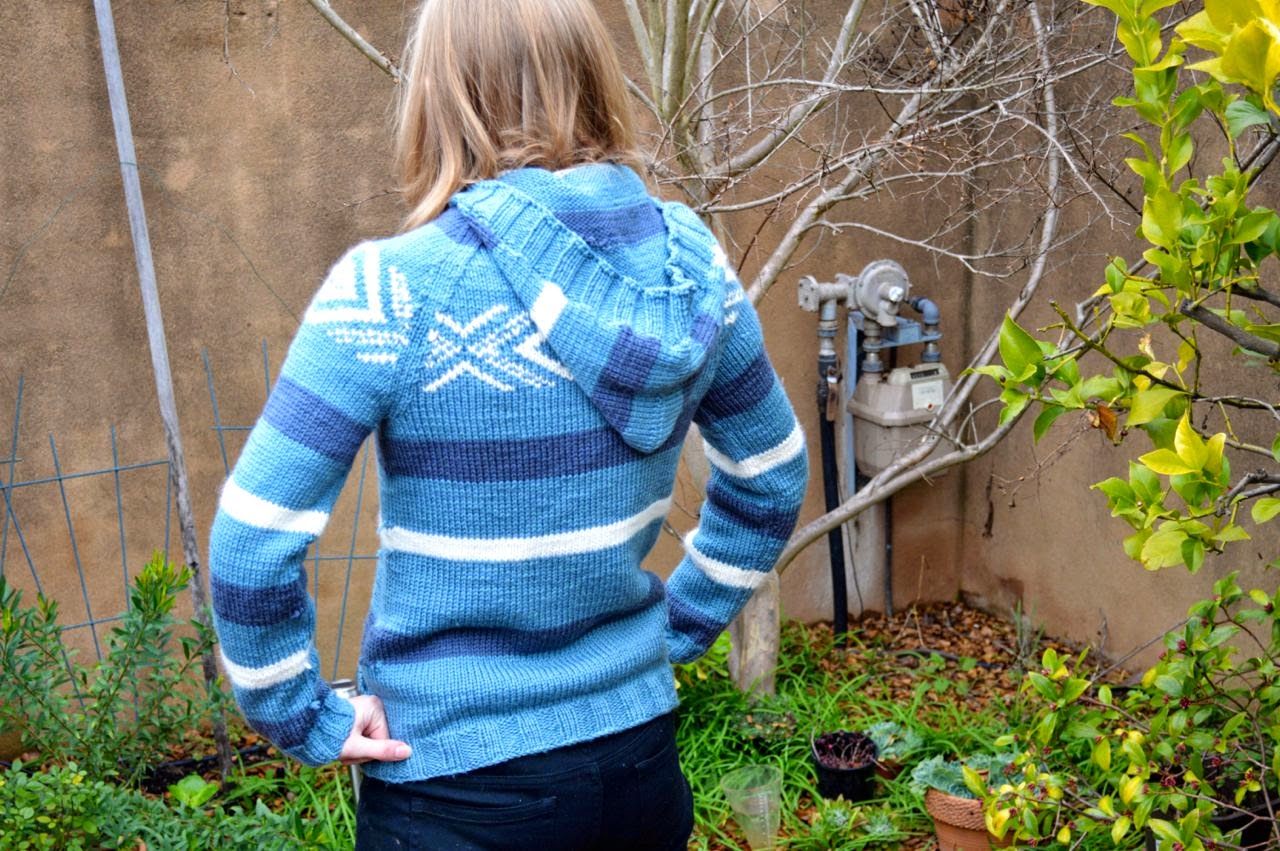
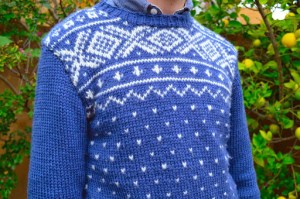
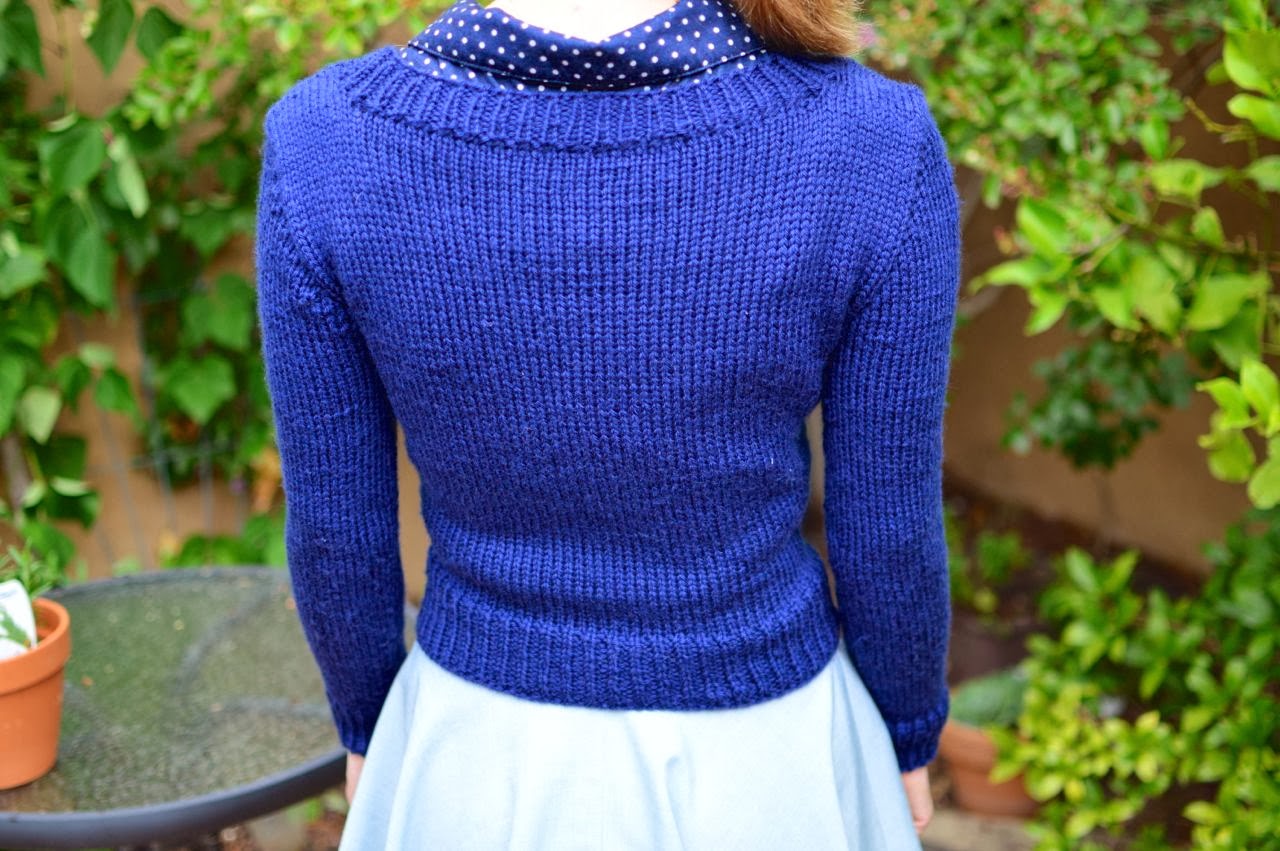
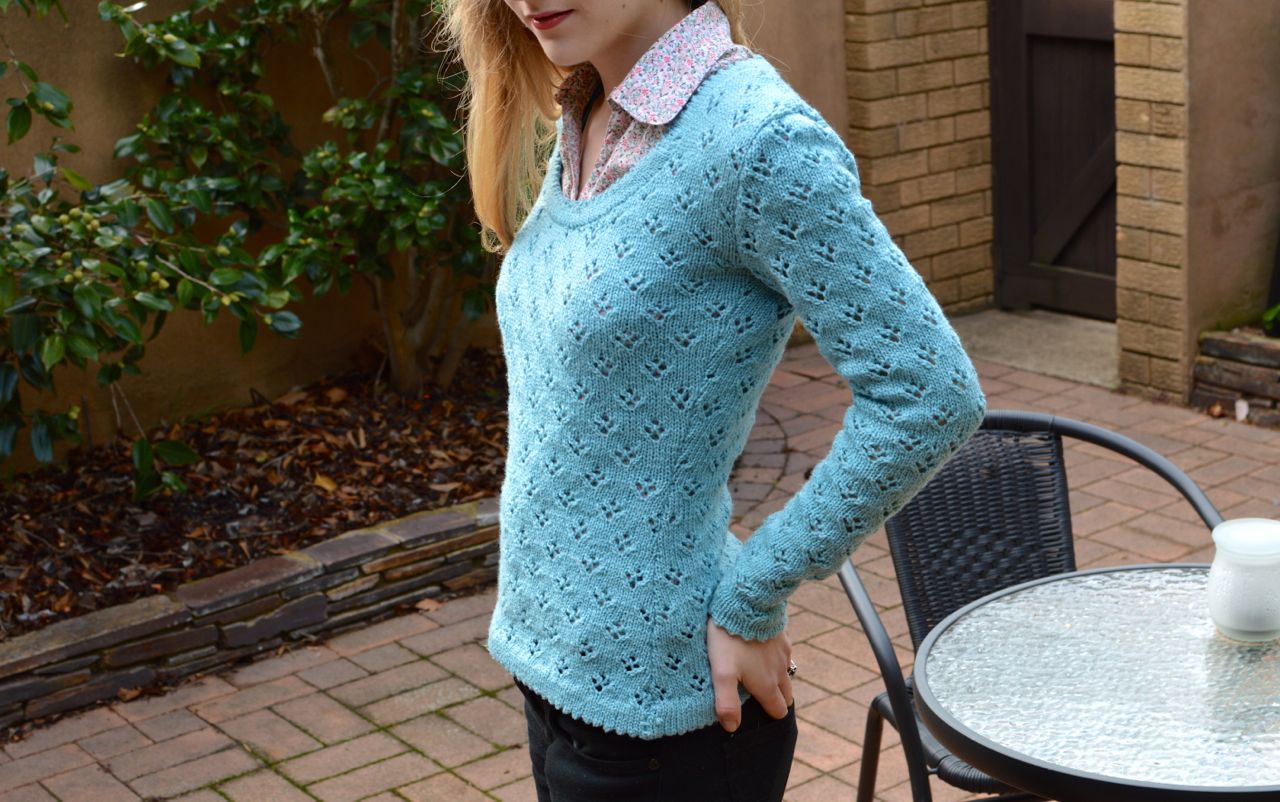
 I made sure all the stripes lined up over the sleeves too.  I changed the sleeve construction by doing them flat and then seaming them into the armhole, instead of doing the short rows.  I just couldn’t face colourwork with 4 needles!  This photo is to show the colours lining up:
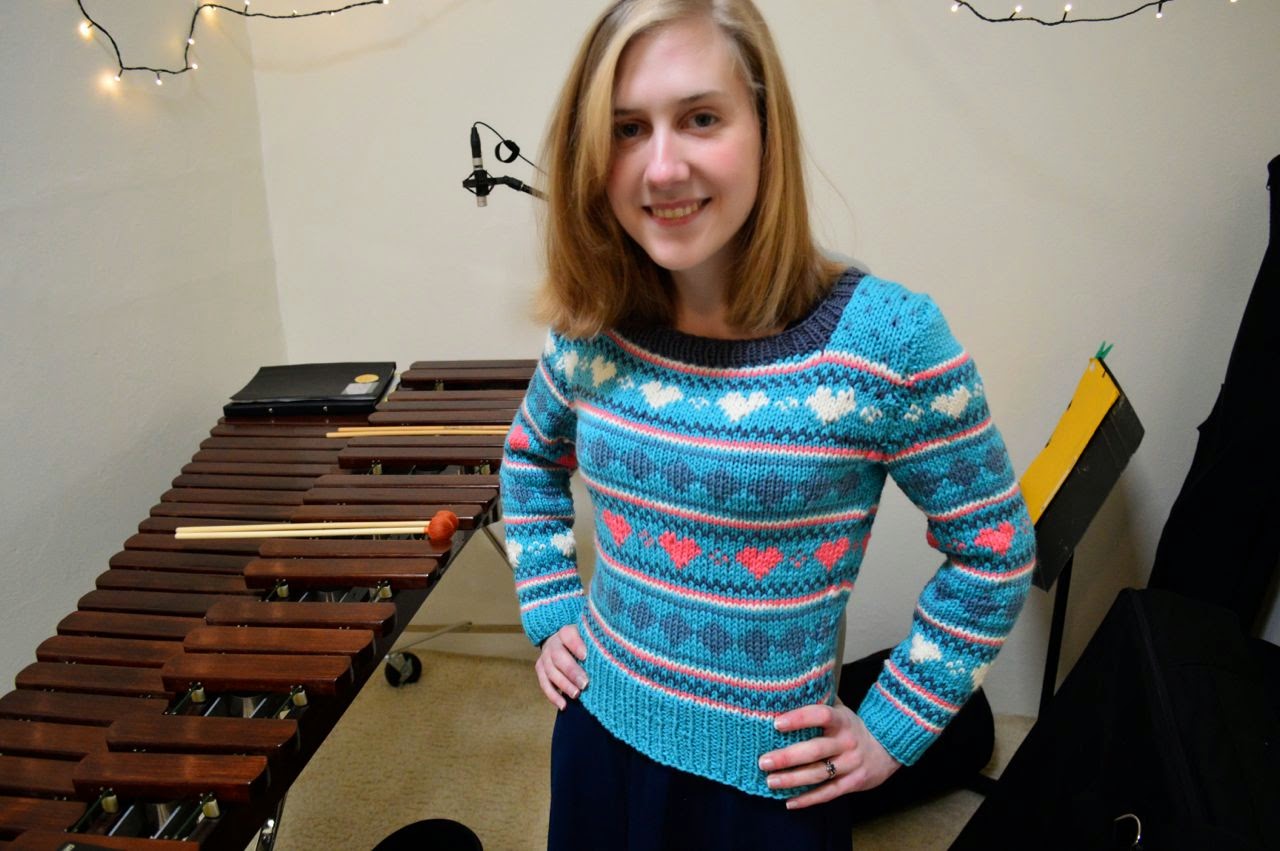
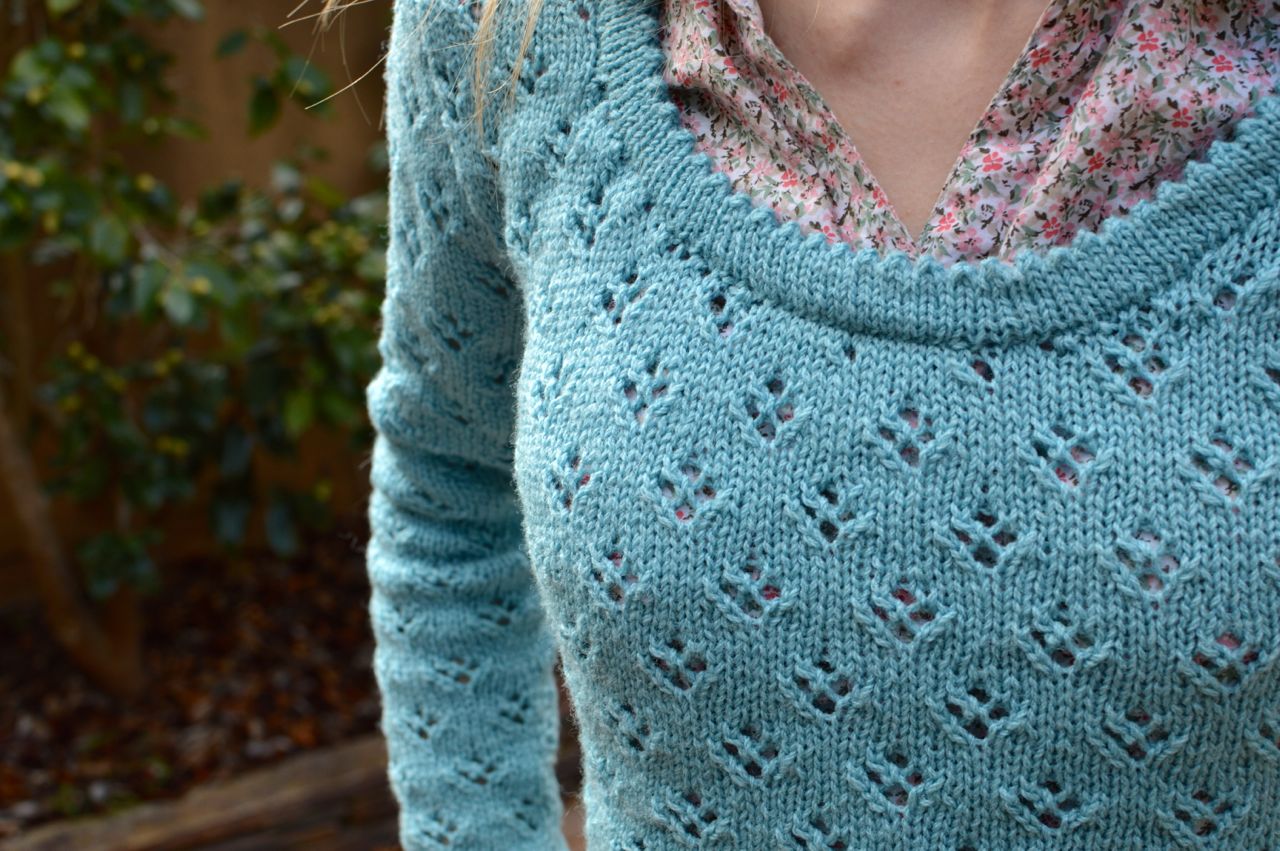
 When I sewed in the sleeves I discovered that the armhole was hanging way too low.  It made the sleeve kind of weird and low and tight under my arm.  So I took the sleeves off again and made a kind of gusset to fill in the space.  I did this by picking up stitches from the underarm and knitting up, and doing the same to the sleeve so I didn’t have weird excess fabric.  It worked out perfectly, and you can’t see unless I show you!  I think it’s because my gauge is so loose that it ended up so long.  The original design looks cropped, and mine does not look cropped!
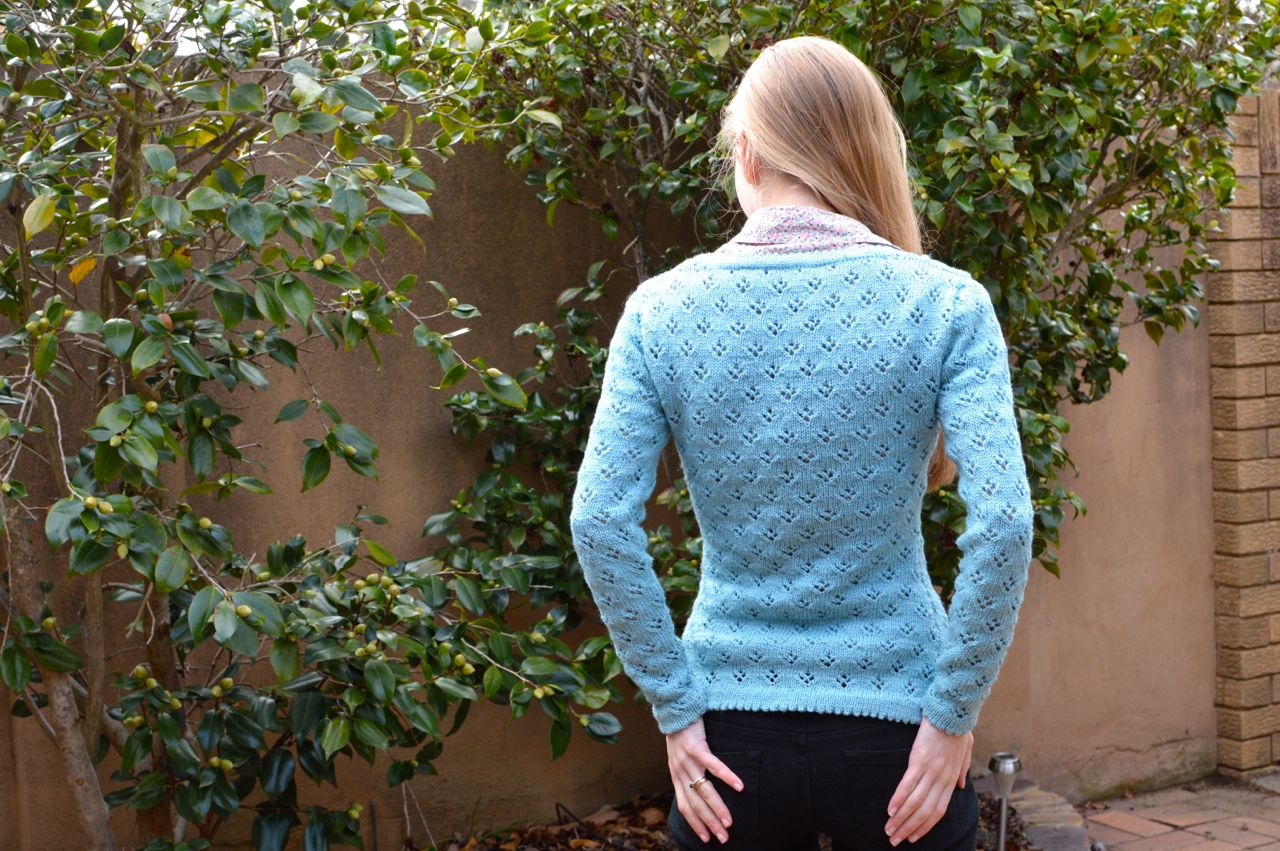
 Despite it being a little larger than the design, I like it because it doesn’t stretch the fair isle out of shape.  A loose jumper is much more snuggly too.  Don’t worry it does fit!  But Andi Satterlund’s designs are often made with 2″ of negative ease, and I think this has no ease.
What do you think?  Will you try making your own fair isle designs now?
jumper, knit, knitting

Completed – Shilshole hoodie!

This jumper is soooo comfy you guys.  It’s so comfy I’m laughing in this photo.
 I made a LOT of modifications to this pattern.  If you have a look at the original design, you’ll immediately see some of the changes I made.  For reference, here’s the pattern photo:
1. Instead of garter stitch, I used 3*3 rib everywhere applicable: the bottom band, the cuffs, and the hood edge.  I just don’t like how garter stitch looks.
2. I changed the sleeves to seamed (in the round sleeves drive me bonkers)
3. I changed the stripe pattern on the sleeves to match with the body
4. I didn’t do little white squares, I did a stripe (who has time for that)
5. I changed the yoke design slightly (to simplify)
6. Did stripes on the hood istead of making it plain.
7. Added a stripe in to the pocket section.
Sleeves: I made up one as the pattern instructed and it was too long on my short arms.  This happens all the time.  So I worked out how many rows to take out, and then I wrote myself a new colour pattern so it matched the colours on the body.  You have to work down from the top so it matches properly.  My arms are longer than the body so there’s an extra grey and white stripe on the sleeves.  When I stand to attention they match!
This hood be POINTY!  But it’s cute now I’m used to it.  I really love the relaxed fit of this jumper, it’s so different from the usual style I’ve been making.  This is awesome because I can wear it over jeans and it’s so warm!
 The kangaroo pocket was fun to do – it was done by picking up stitches at the front using a lifeline, then knitting to the same length as the main front and then joining by knitting together.
 The raglan shaping was hard.  I just found the pattern really hard to follow somehow!  I’m not quite sure what went wrong but it was hard to follow.  I had to write it all out in longhand in order to get it right, and had to frog a few times.
I’m thinking of reverting back to Bendigo Woollen Mills Classic instead of luxury.  All my Luxury items are pilling beyond belief!  Although Classic is more scratchy, my Milena cardigan is still as new, whereas my Chuck jumper is already a world of pills.  I’d say I wear them about the same amount, so I might have to remake everything in Classic. But they don’t have 10ply!!!
I wore this jumper all weekend at the Arts and Crafts Show, got a billion compliments, and was super warm against the ridiculous weather.  It was sooo cold last weekend! But I was snuggy as anything in my beautiful new hoodie.  Two thumbs up!

As usual you can see more detailed notes and in-progress photos on my Ravelry page.  Thanks for looking!
charles, jumper

Finished – "Mattias" fair isle jumper for Charles!

Here is my first significant unselfish knitting project – and my first fair isle project – a jumper for my husband Charles.  He was getting jealous of all the lovely new knits I was getting and asked me to make something for him!

I am pretty happy with how this turned out, seeing as it was my first attempt at fair isle.  Knitting fair isle itself isn’t hard, it’s just a little annoying to have to weave in the unused yarn so it’s not too loopy at the back.  I ended up with some very tangled balls of wool!
Charles really likes his new jumper, he wears it a lot!  But beware this pattern!
I did have to make some heavy modifications to the pattern.  I cast off the underarms where written, but stopped for the neckline much sooner than the pattern indicatd.  Charles’ arms aren’t as wide as his entire chest, you see.  I also re-did the neckline because it was too loose.  It’s all detailed in my Ravelry notes, but it was a bit of a headache making it sit right.
When I first sewed in the sleeves, there was a huge amount of bulk at the front, so I re-did the sleeve heads to be smaller and also tucked in a little of the front armhole when re-sewing them together.  Now it works pretty well!
It is crazy hard to get a good photo of these colours!  It’s a denim blue, quite muted in real life.  In photos the white tends to be overexposed which changes everything!
“YES! I have a new jumper!”
Hooray!
bendigo woolen mills, jumper

Completed – Chuck jumper!

I’ve made another lovely jumper!

It took me a little while to get gauge on this top, the pattern says 5mm needles but the gauge was totally huge.  4.5 wasn’t much better, so I went with 4mm.  Two whole needle sizes down!  I was a little worried while knitting, because whenever I showed anyone they said “Oh it’s so small!”.  But it turned out perfect.
This pattern features exciting cables down the front.  I hadn’t done cables like this before but the pattern has detailed instructions.  Once I got going it was fine!
Another nice thing about this pattern, is that you only need one needle size.  The ribbing is all knit on the same size needle, and it doesn’t gape or anything.
The wool is from Bendigo Woolen Mills as usual, and I’m using the Luxury wool.  It’s barely itchy at all, which is something that usually bothers me.  My Milena was knitted with their Classic wool, which is much itchier (I’m thinking of lining the arms to help – blog post to come if I do).
The sleeve caps are shaped with short rows, which are way easier than I thought.  Gives a nice neat effect too.  I made my sleeves full length instead of 3/4 because I don’t have many 3/4 length blouses to wear with it.
So yes, very happy with this jumper.  In these photos it looks like the sides are wrinkling but I don’t think it’s a problem.  I just needed to pull it down!

Now I’m knitting a jumper for my lovely husband Charles!  It’s my first time knitting fair isle, so stay tuned for that!!
bendigo woolen mills, craft, jumper, knit, wool, yarn

Nympheas Jumper – COMPLETED!

I’ve finally finished my Nympheas jumper!

Pattern: Nympheas by Susannah Hill
Started: March 5th 2013
Finished: June 13th 2013
Yarn: Bendigo Woolen Mills “Classic” 5ply, in Seaquest
Link to my project page on Ravelry, with further notes.

 This jumper is pieced – front, back, arms, and then the neckline is picked up and knitted.  The front and back are worked exactly the same except for the neckline.  Arms are symmetrical.  It was a pretty easy pattern to follow once I worked out the lace pattern.

I made a long-sleeved version of this jumper, instead of the cap sleeves in the pattern.  To do this, I just cast on 34 stitches instead of 58, and gradually increased up my arm.  I was worried they were going to be a little long but they turned out just fine.
The little picot edgings are lovely!

 The neckline was a bit of a worry.  Because you don’t decrease, there’s a danger it can flop out.  To solve the problem (mine did flop a bit), I threaded some yarn around the edge on the inside and pulled it slightly tighter.  Now my neckline isn’t stretchy but it doesn’t flop or sag.

There’s a tiny bit of extra bulge near my underarms at the front – don’t know why, and it doesn’t really bother me.  It goes away if I pull it down a bit.

I really need to learn how to join nicely!  I did it in such a rush because I just wanted to wear it!

This jumper is so beautifully fitted!

I’ve literally been wearing this every day since I finished it about ten days ago.  I love it so much!  It goes with so many clothes in my wardrobe and I’m so proud of myself.  This jumper took a long time to make – much longer than my other cardigan – but it’s so worth it.  The wool keeps me nice and warm.  I just love this jumper!!

A nice thing happened the first day I wore this.  I went to the wool shop to get some needles for my next project, and the shop lady complimented me, asked my username on ravelry, and wanted to know the pattern to make it herself!  She like it so much, I was really thrilled 🙂 The knitting community is lovely!
My Ravelry profile
Thanks for looking!