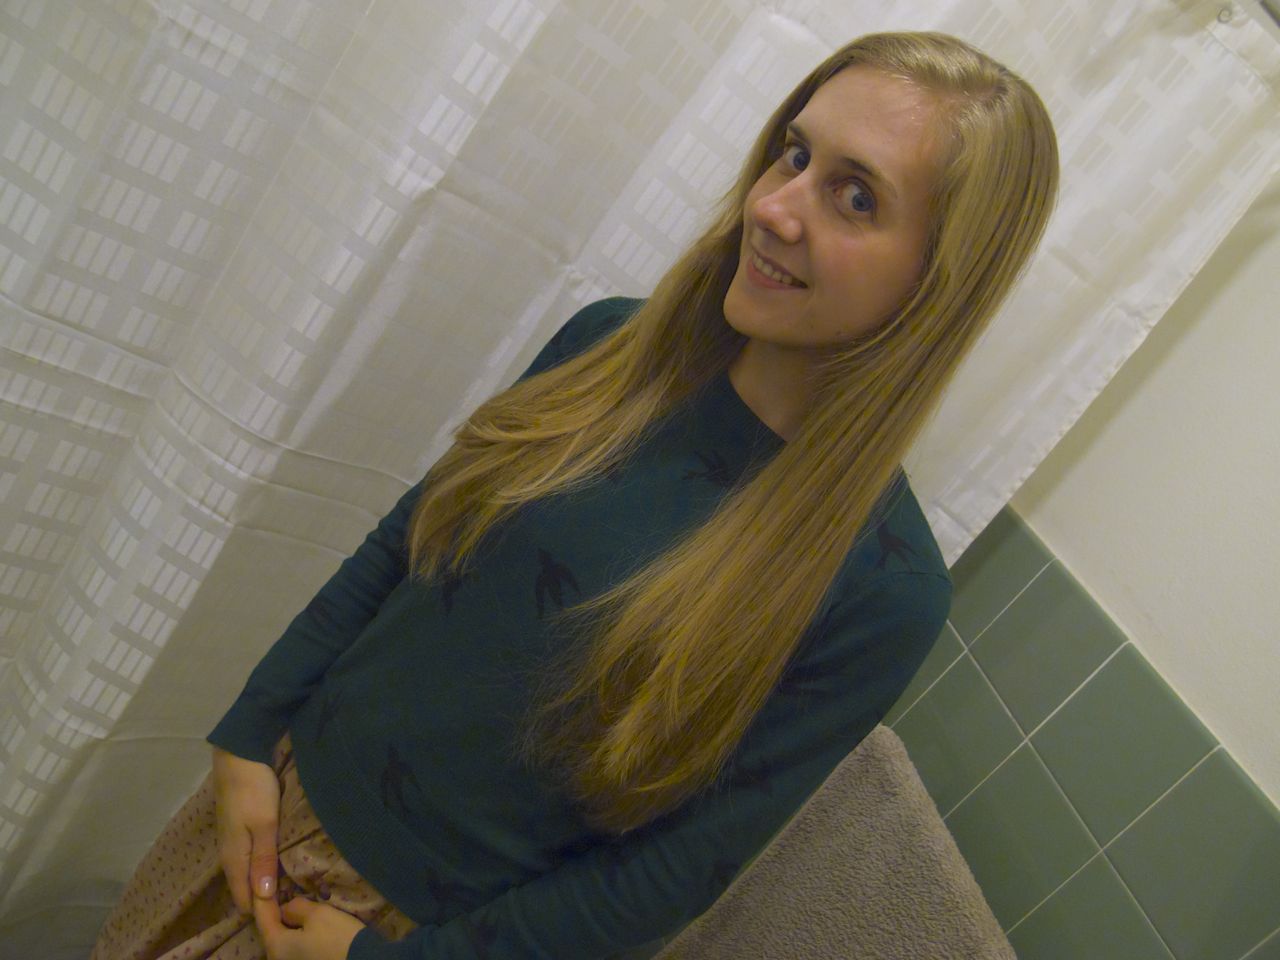
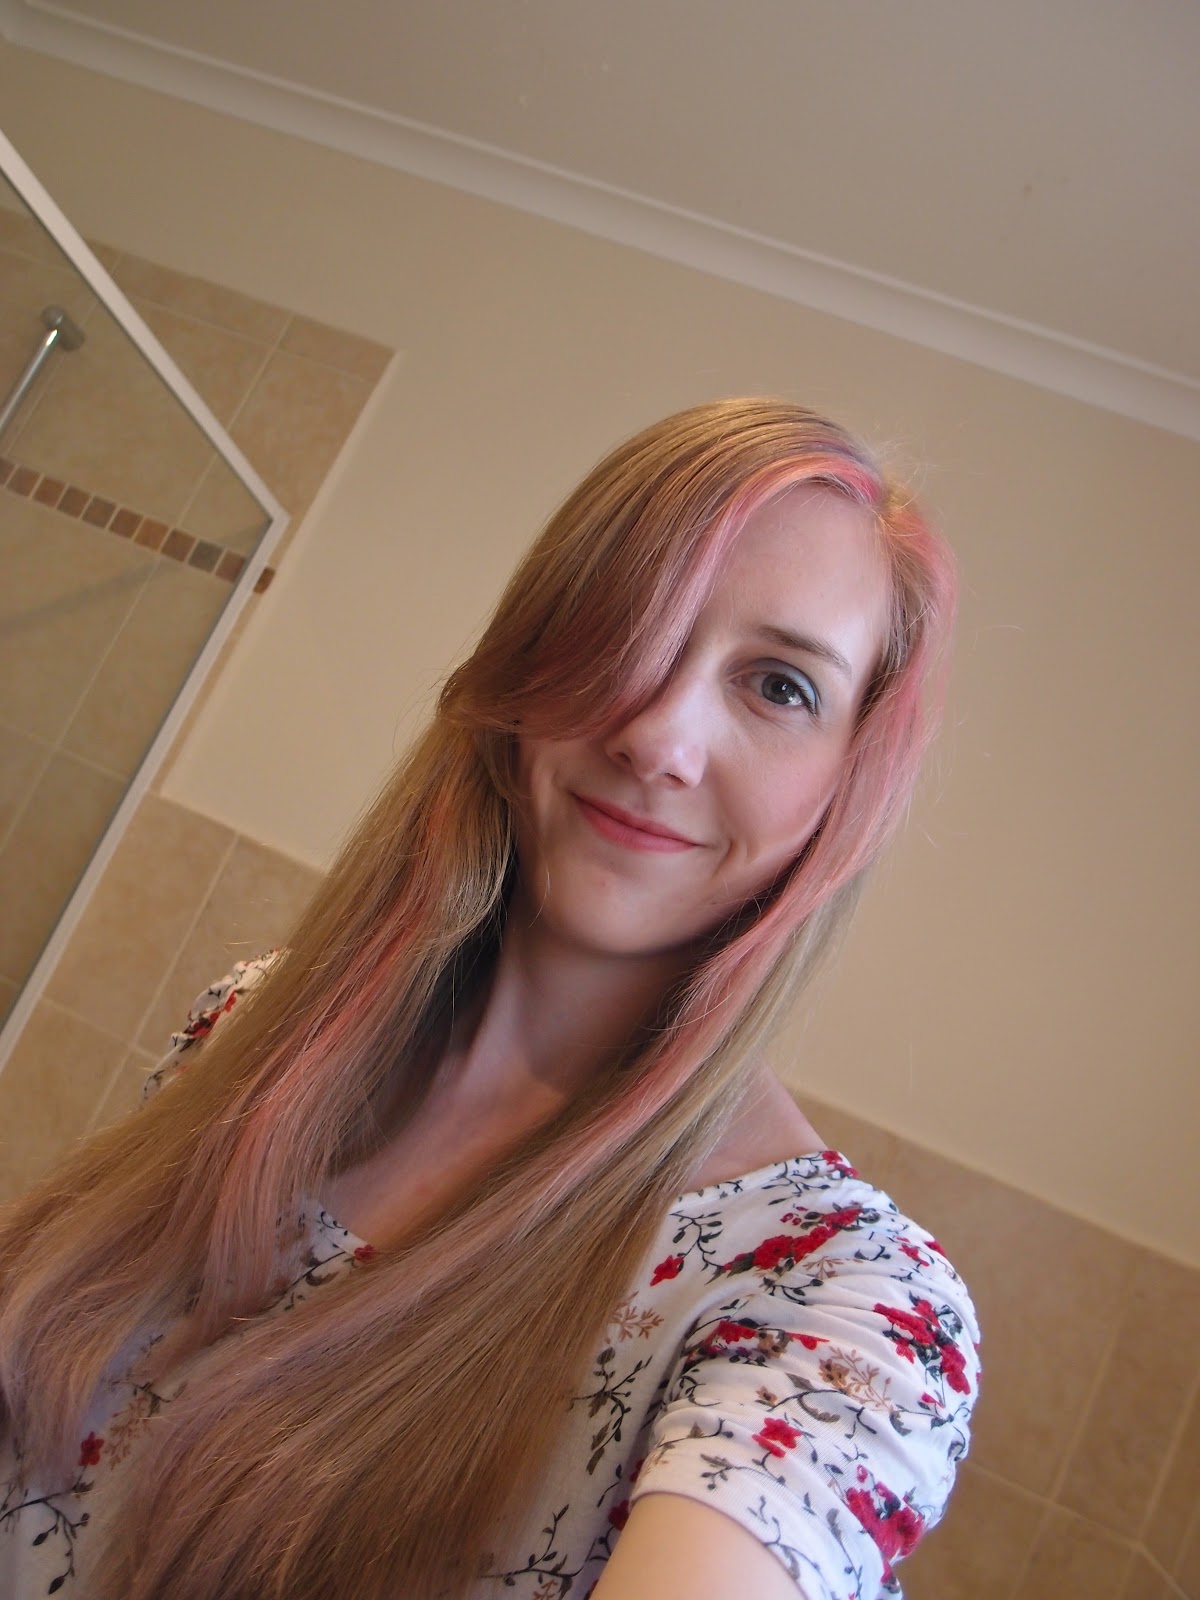
diy, hair, haircut

How to cut your own hair straight!

Last time I cut my hair, I did a layered cut.  Tutorial here!

This time, I wanted a straight cut.  I want my hair to be like Sarah’s in Labyrinth.  Here she is:

 See how nice and straight the cut is?  No layers in that cut.

Now my hair has layers quite high up, so I’ll need to grow it out a bit before the whole thing can be straight.
Onto the tutorial!

Here I am before my haircut, all raggy daggy ends!

Brush it all out so that there are no tangles.  If you have curly hair it might be best to straighten it at this point.  Mine is straight enough so I don’t need to.

Part your hair where you normally do so it won’t be crooked when you part it later.

Put it in a ponytail at the nape of your neck, making sure there are no lumps.

Grasp the elastic and pull it downwards.  Not outwards!

Stop when you have a little ponytail at the end.  The elastic is your guide for cutting!

Snippy snip!  Straight across.

Repeat the whole process a few times to even it out.  
Here’s what mine looked like when I finished!  Straight across the back.

At the front you can still see my higher layers, but eventually it’ll be all grown out!  I’m going to keep cutting it like this so that I can have hair like Sarah’s!
beauty, diy, do it yourself, hair, haircut, Home

How to cut your own hair

Today I gave my hair a bit of a trim at home.  I’ve been trimming my hair every few weeks recently to keep it healthy and nice.  The last time I went to the hairdresser was in August when I was getting married!  This haircut gives you some nice layers which are shorter at the front and longer in the back.  Here’s how you can do it yourself!

Start with straight hair – either use a straightener or do this when your hair is wet.  My hair was already straight enough for me.

 Comb all your hair forwards, making sure it’s lying flat on your head.  Comb out any knots and tangles.


 Tie your hair in a ponytail at the centre top of your forehead, right in the middle of your hairline.

 Make sure it’s tight and not bumpy.

Now tie another hair tie around your ponytail and slowly pull it down the hair, evenly.  Pull it down to just above where you want to cut.

 This acts as a guide for you and also keeps the hair all together. Snippy snip!  Cut straight across and try to make it all the same length.

 See?  Like a horse’s tail.


Now take the whole thing out and repeat these previous steps.  You’ll probably find that it’s a bit uneven when you look at it again.  

Then I like to use a comb to double check the evenness again.  Here’s where you can get a bit obsessive trying to make it completely even. My advice: know when to let go and say “it’s even!”

All done! Here’s what it looks like from the back.  You can kind of see the layers in there. It turns into a nice U-shape.

 It gives a nice shape at the front too!


All done!  My hair feels nice again!  Good luck if you try this method, I’ve been using it for a few months now and it’s super easy and effective!

beauty, diy, hair

Pretty pink and blue hair using pastels

I’ve been experimenting with using chalk pastels to temporarily colour my hair.  A few other tutorials suggest you use special hair chalk, which I think you can only buy over in America.  But I bought some pretty art pastels at the art shop for literally $1.70 each, and they work pretty well!

Warning!
This stuff DOES DAMAGE YOUR HAIR, especially if you don’t take the proper precautions I suggest in this tutorial.  Any kind of chalk is drying and will make your hair a bit stiff and weird.  Proceed with caution!  Please don’t do this every week!

Let the tutorial commence.

Start with clean hair.  Comb your hair through, make it nice and neat, and style it in your usual way.  I’m always side-parted.

Next, put some moisturising stuff on your hair.  I’m using Schwartzkopf Hair Elixr or something.  It’s really pretty and makes my hair silky.  It’s a kind of oil.  This is super important. 

These are the pastels I’m using!  Make sure you don’t get oil pastels!  You can tell if it’s chalk pastels because it comes off on your hands easily in a kind of dust.  Oil pastels feel… oily.

Wet the strand of hair you want to colour.  If you don’t wet it, you’ll find it really hard for the colour to take.  Some people think that wetting your hair will make the colour dye, but it’s either that or have no colour at all.  You’ll probably need to re-wet the hair a few times before you’re done.  Pastels suck up so much water.

Next advice: twist!  This means that the hair isn’t smooth and therefore it rubs more pigment off the pastel.  It can make it hard to get all the hair coloured though. 

You will get it all over your hands, but it washes off.  Don’t be so precious!

Try to refrain from rubbing UP the hair, as this will damage it a lot and give you billions of split endz.  Nice downward strokes.  Like you’re stroking a cat.

You can stop at once side and look weird.
I ended up putting a pink and blue streak through my fringe, some pink at the sides and blue tips.  It looked pretty pigmented when I first did it!  The blue was really strong at first.
Now wait for it to dry.  Don’t brush it til after it’s dry or all your colour will come out.  Once dry, put some more moisturiser through it, since it will feel strawy and stiff until you do.  Comb carefully.
Mine dried with a nice soft pink, and the blue pretty much wore off.  I can hardly see any blue in my hair at all!

There’s a bit in my fringe I guess.

I like wearing my hair pinned back at the sides when it’s coloured.  Pretty!

From my last experiment with this stuff, I learned that you can wash nearly all of the pigment out on your first shampoo.  I was left with an extremely subtle peachy colour from the pink, and the blue completely washed out.  If you have darker hair, I’m sure it will immediately wash out, and if you have lighter hair than me, it might stay in a bit longer.  But I’m pretty sure that this is not permanent on anyone!

co-ordinate, fashion, hair, outfit, sewing, skirt

How to sew a half-circle skirt!

 Yesterday I made myself a half-circle skirt, and I am in love with it!  It’s surely the best thing I’ve made!  It’s much more wearable than a full circle skirt, and it falls beautifully.  The photos I too don’t do it justice.  The Best.  I took inspiration from Four Square Walls (which is my new favourite blog), and watched a couple of youtube tutorials.  It’s a very easy skirt to make!  Even You can do it!

Let the tutorial commence.

Materials: 
Jersey fabric in the colour of your choice (not too stretchy), and matching thread
Sewing machine
Tape measure
String/ribbon
Hook and eye
Skirt zipper (15cm)
Pins and sewing needle
Paper


First you need to do a little maths.  Since this is a half circle skirt and not a full circle skirt, you need to double your waist measurements so that the half-circle radius is your actual waist measurements.
Circumference = 2 * Pi * R (we’re after R, the radius).
Circumference = 2 * waist measurement, so for me 66 * 2 = 132.
132 = 2 * pi * R
132/2 = Pi * R
66 = Pi * R
66/ Pi = R
R = 21.01

You’ll need a big piece of paper (I stuck some newspaper together) with a right-angle corner. Most (all) newspapers or whatever are right angled rectangles.
So to draw the pattern, tie a pencil to a bit of string and measure out your radius (mine being 21cm).  Put a pin in the string at that point, and stick it in the carpet.  Put your right-angle corner at the pinpoint.  Now draw your radius arc on the paper.  This is one half of your WAIST measurement.

 Now decide how long you want your skirt. Just hold a measuring tape to your waist and measure to where you want the skirt to end. I wanted mine 62cm from my waist.  Remember to add a little seam allowance.
Now add that measurement to your Radius measurement.  So mine was 62 + 21 = 83.  Put a pin in the ribbon at that measurement and draw an arc on the paper the same as before.  Cut it all out.

 It should look like this.  Please note that this is a quarter of a circle, as we will cut on a fold for the full half circle.

Lay out your pattern on your fabric.  In my case, the fabric is folded in half with the fold at the bottom of the picture.  Pin and cut.

 You should end up with this.  Did you?  Yay!  Hold it up to your waist and gad about the house.

Now for the waistband.  If your fabric is stretchy, cut a rectangle exactly the length of your waist (don’t worry about seam allowance).  This way it will hug your waist nicely and won’t fall down.  If your fabric is non-stretch, you’ll have to give a few cm seam allowance.  You don’t want to be cut in half.
You can make the waistband as wide as you choose, mine is around 5cm.  Just cut a rectangle with your waist measurement as the length, and your waistband width x 2, plus 4cm turnover.
There are plenty of tutorials on how to make a waistband (and I probably do it wrong!) but all I did was fold up some seam allowance on the long edges, and fold it in half.  I pinned it so that the folds wouldn’t come out.

 Next pin your skirt into the waistband.  I just put about 1.5cm of skirt fabric inside the waistband.  My advice is to pin the ends first, then find the centre and pin that.  This is so that you can figure out if anything is too long or short, and stretch it to fit.  It’s probably best if your waistband is a little smaller than the skirt top.

 Now topstitch the waistband to enclose the skirt inside.  It shoud look like this when done.  Now you get to pick which side looks best as it’s been made the same on both sides.  I had some daggy stitches on one side so it was easy for me to choose!  Hot Tip: Stretch the fabric as you sew it, so that it will be stretchy afterwards!

Next you get to sew up the side seams.  Place your zipper where you want it to go and mark where you want to sew up to.  Then go ahead and sew it up!  I’d recommend sewing from the top down, so that if the skirt hem is uneven you don’t end up with a weird uneven waistband.
Sew your zipper in next, in whichever way you choose.  I had to hack away some of the inside waistband so that the sewing machine could go over it, but it looks fine on the outside!

Just pop in a hook and eye closure on the top of the skirt!
Next pop it on and see how much you want to take it up.  I took mine up about 1.5cm, as I was after a mid-length skirt.

Worn.  I paired it with a cute top from Target and a pink ribbon.  Next time I’ll take some more awesome photos that are less dappled and more high-heeled.

Also, I put some pink in my hair!  It ended up being a bit more peach than pink, but I love it!  My mum, not so much.  I’ll show you how in another blog post 🙂

hair, life, makeup, wedding

My Beautiful Budget Wedding Part 2: Accessories, Hair, and Makeup!

Something Old, Something New, Something Borrowed, Something Blue… and a silver sixpence in her shoe.


1. Jewellery

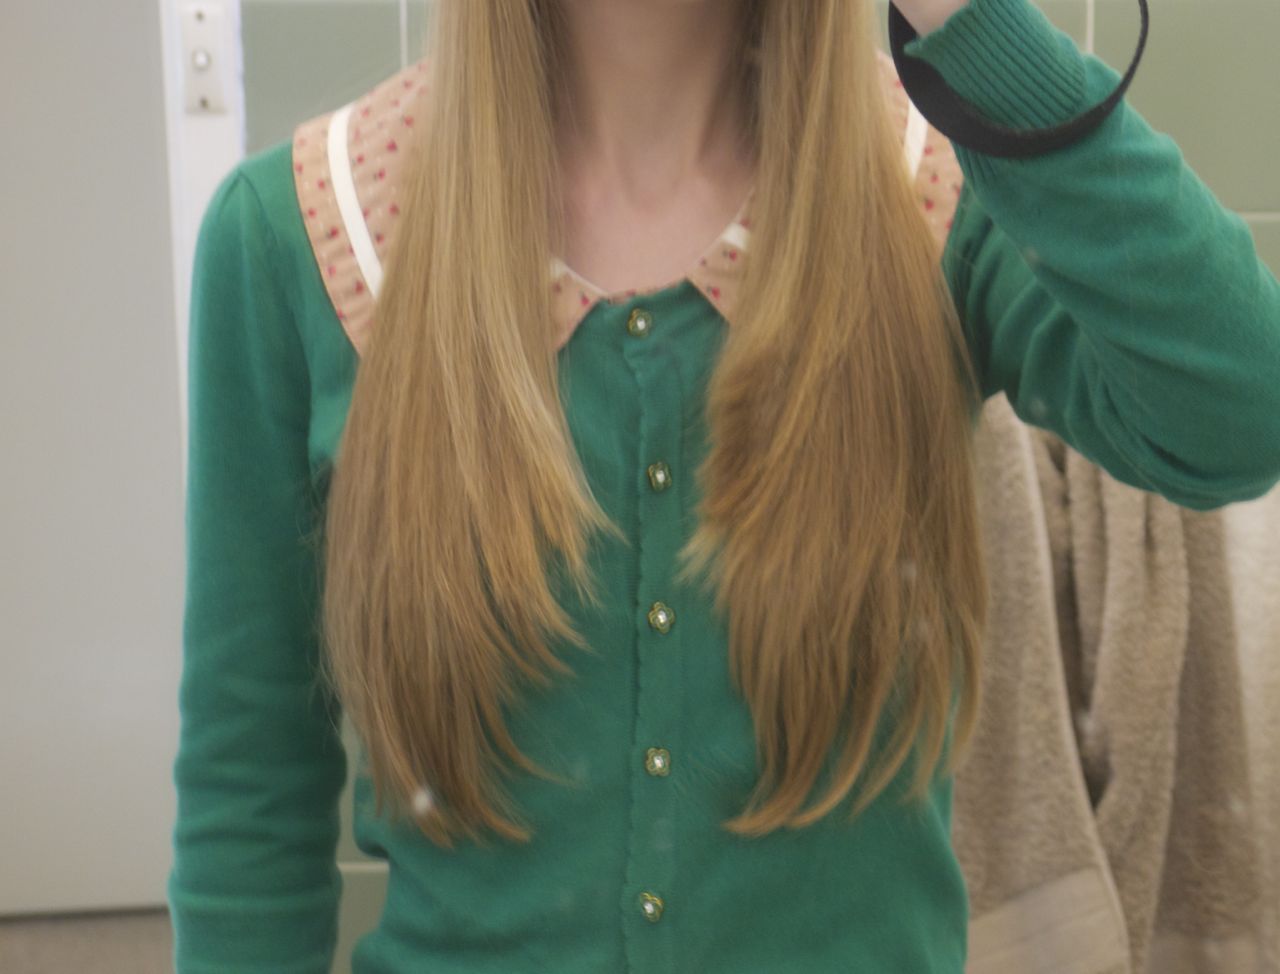
 My jewellery was fairly simple: a necklace with one bauble, and my diamond earrings which were a 21st birthday present from my parents.  No bracelets, and nothing flash.  My necklace was actually my mum’s, and was certainly not diamond and certainly not expensive.  I chose it because it was simple and matched my dress without overpowering it.  Same for my earrings.  I didn’t want huge dangles or baubles, although they are nice sometimes!

I think that you don’t need to buy expensive things for wedding accessories, as cheap alternatives can be found in lots of accessory shops.  Don’t go for diamonds!  You’ll worry about them all day!  My only expensive thing was my earrings, but they were also special to me for other reasons. 
Because I used things I already had, and borrowed items, my jewellery didn’t cost anything.

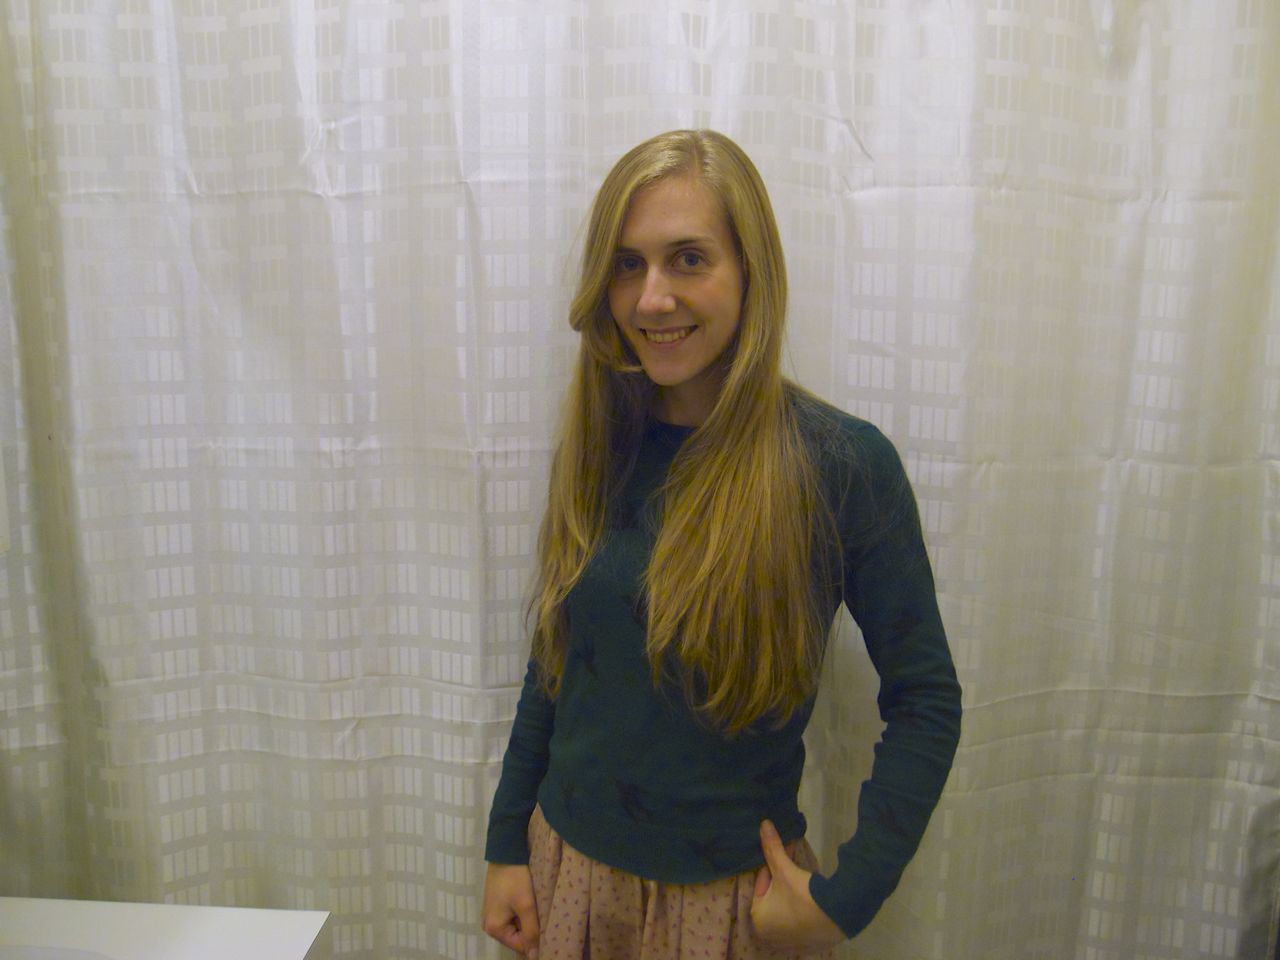
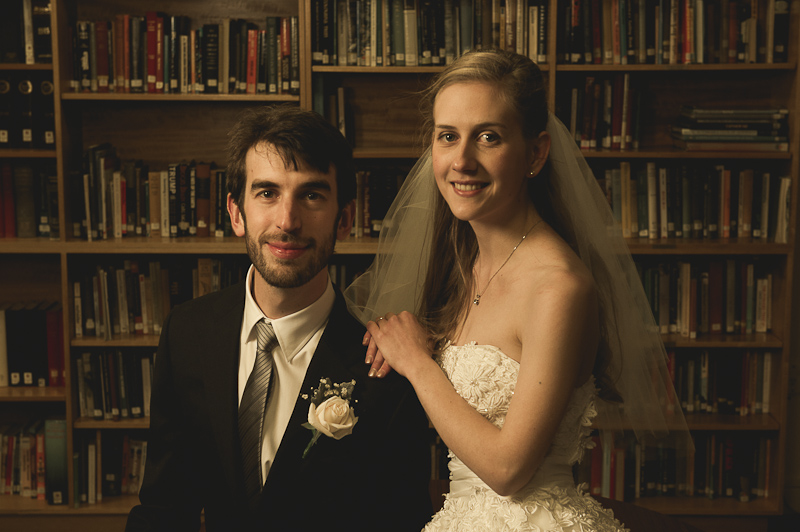
Here you can see the necklace and earrings, just simple solitaires.  Also this is a good shot of my hair and makeup.


2. Garter

In keeping with my family’s tradition (well, me, my mum, and my sister-in-law), I wore my mum’s blue garter for my wedding.  It is old, borrowed, and blue, so that knocked three things off the good-luck-list!  And we didn’t have any garter tossing at the reception.  Ew.

3. Stockings and Petticoat

I just bought normal stockings from the shops.  I tried stay-up hose a few weeks before the wedding (I don’t like the tight feeling round my tummy with regular stockings), but stay-up they did not!  They were probably around $10.

Even though my dress was quite full, I wanted a bit more poof so I wore a petticoat I bought years ago for Lolita.  Lucky too, since I was considering getting rid of it! It was a Dear Celine fluffy marshmallow petticoat or something.  I’d had it forever so I’m not counting it in the price.
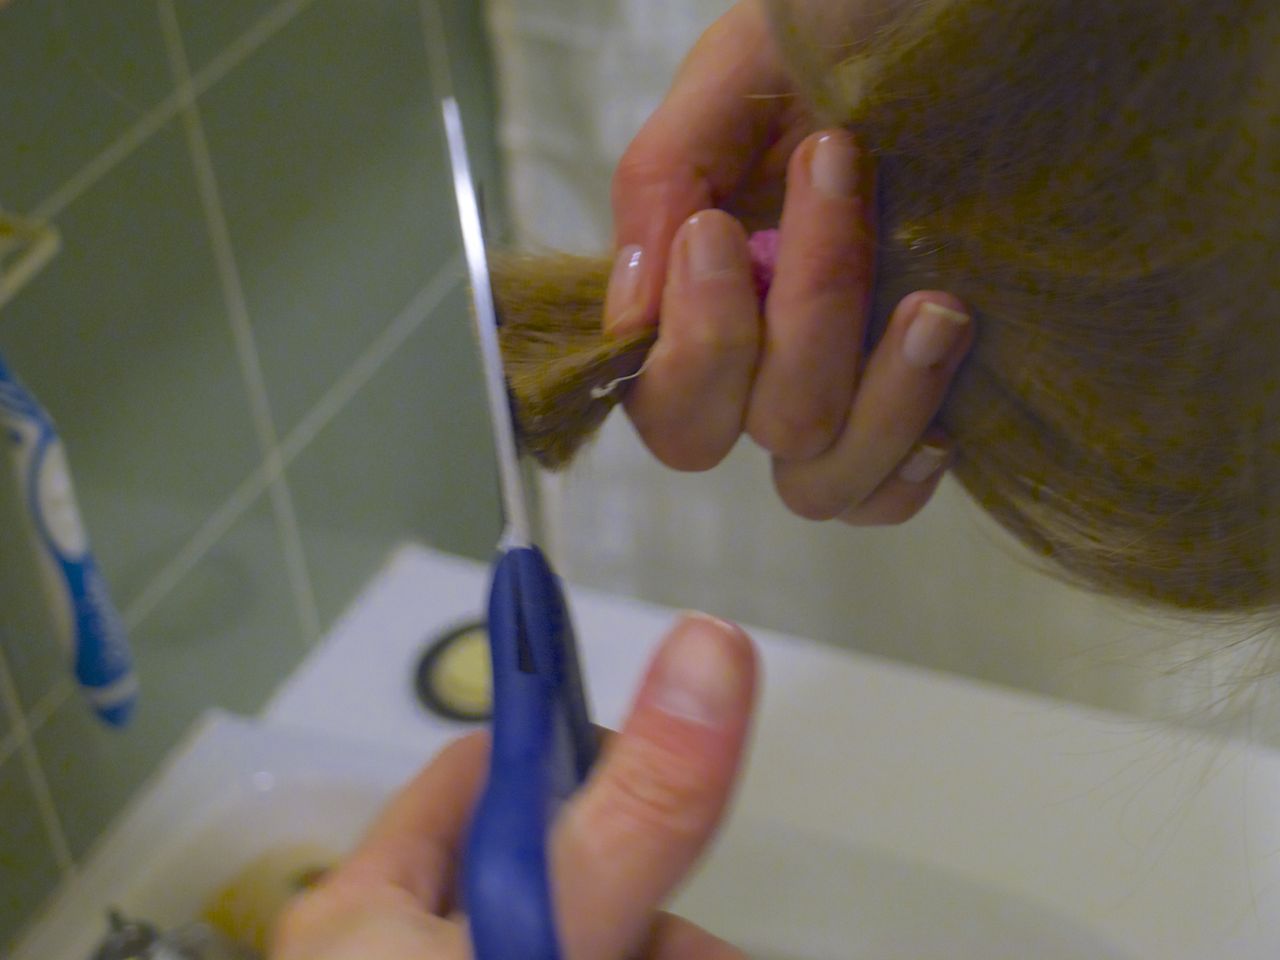
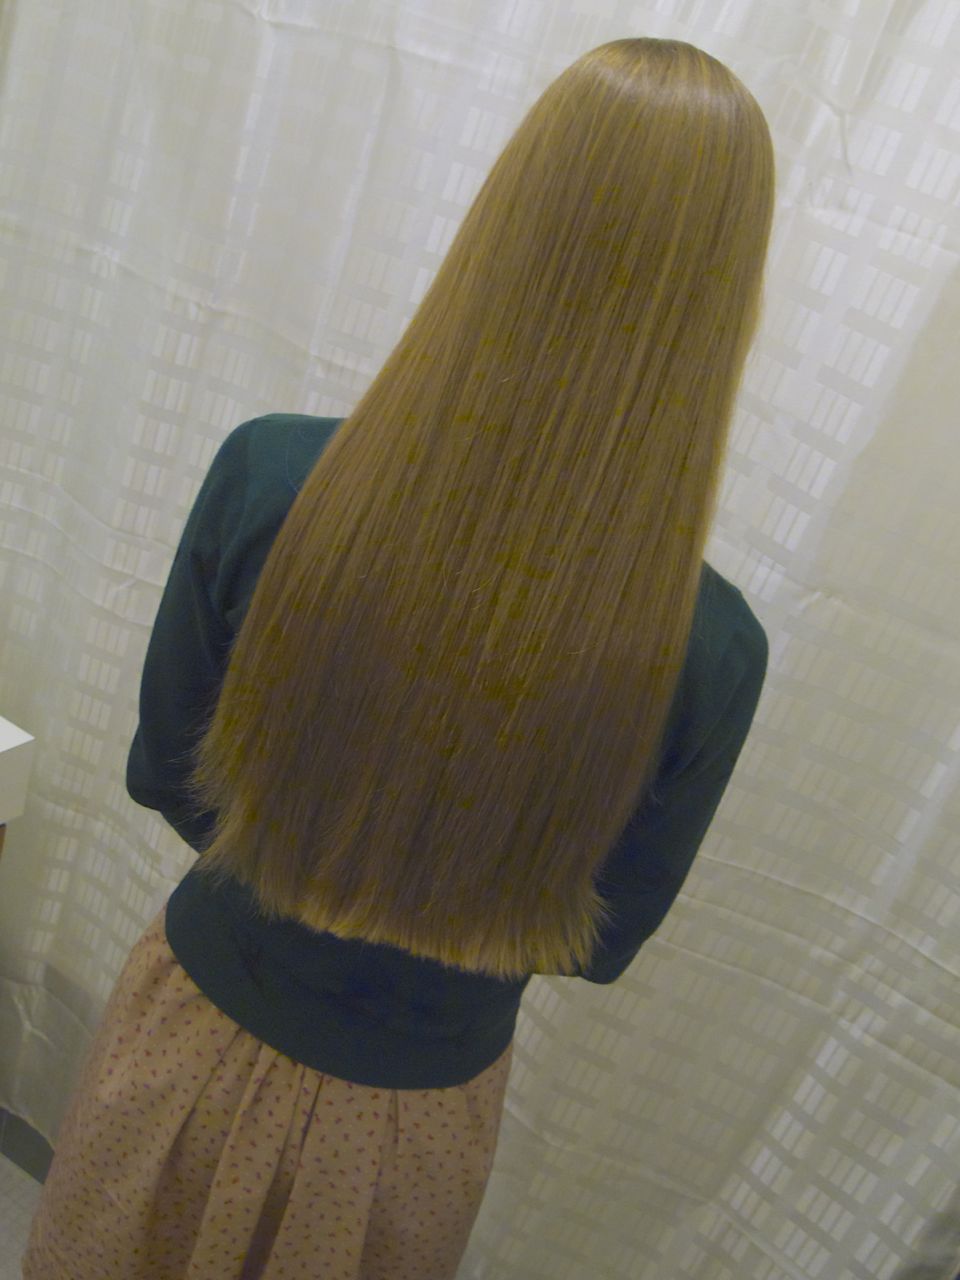
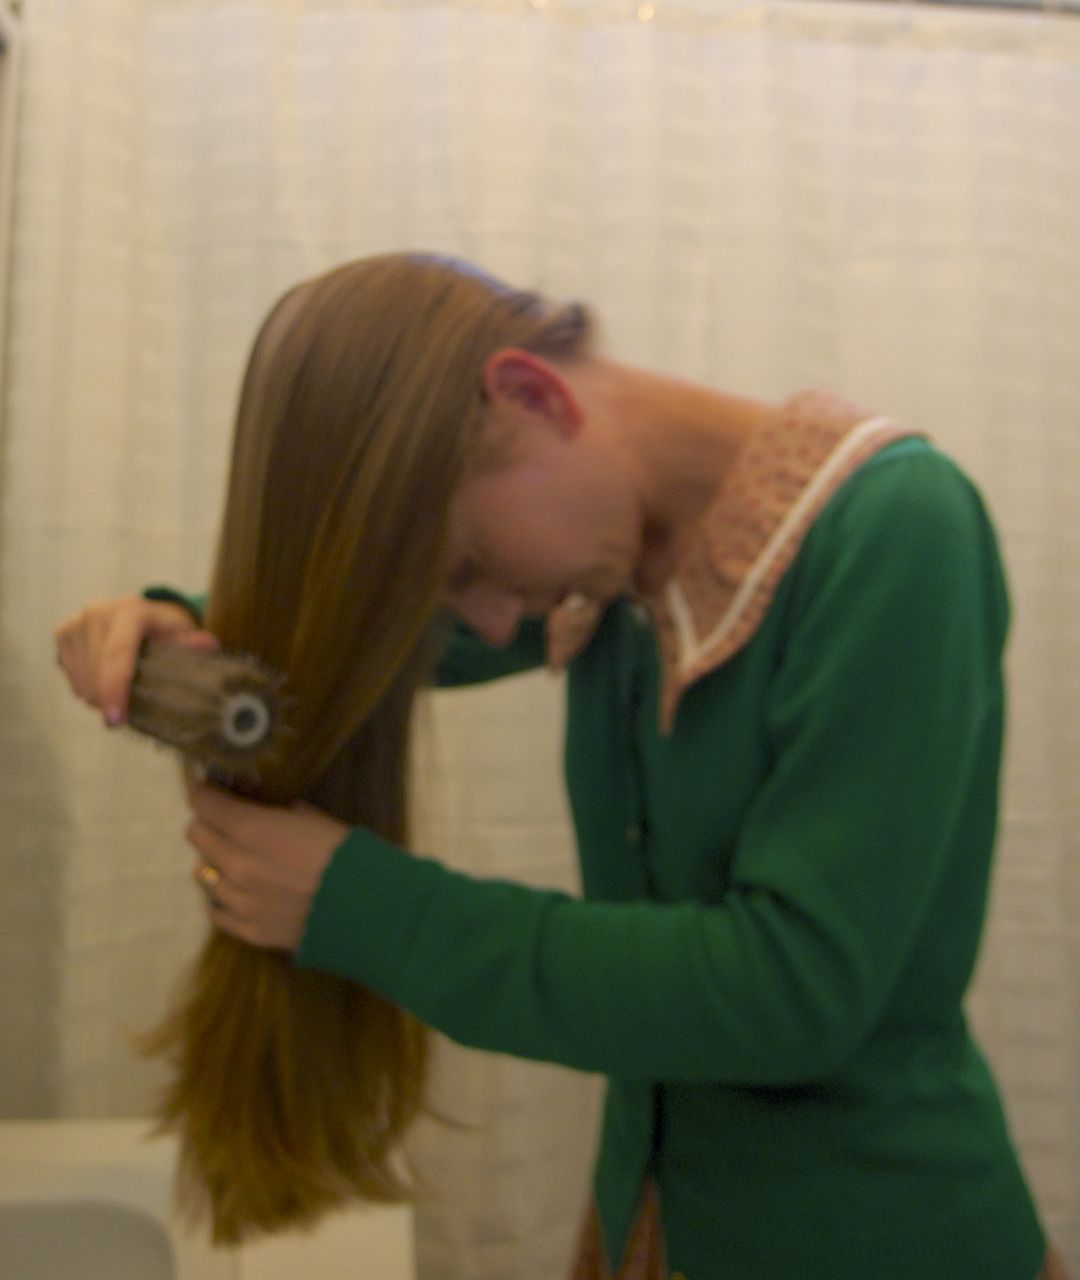
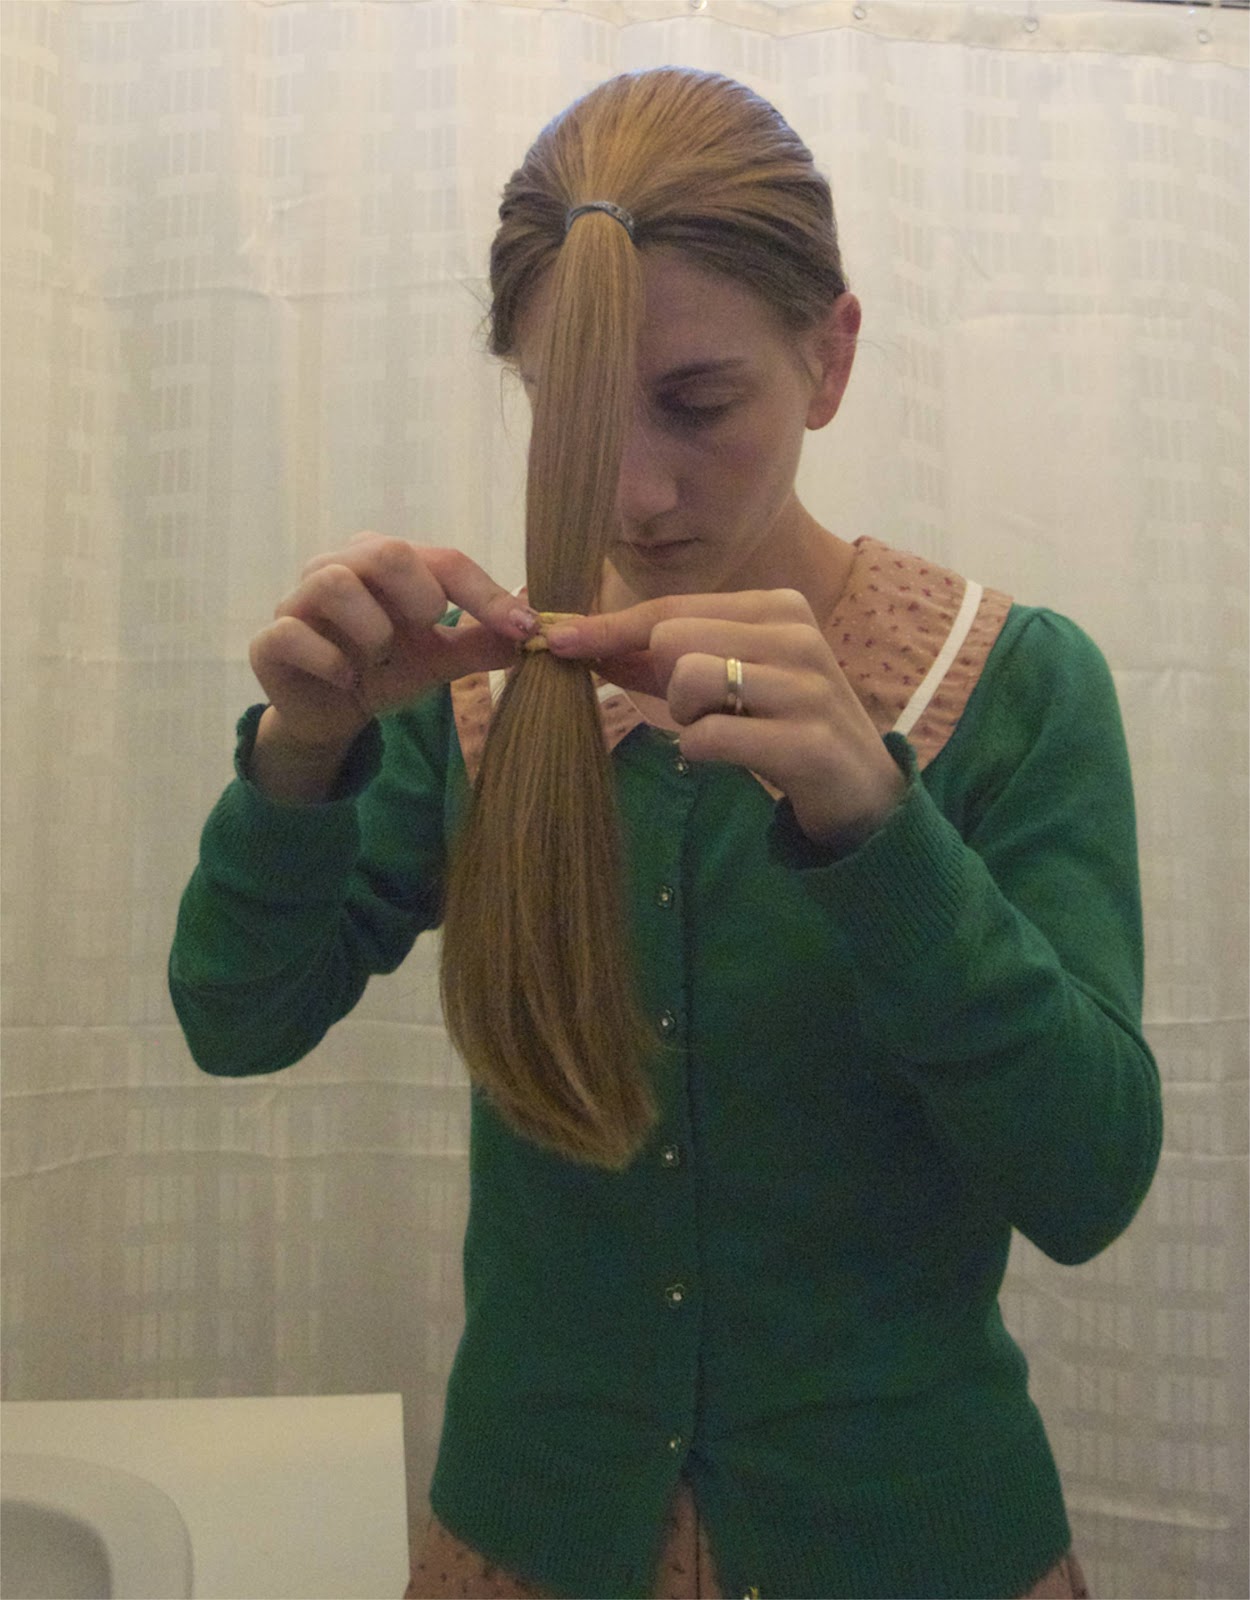
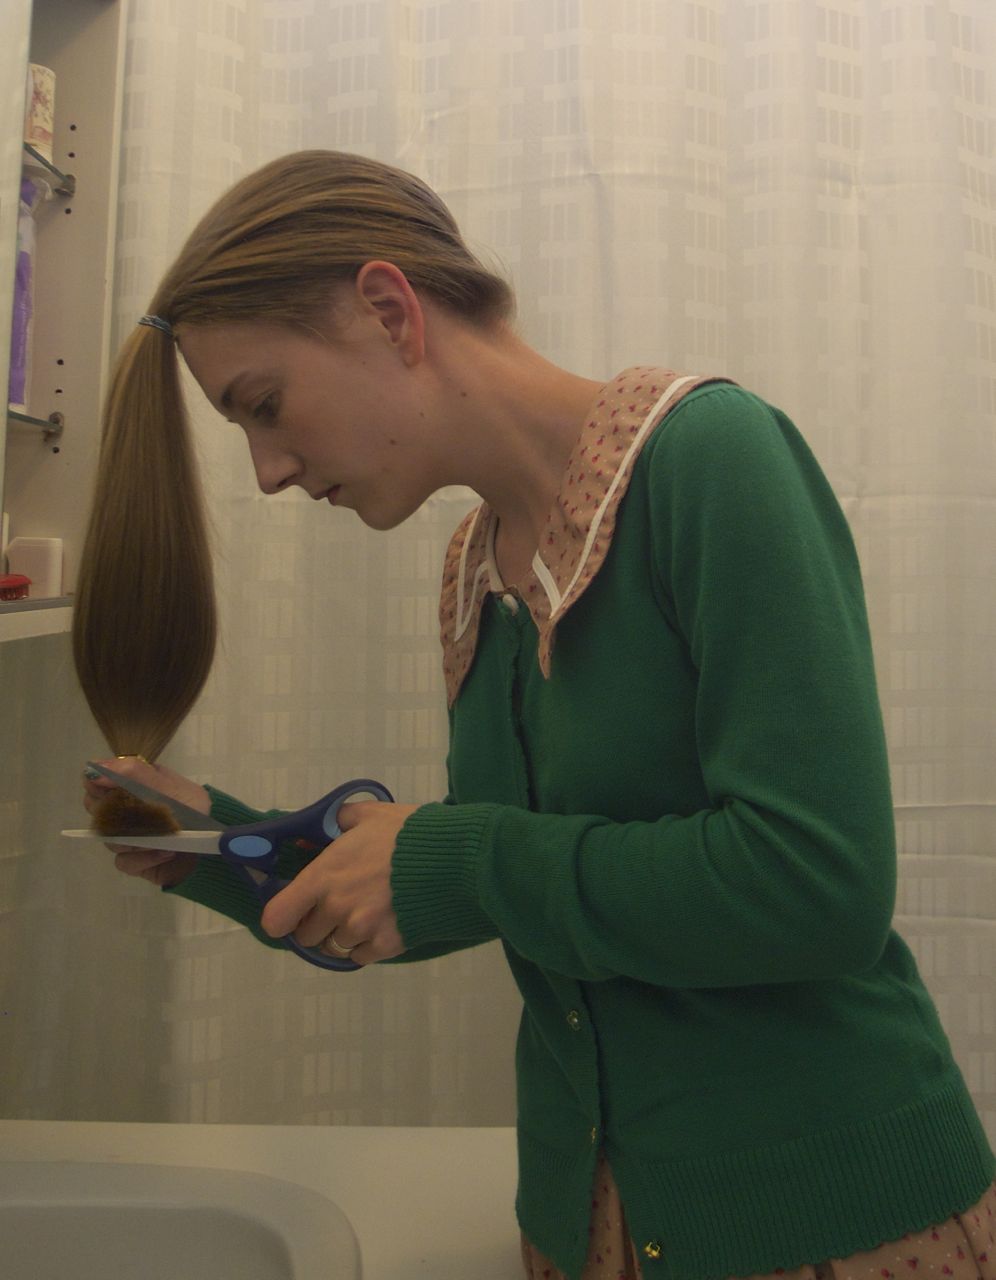
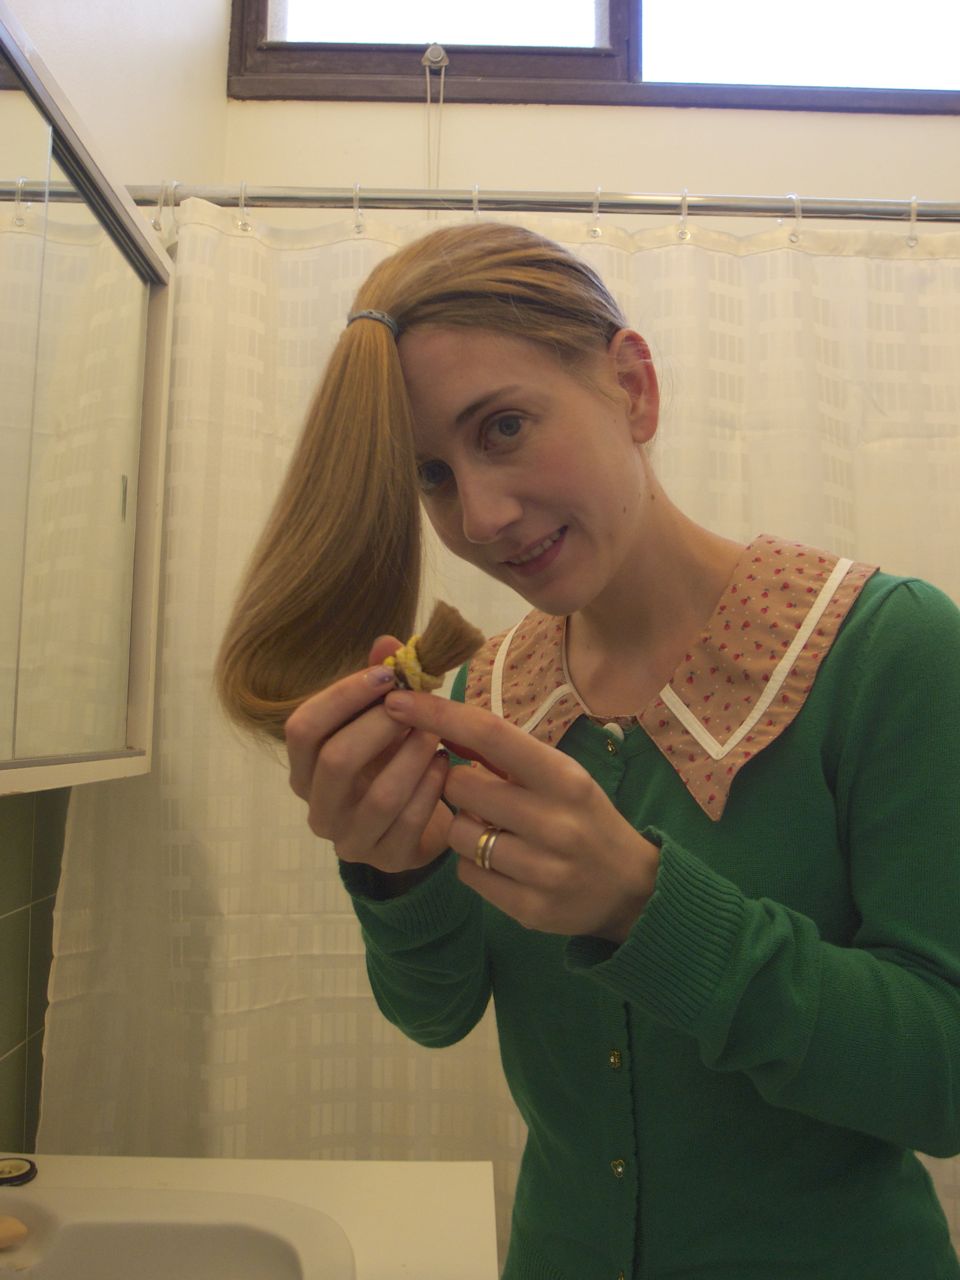
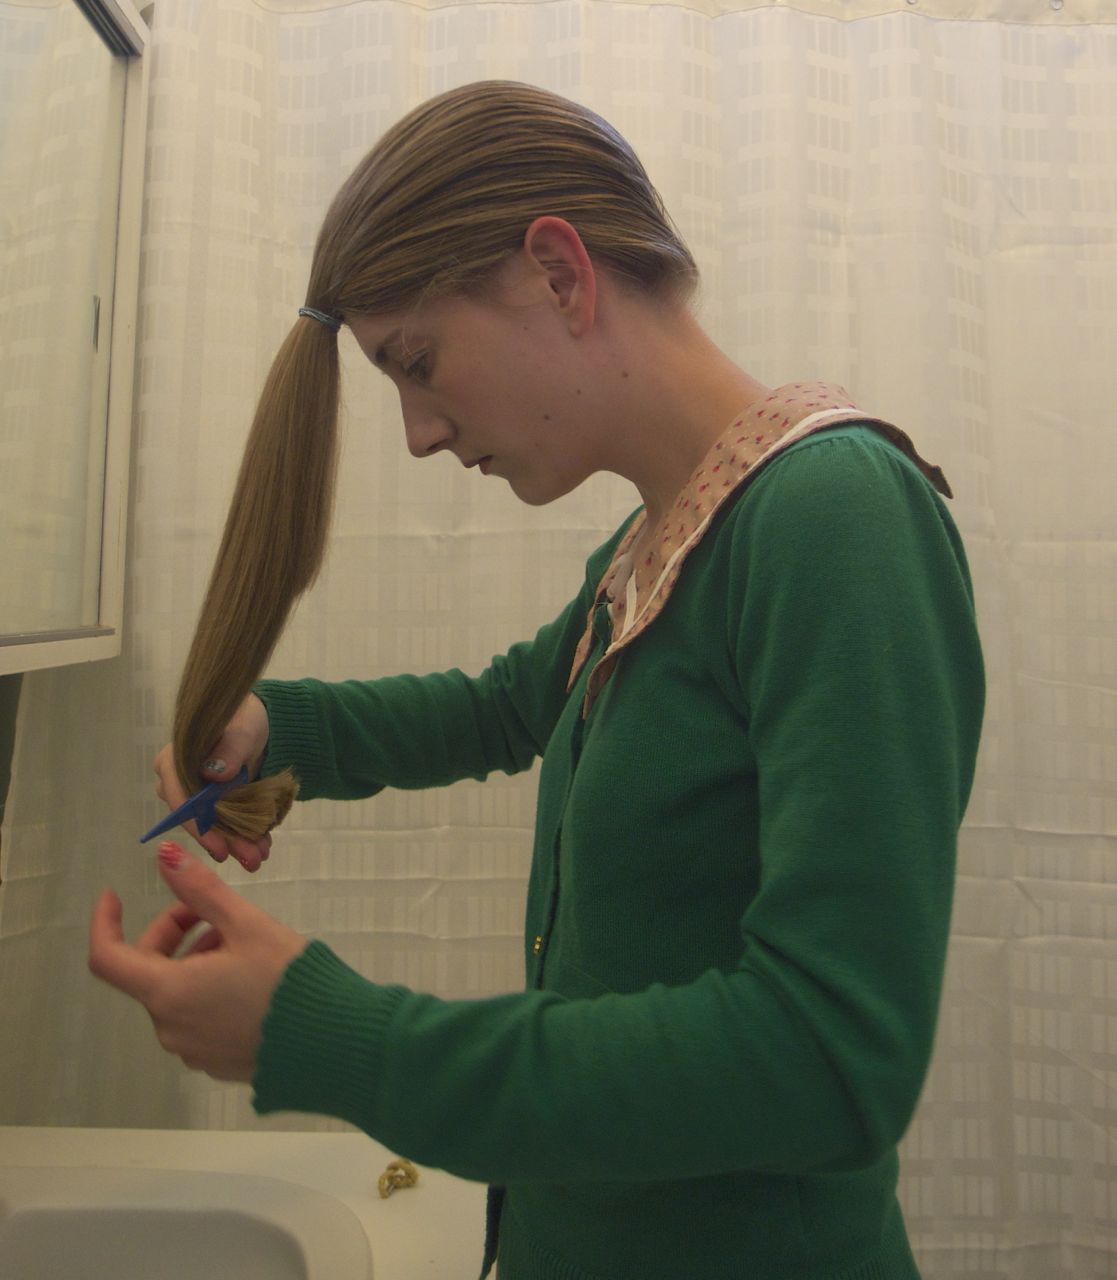
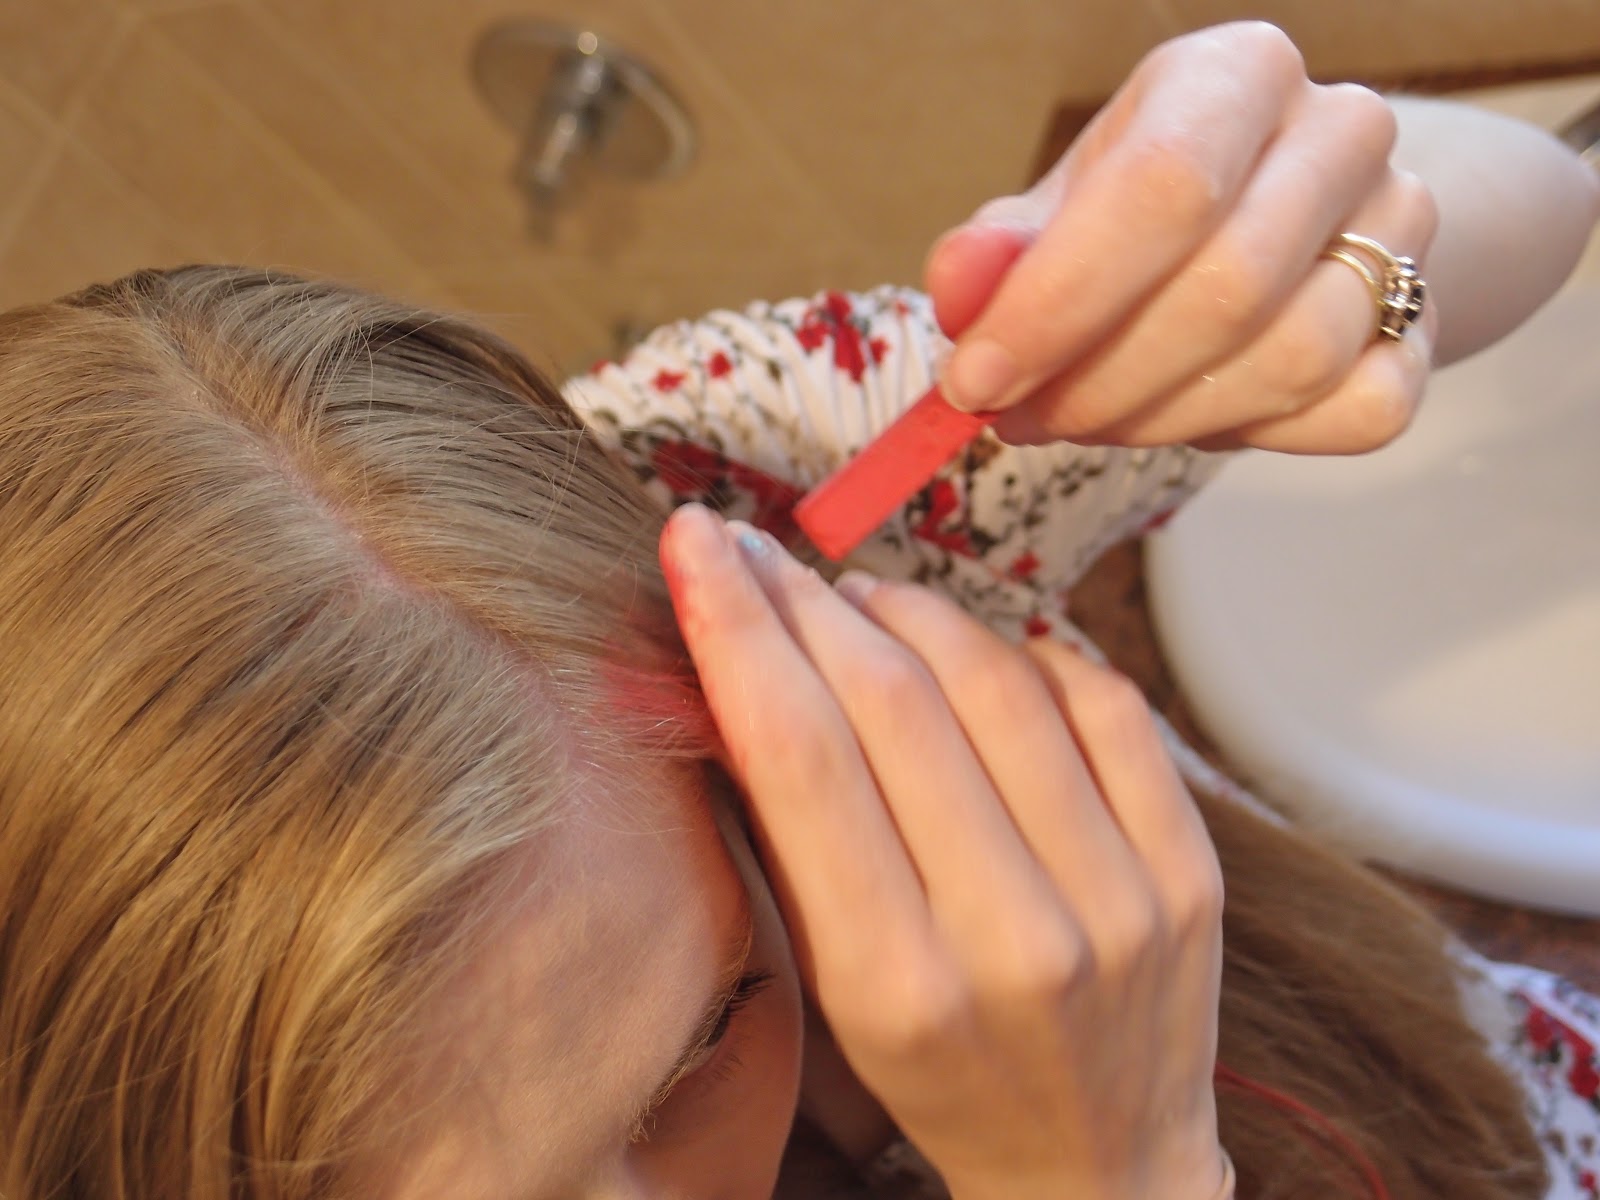
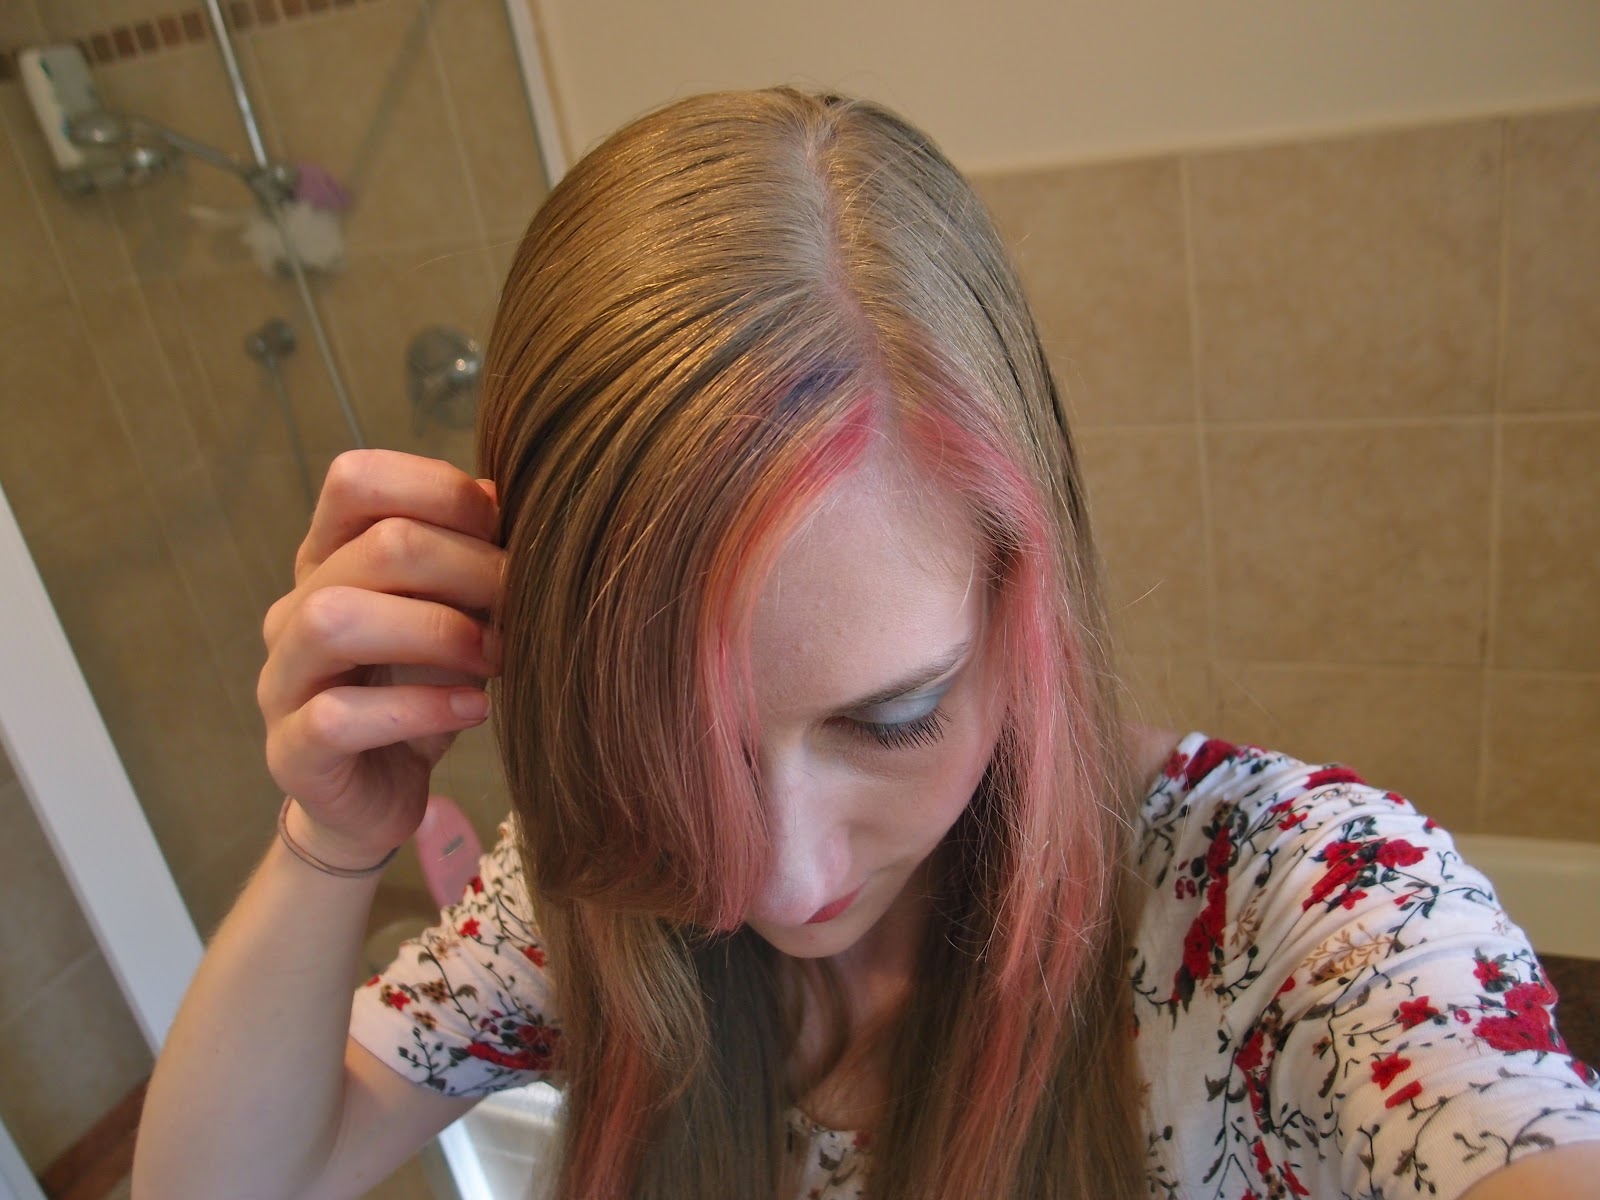
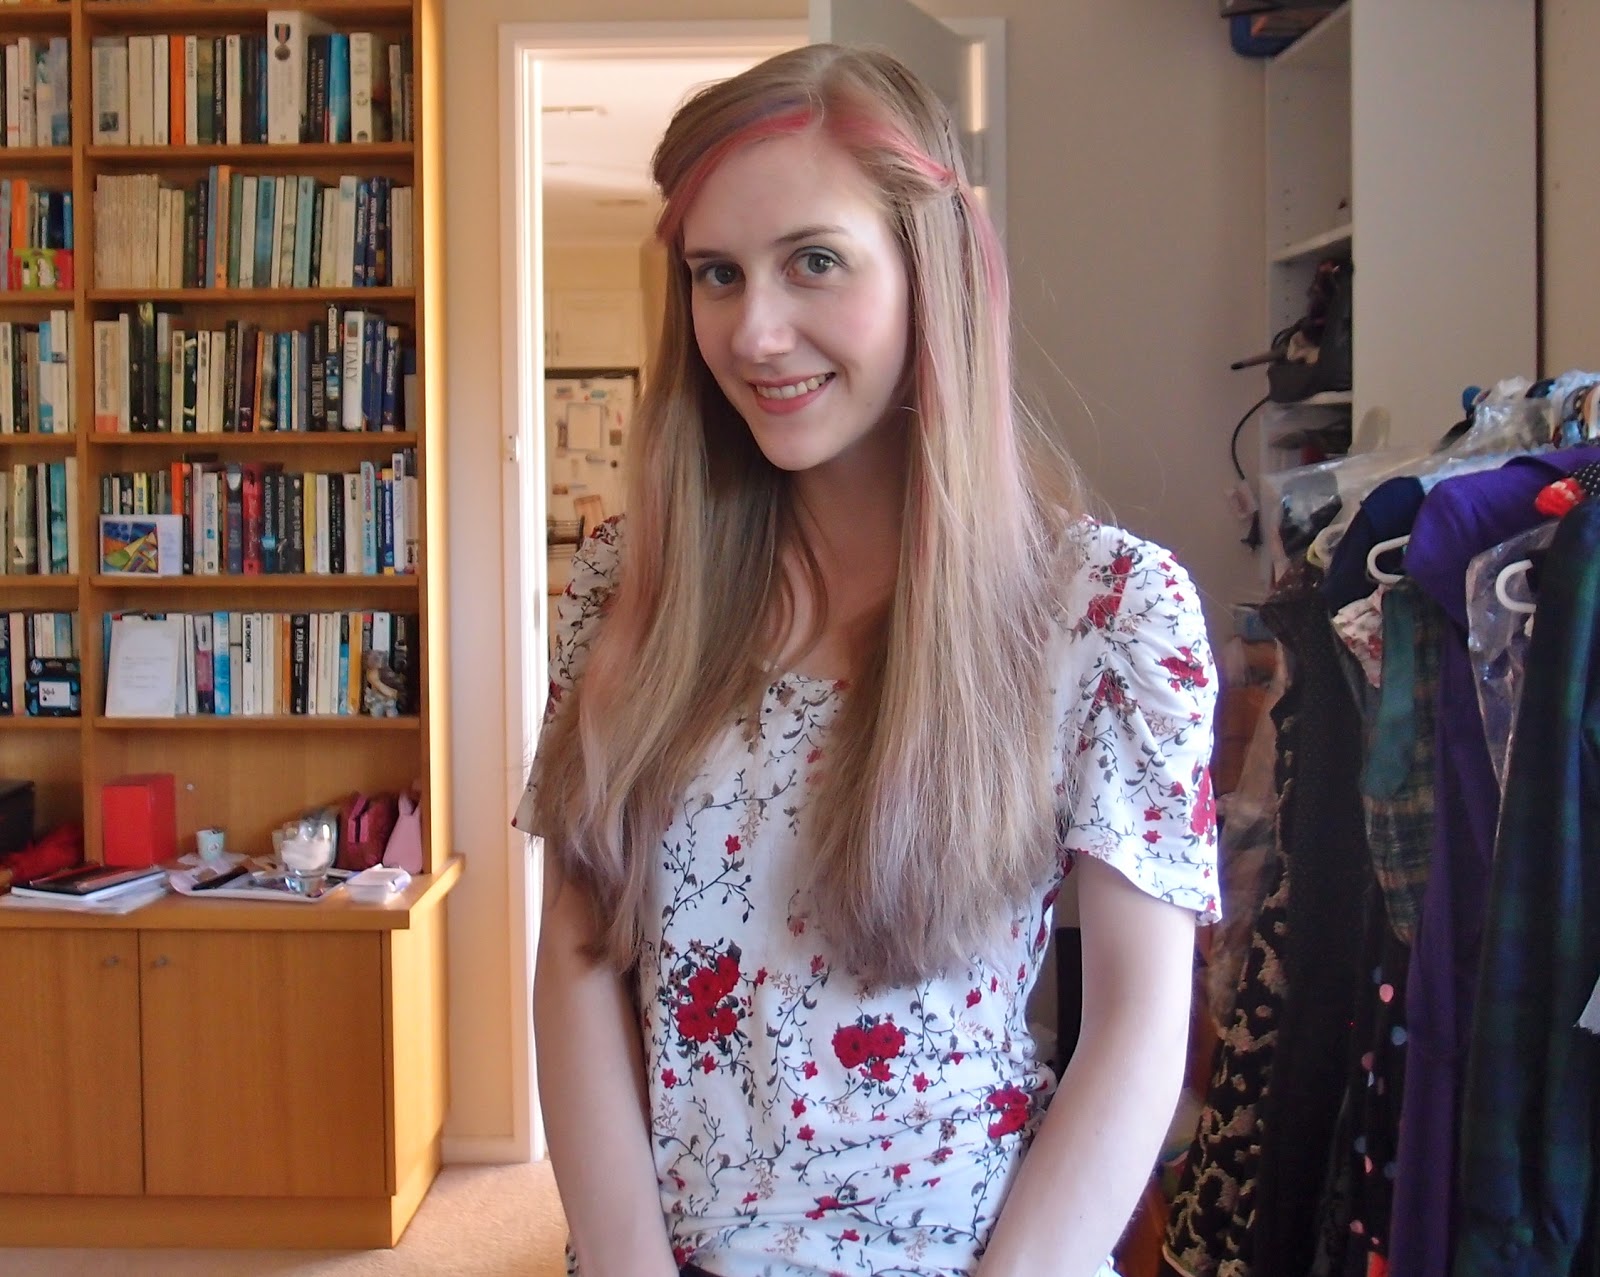
4. Hair

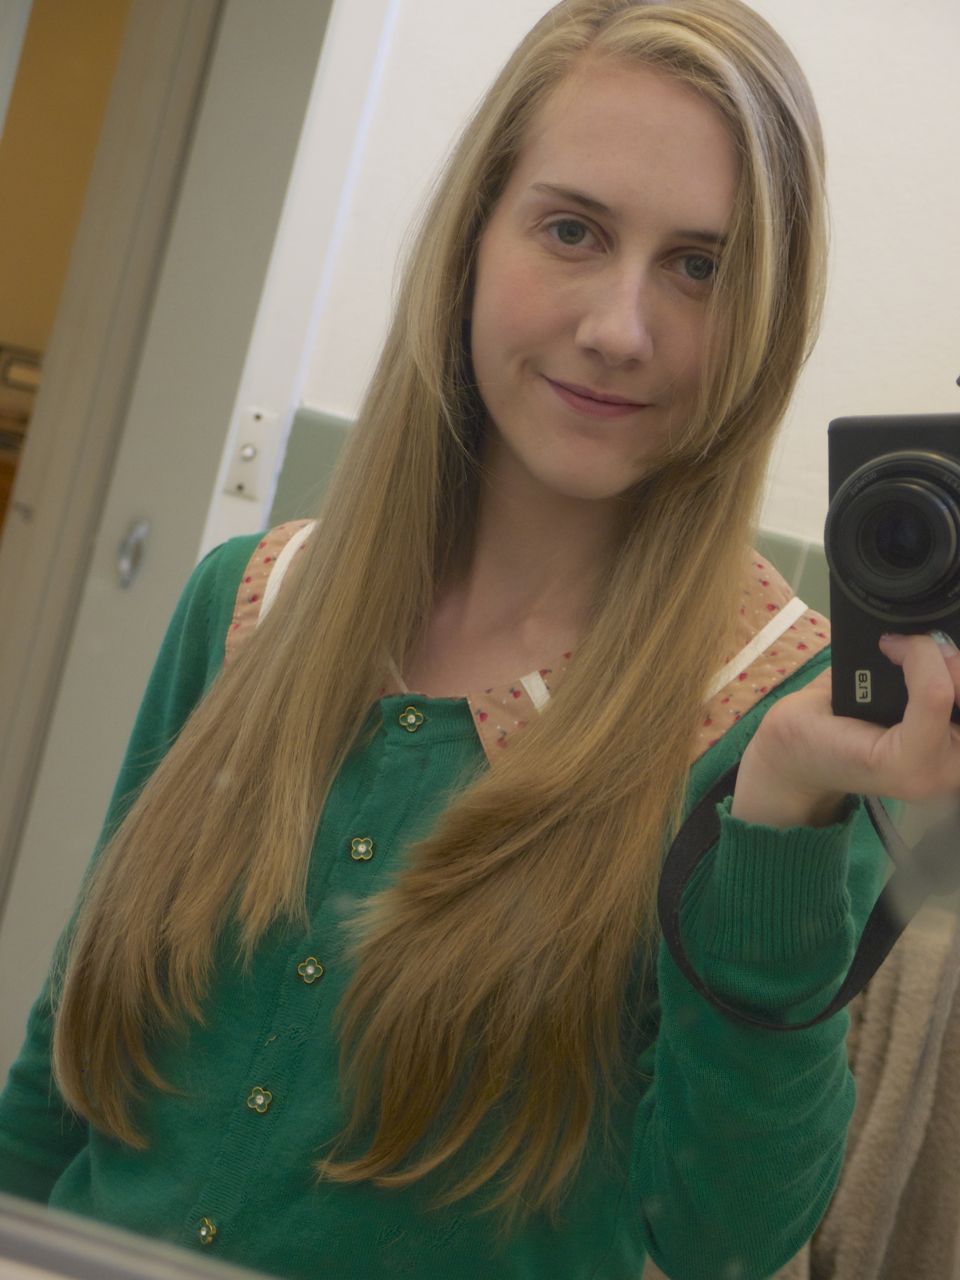
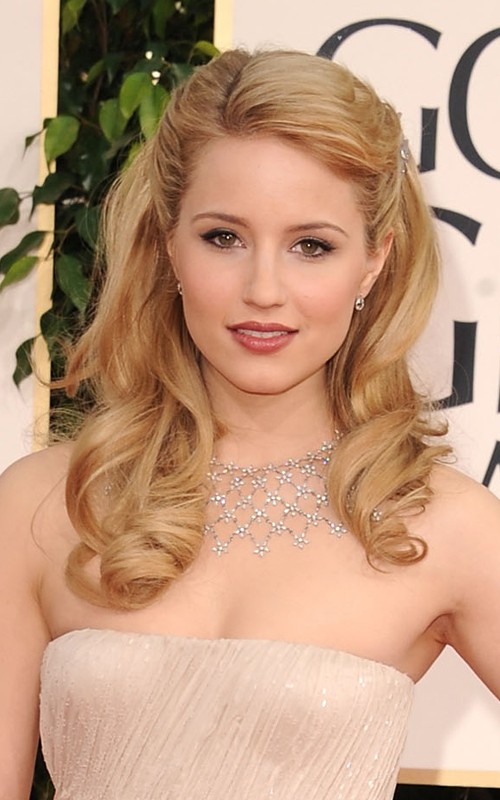
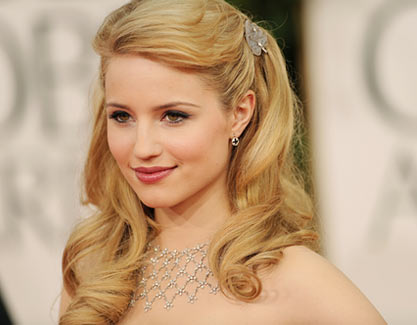
For my hairstyle, I decided to go to the salon.  I found photos online of this actress with a lovely hairstyle, and took them along to the hairdresser.  Turns out this lady is called Dianna Agron, she’s a year older than me, and she is an actor in Glee.  Who knew.  But she has nice hair.

The problem was that my hair is MUCH longer than her hair, so it looked a bit different on the day.  I wasn’t entirely pleased with my hair.  I wanted it to be a bit more floaty and pretty and voluminous, but the hairdresser hairsprayed the living daylights out of it and it was like a hardhat.  But it was fine in the end.  When we drove in the little car it got extremely tangled.
The hairdresser cost me $60 I think.  I also paid for Shona’s hair, so it turned out to be $120.  The hairstyle got very knotty (she did a lot of teasing), but it stayed put all day.

4.1 Hair comb

My hair comb was placed to match Dianna Agron’s photo.  I bought it from a little booth shop selling sparkly baubles, and it cost me $40.  I also bought one for Shona which was a little different.

5. Makeup

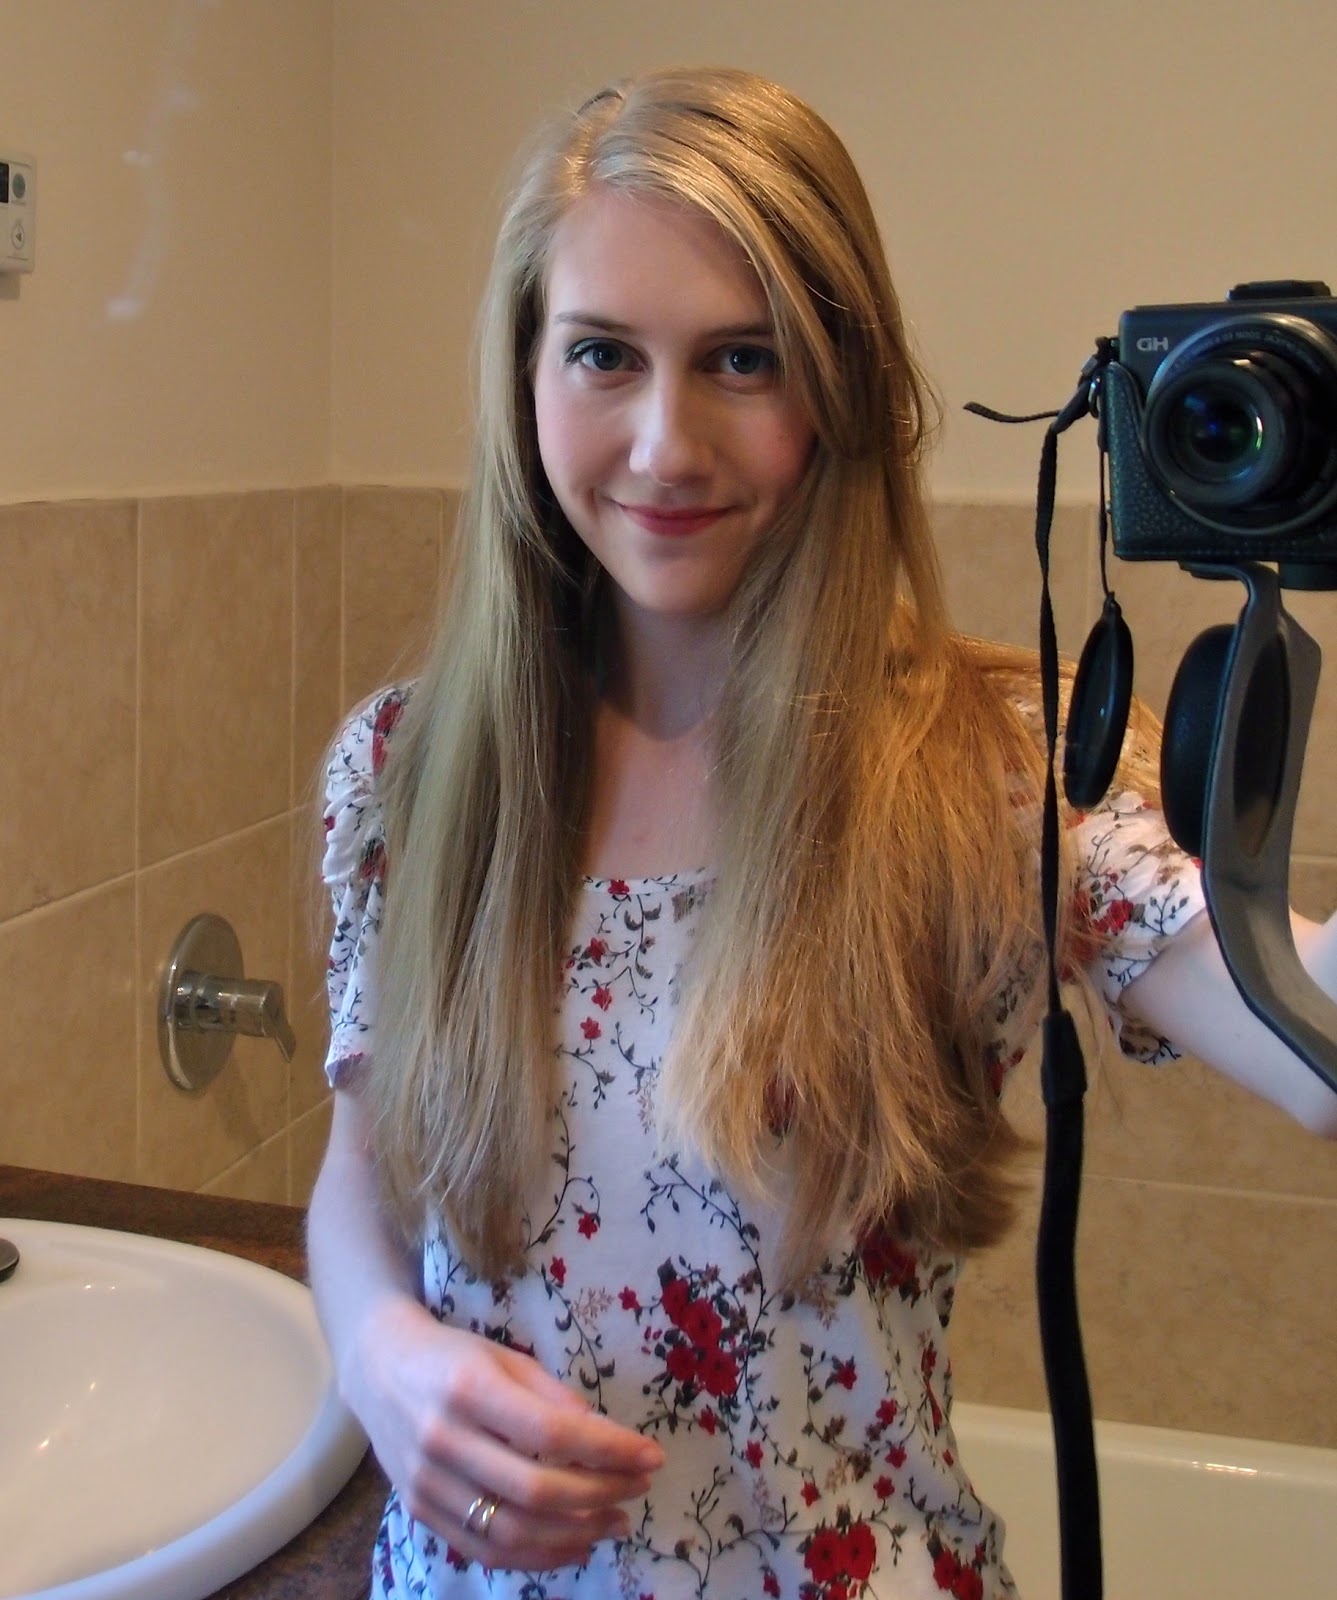
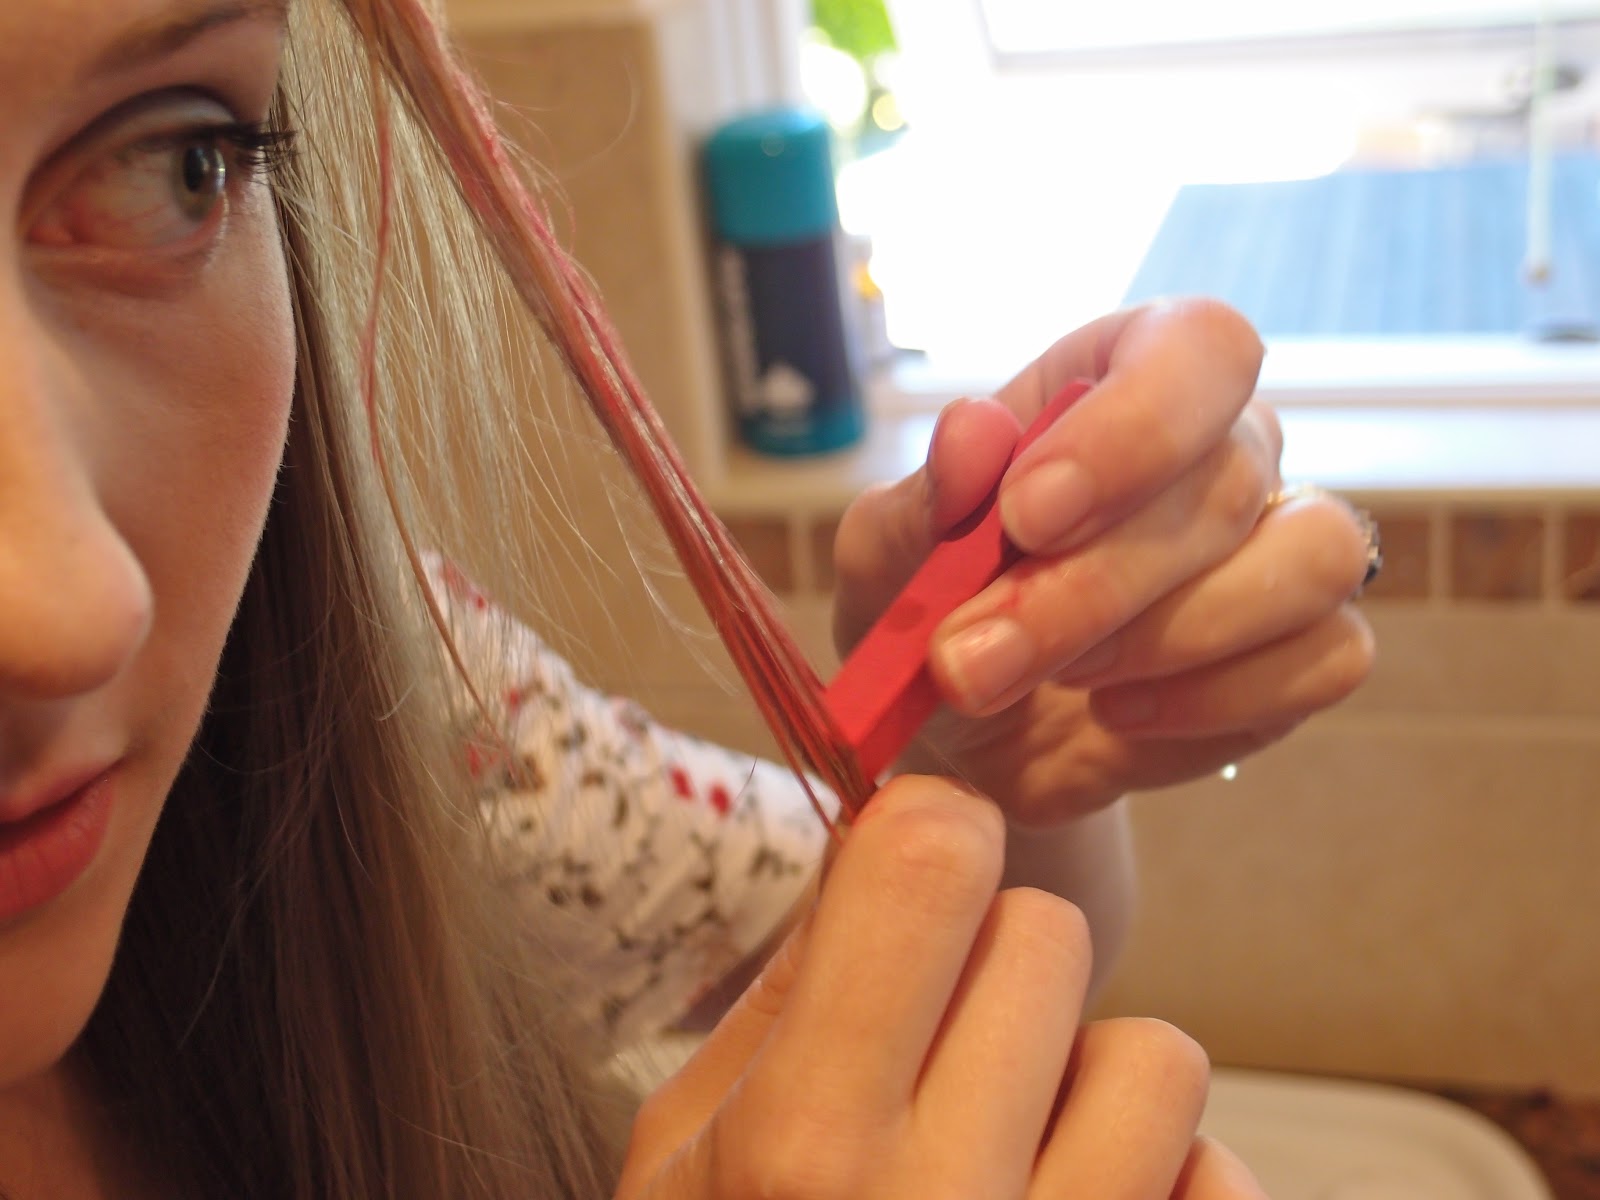
Makeup was the one thing I was the most stressed about.  I went to and fro between wanting to have a makeup artist do it, to wanting to do it myself.  I’ve had someone do my makeup twice before.  Once for a fashion shoot, and once at the makeup shop. Both times, I really hated her looking at my face so critically, and I felt like they made me into a face I didn’t recognise.  I wanted Charles to recognise me as I walked down the aisle.

So I researched different products and different techniques for applying makeup.  My favourite YouTube channel and website for this was MakeUpGeek.  Marlena really knows about different skin types, and how to make your products work the best.  I bought some products (a blush by NARS, a Lancome foundation, a Lancome waterproof mascara, and some other miscellaneous bits and bobs) and practiced applying them.
Then one day, I did a “trial run” of my makeup right before going in to teach.  Another teacher said “Did you just have a makeup trial for your wedding?  Because it looks so lovely!” and then I decided I’d do it that way.
It was a bit scary, but I was pretty happy with my face in the end.  I just looked like me, a bit more pretty!
So I’ll estimate that I spent about $150 on makeup (those high-end products are pricey), but I did it myself.  It last the whole day!


Costs:
Stockings: $10
Hairstyle: 60+60 = $120
Hair comb: 40+40 = $80
Makeup: $150

Total: $360

Next post: The Church, Decorations, Photography, and Flowers!