I know there are heaps and heaps of tutorials on how to do this online… but I thought why not add to them!
As you know, I recently went to Sydney to see They Might Be Giants. I bought a Flood t-shirt (a great album of theirs from 1990) but unfortunately they only had mens size large. I am not a mens size large you guys! I bought it with the intention of modifying it (or using it as a sleeping shirt).
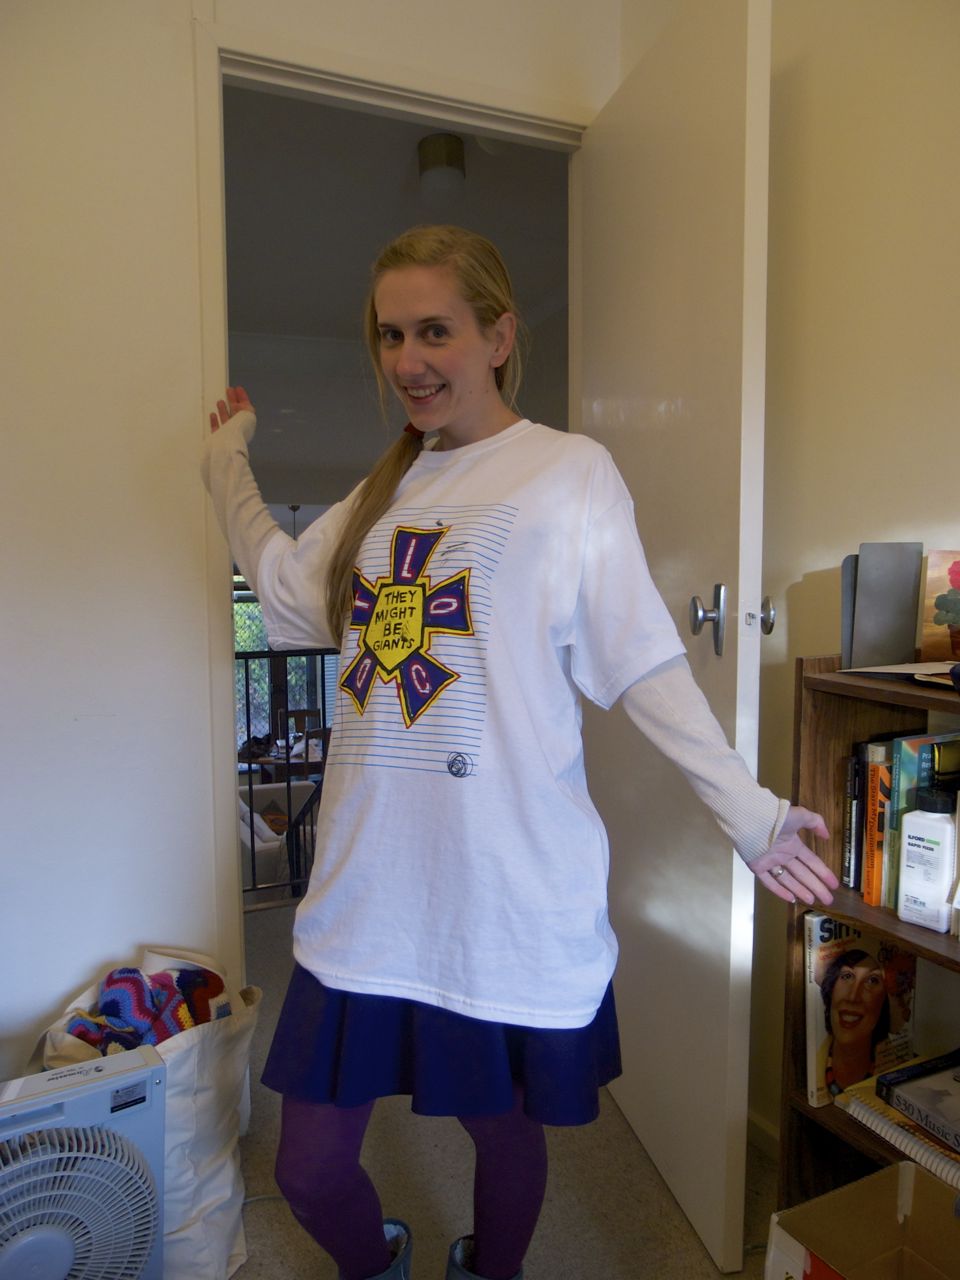
It is even too big to sleep in! I can imagine myself rolling around in it and getting all twisted. See how huge it is on me?
Let the tutorial commence.
First find a t-shirt that you DO like the fit of. Just make sure that it doesn’t have raglan sleeves: that is, make sure the sleeves don’t join to the neckline. This will be important later.

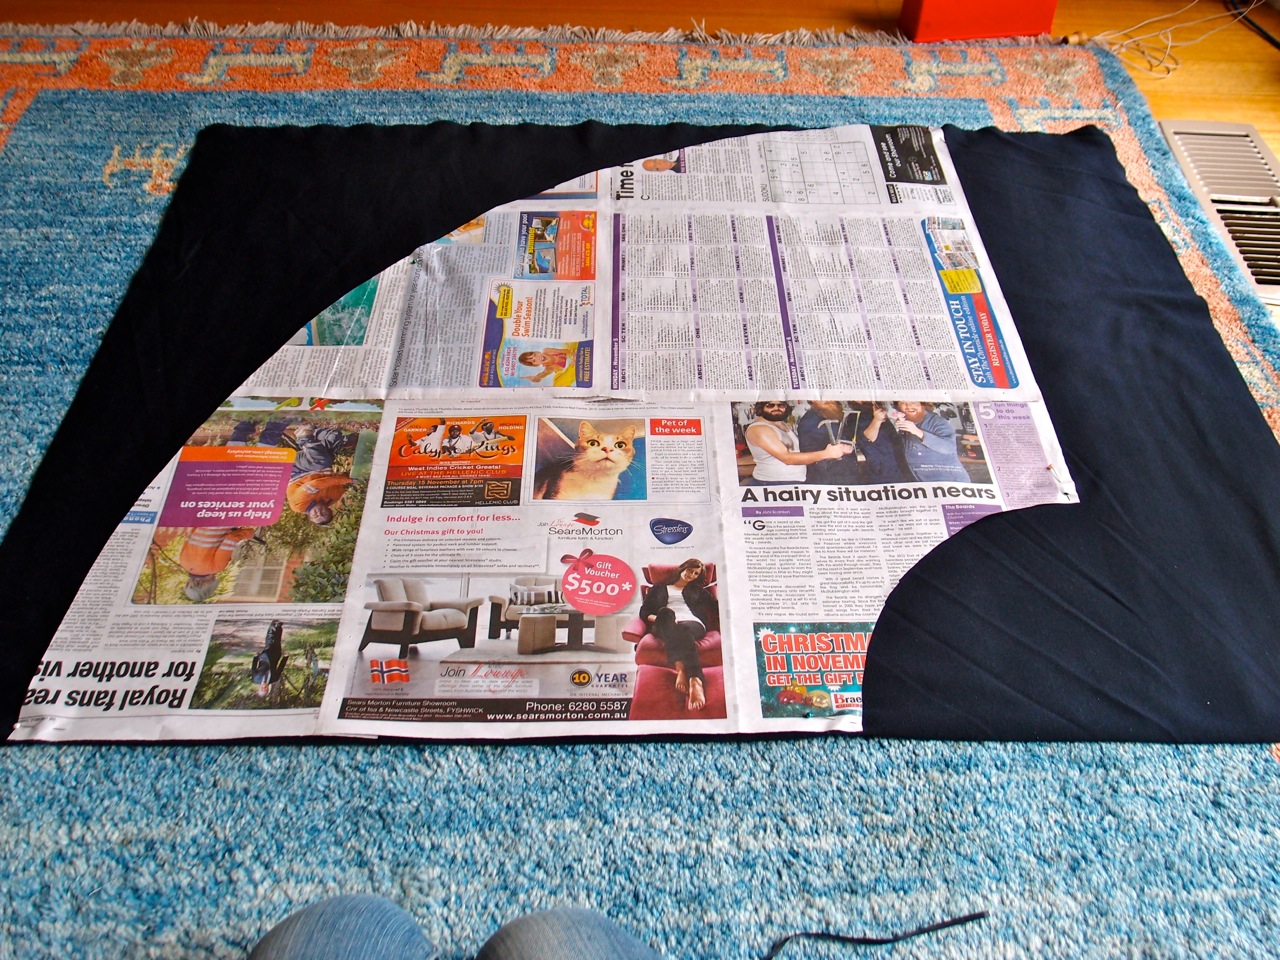
Iron your shirts and fold them in half lengthways. Put your little t-shirt on top and trace around it. Fold the sleeves inwards and trace around the curve where your armhole is.
Take away your little t-shirt and pin your big t-shirt so it doesn’t slip around. Cut around where your drew the outline, through all 4 layers. Make sure you leave a 1.5cm seam allowance!! Since my t-shirt was super long, I just extended the line to the bottom of the shirt – so it can be either a long shirt or a short dress.

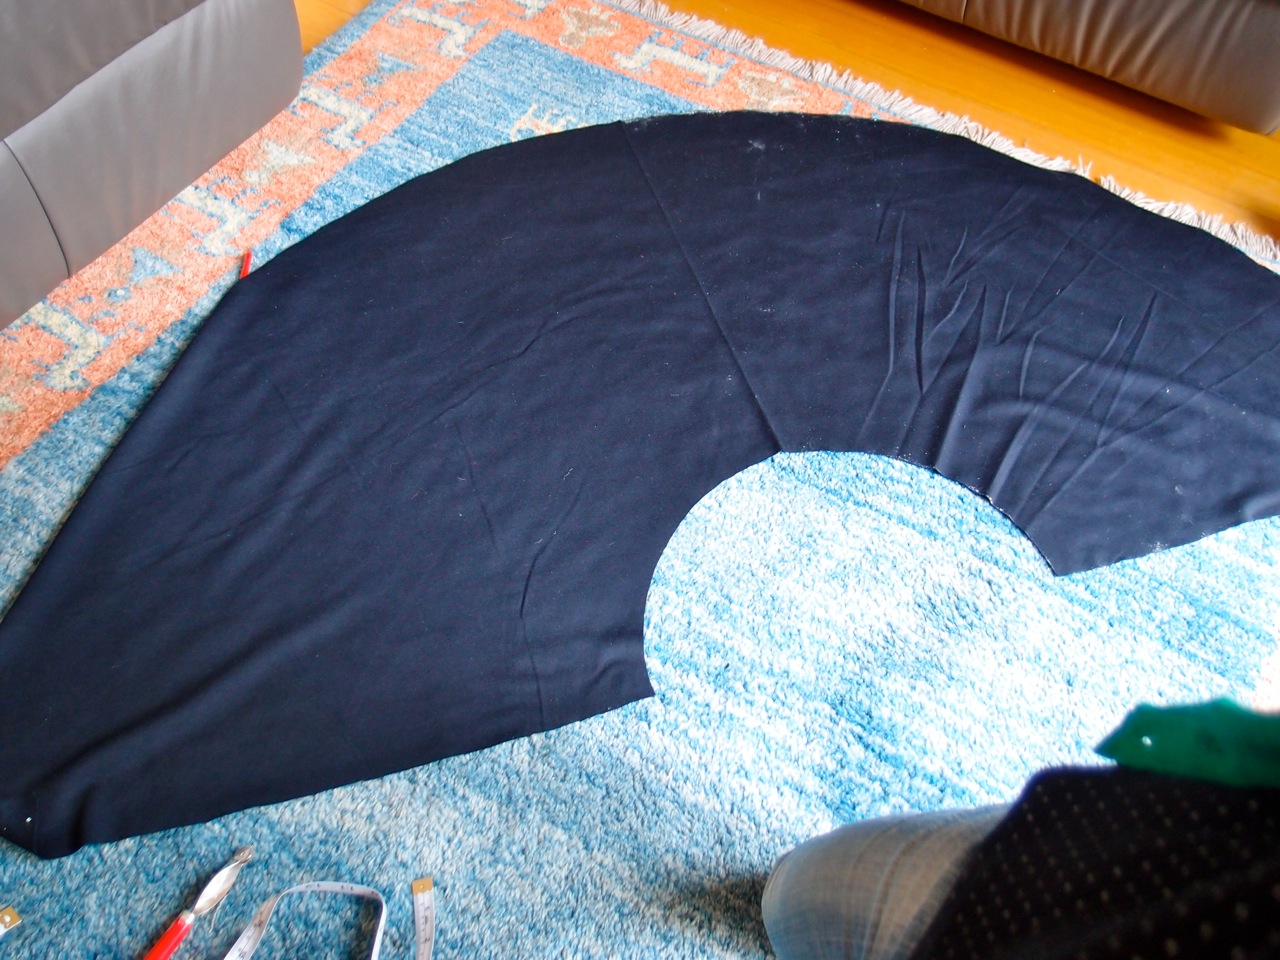
Now open it out and pin up the sides, with the RIGHT SIDES FACING. If you do it with the wrong sides facing you’ll end up with an inside-out looking tshirt. Sew up the side seams but don’t sew up the armholes!
Try it on for size. I was really happy with how this fit so I proceeded. If you’re not happy, take it in a little more. If it’s too small, you can still unpick and sew closer to the edges.

Yay it fits!
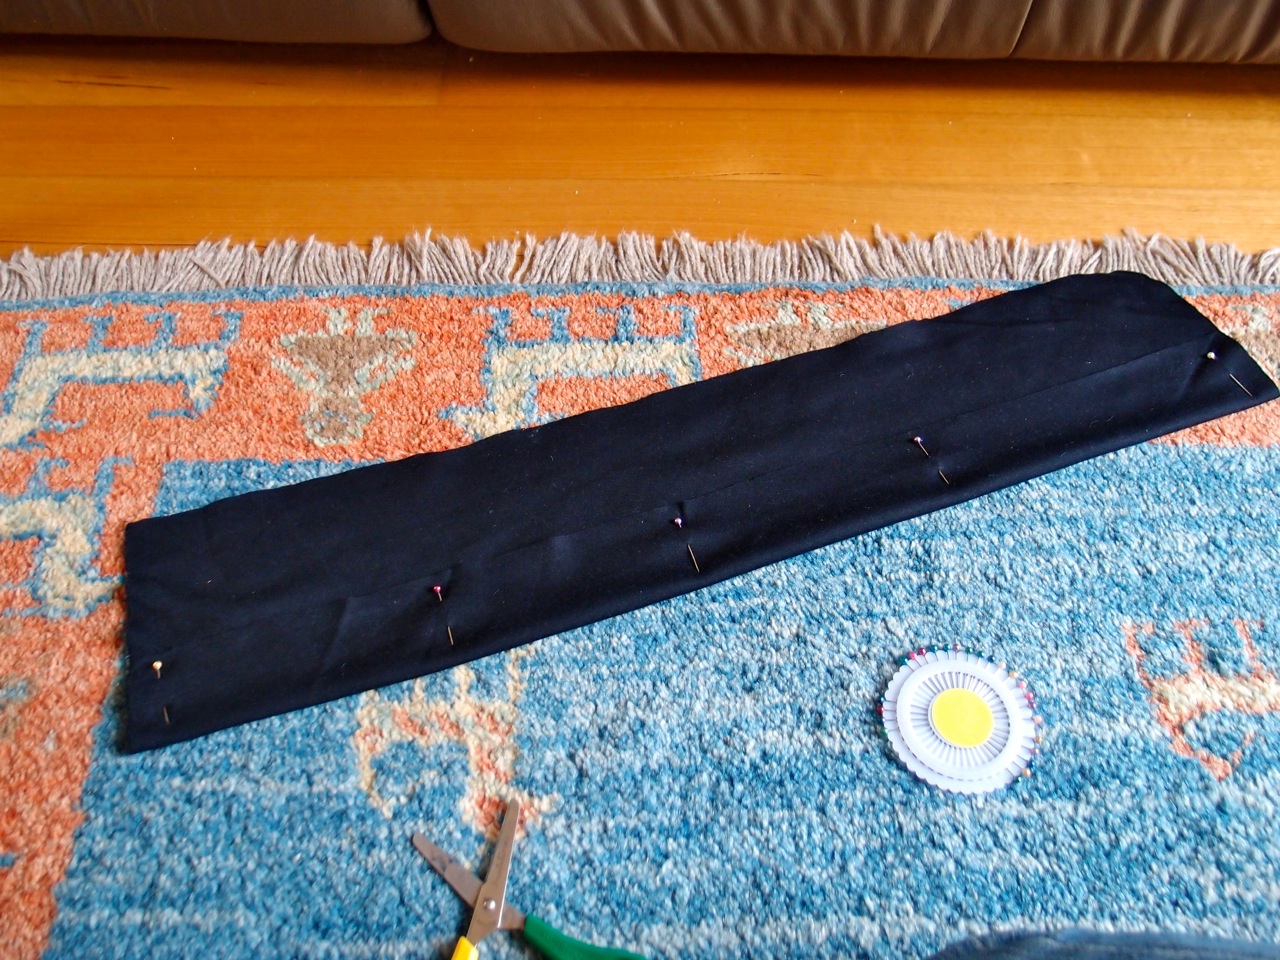
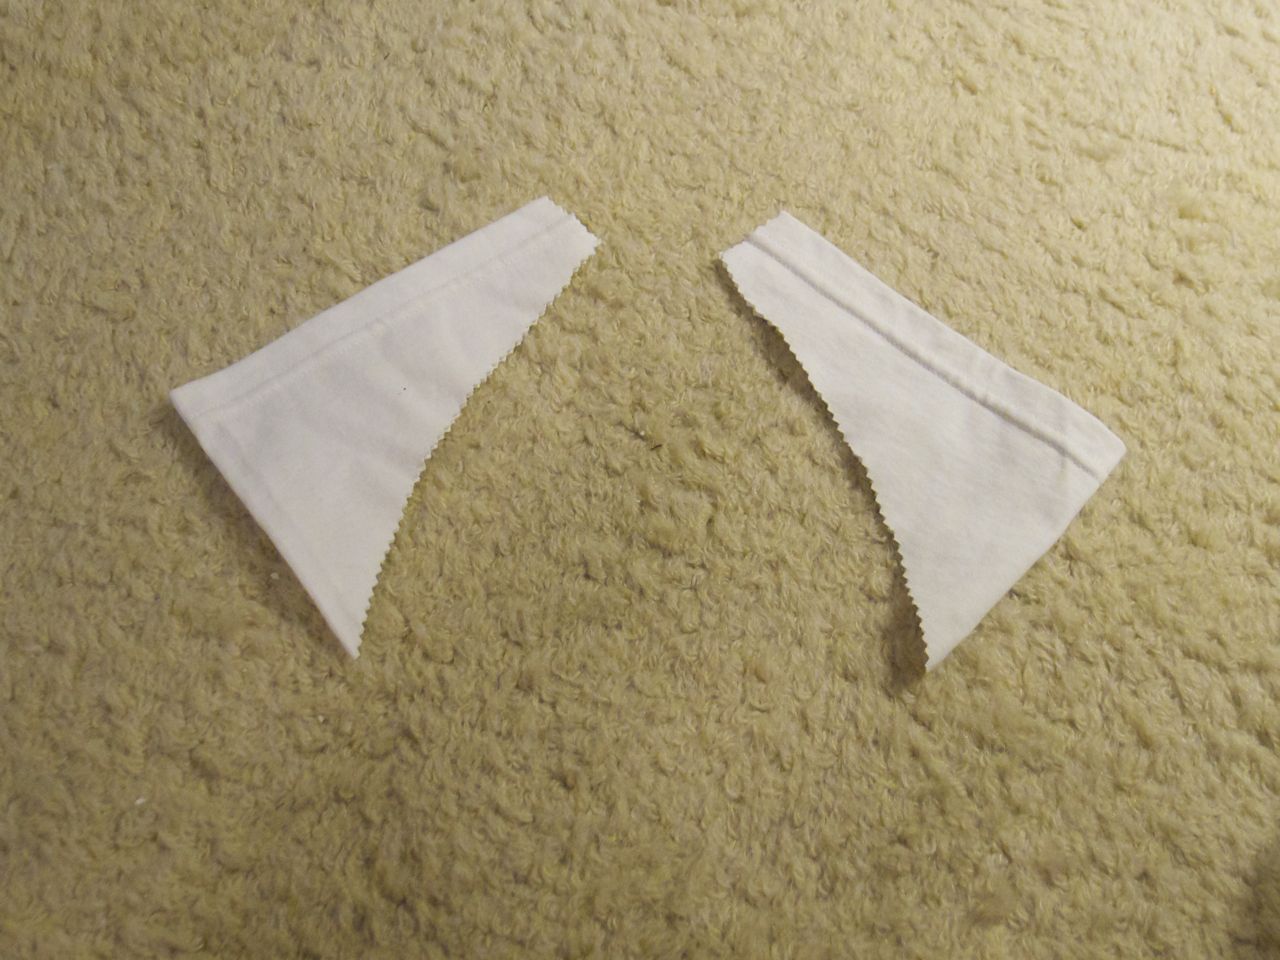
Now sleeves. Take your small t-shirt sleeve and lay it on top of your big one, matching the edges together. Trace and cut (leaving a seam allowance).

You should get something that looks like this. Turn them inside out and sew up the shortest edge.
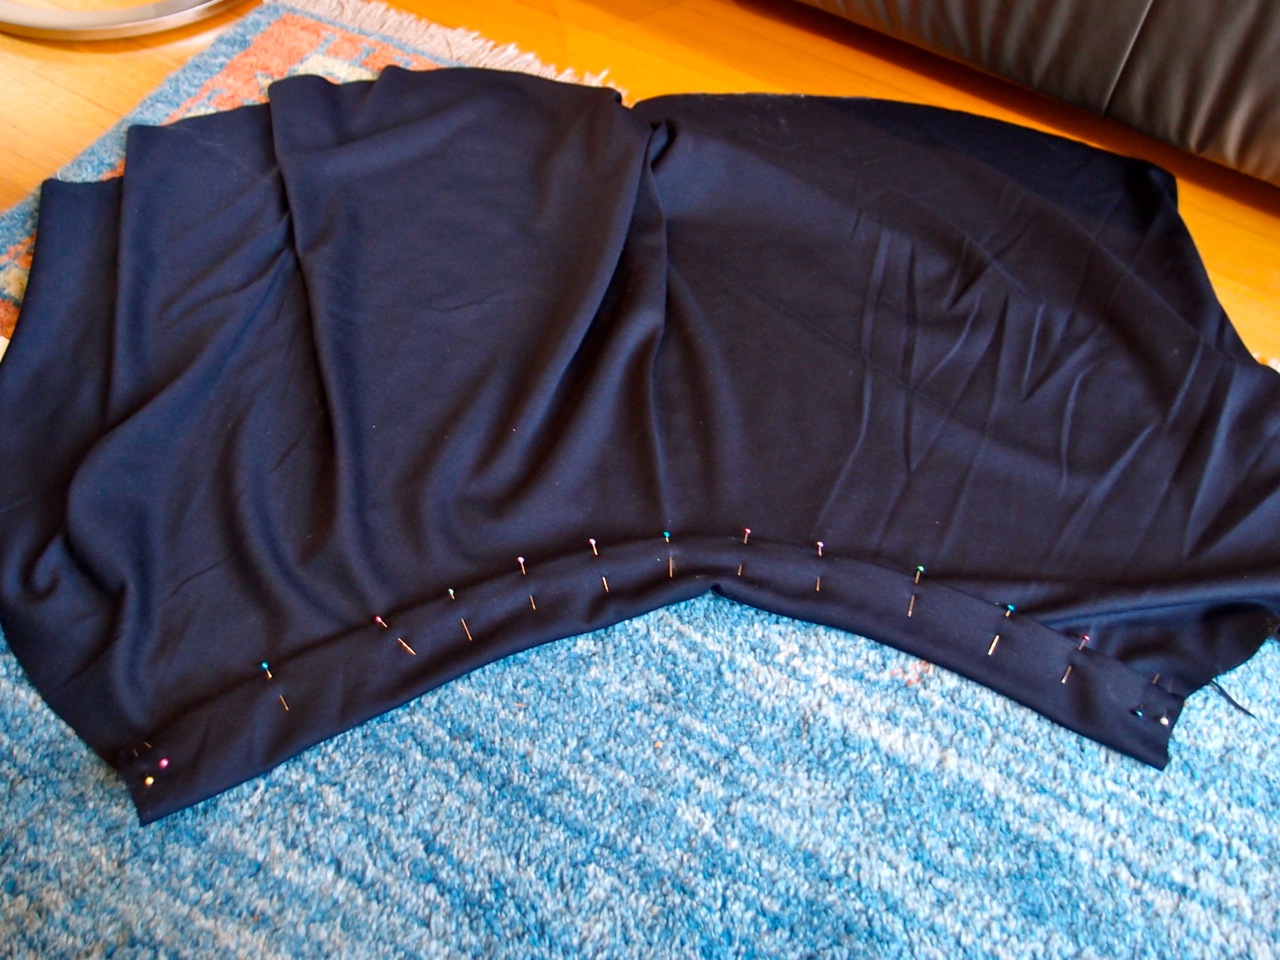
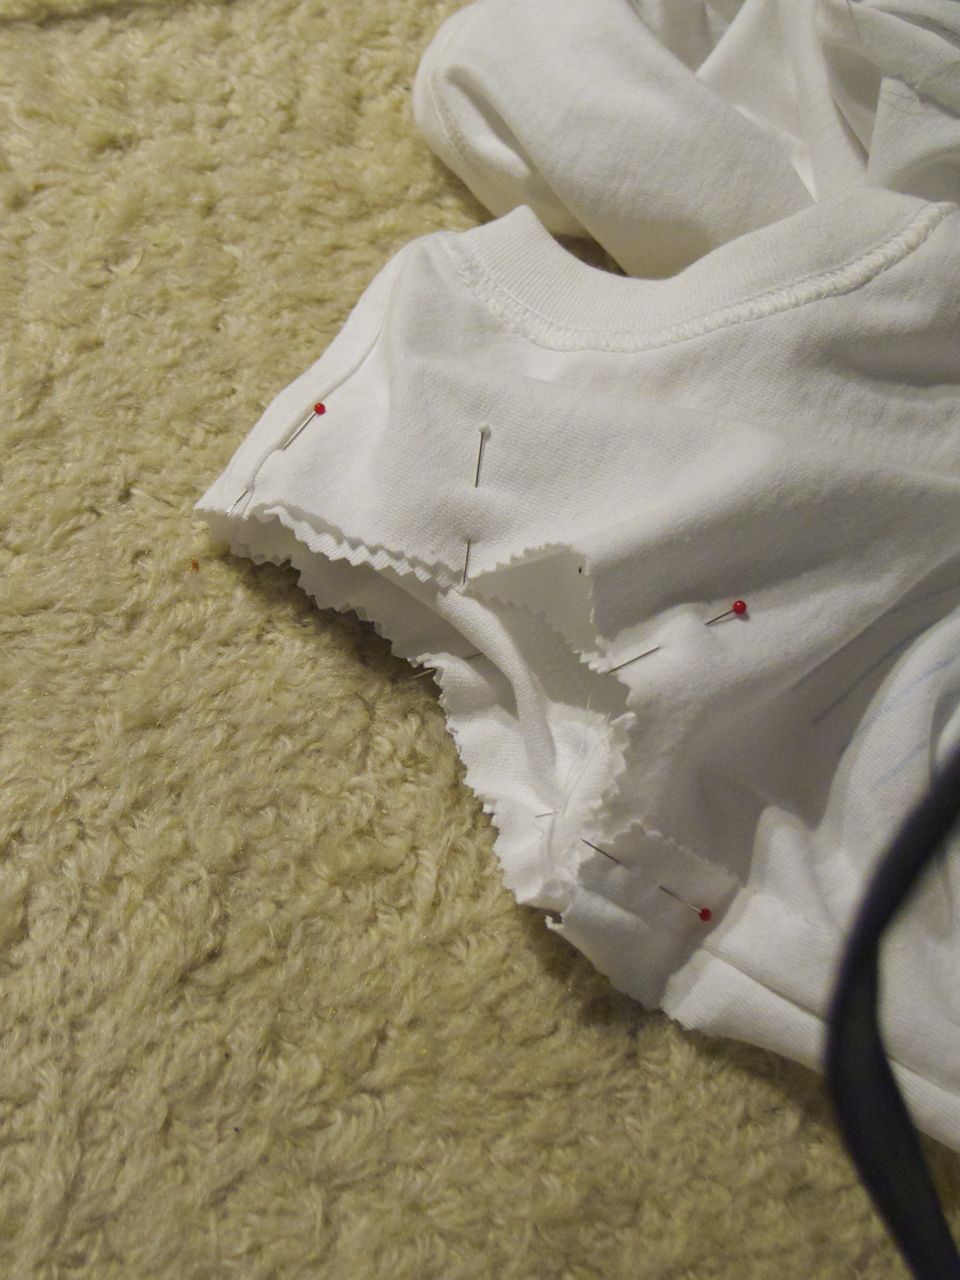
Here’s the hardest bit. Now turn your sleeve right-side out and your t-shirt inside out. Put the sleeve INSIDE the t-shirt, matching the side seam of the shirt with the seam you just sewed on the sleeve. The raw edges should match up.

Pin it in place… it should look like this. Complicated right? It takes a few goes before you really understand what’s going on!
Sew around your armholes! It took me a while to make the sleeves actually fit into the armholes, they kept being too big or small! I had to adjust the size of the sleeves quite a bit. But finally it worked!
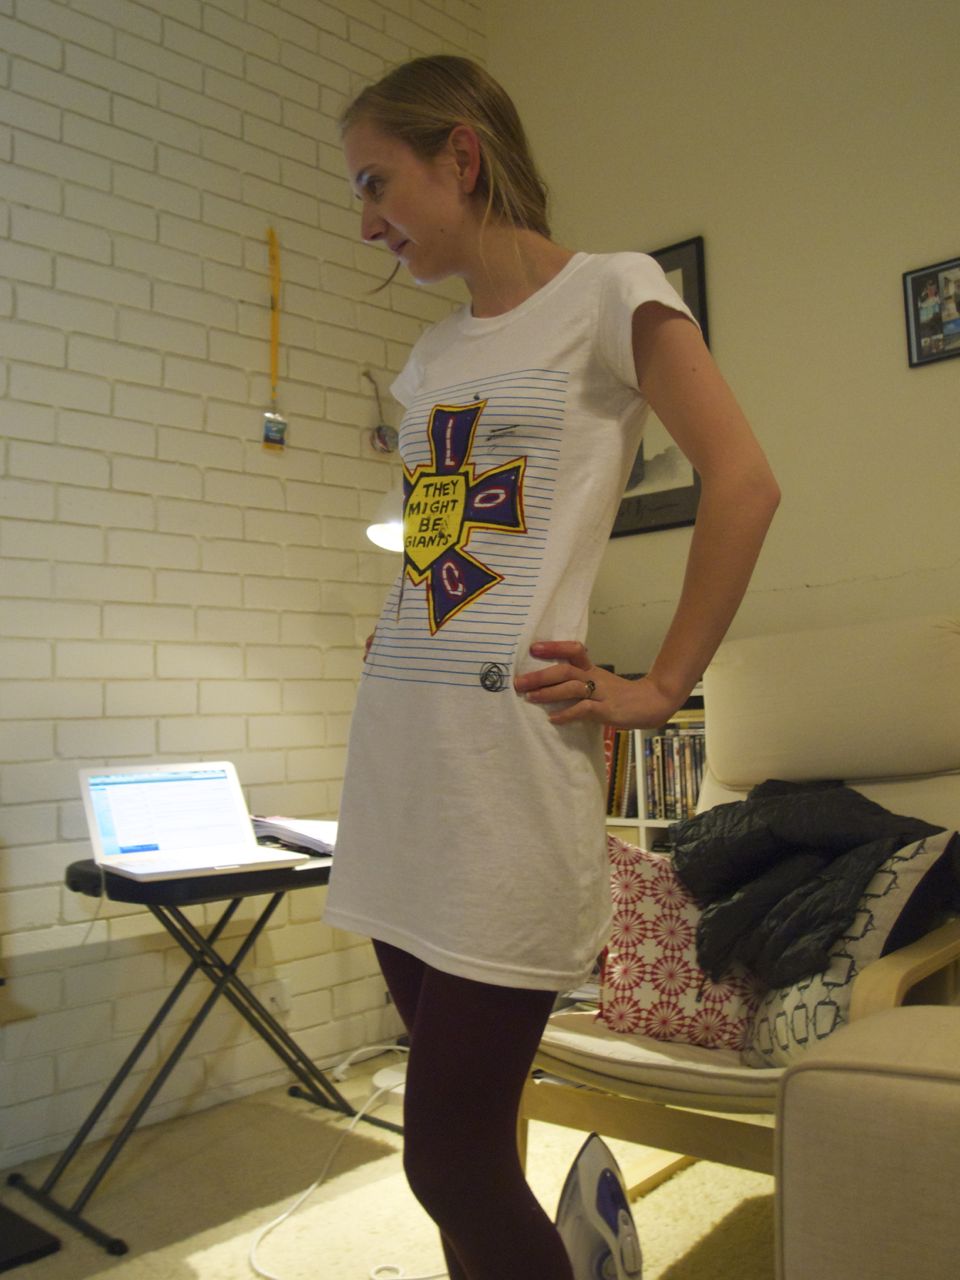
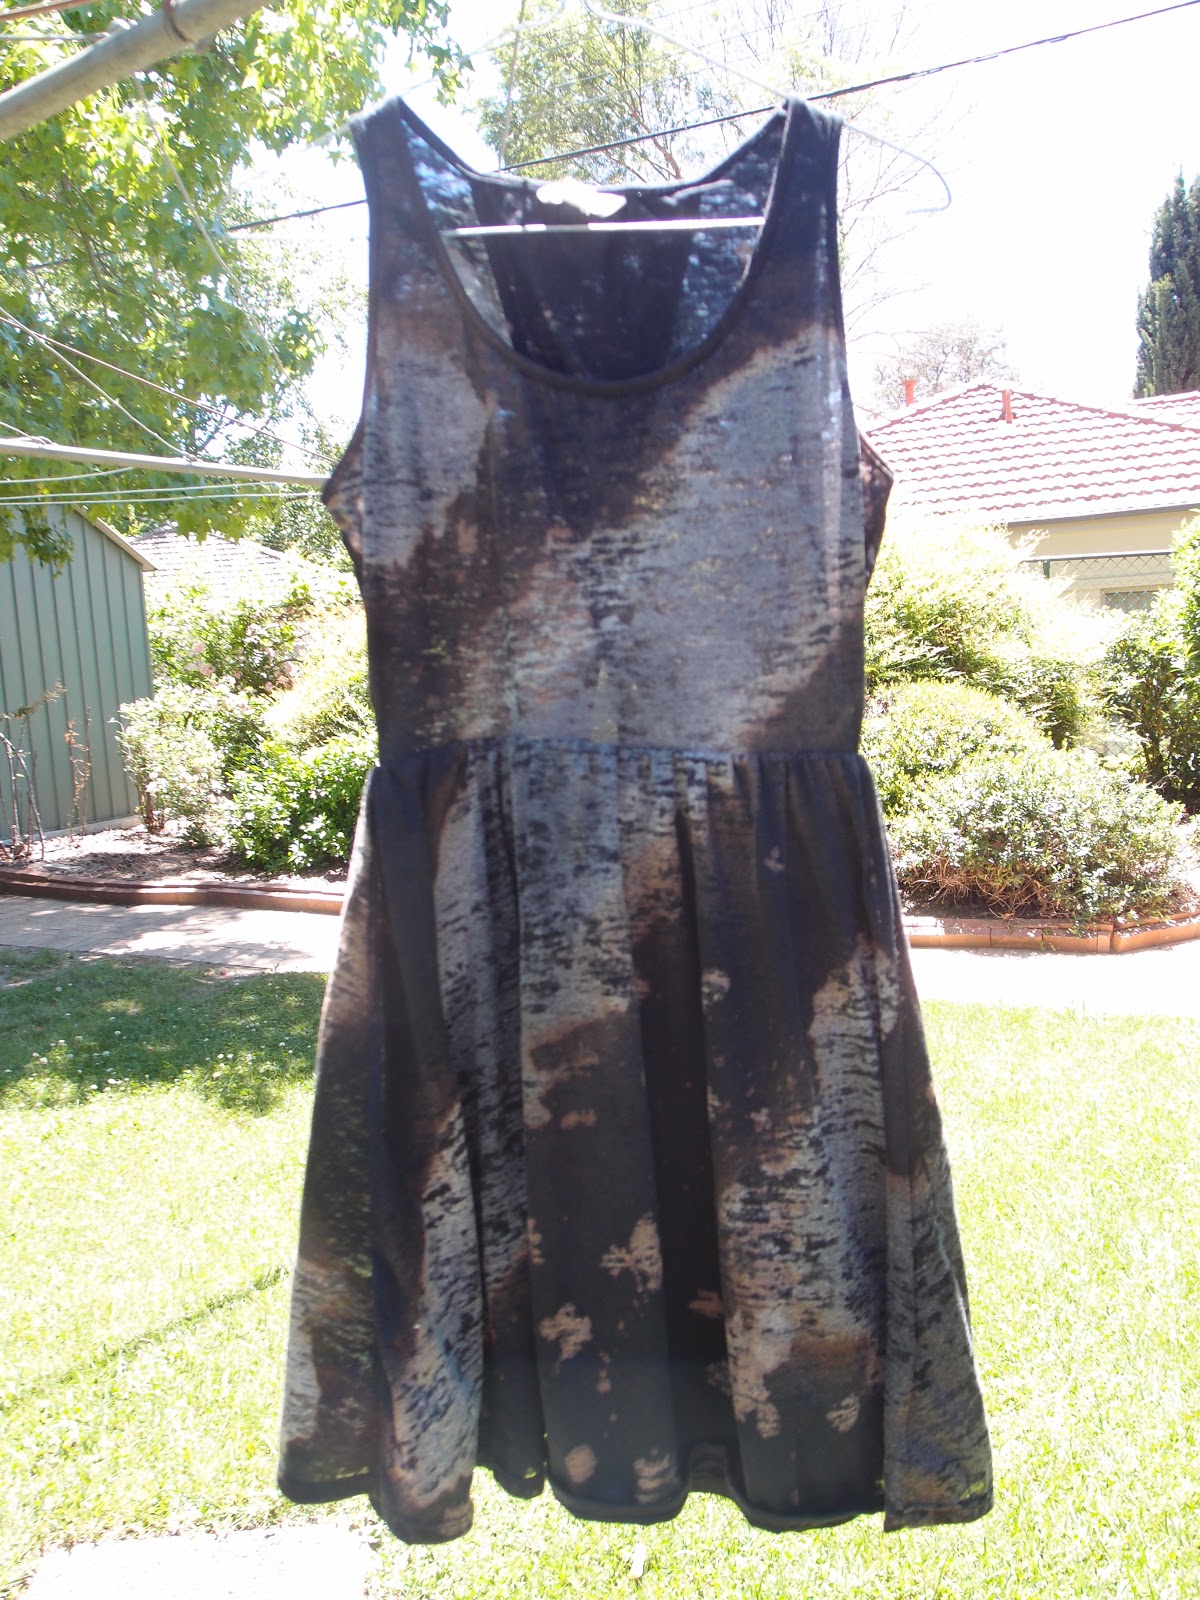
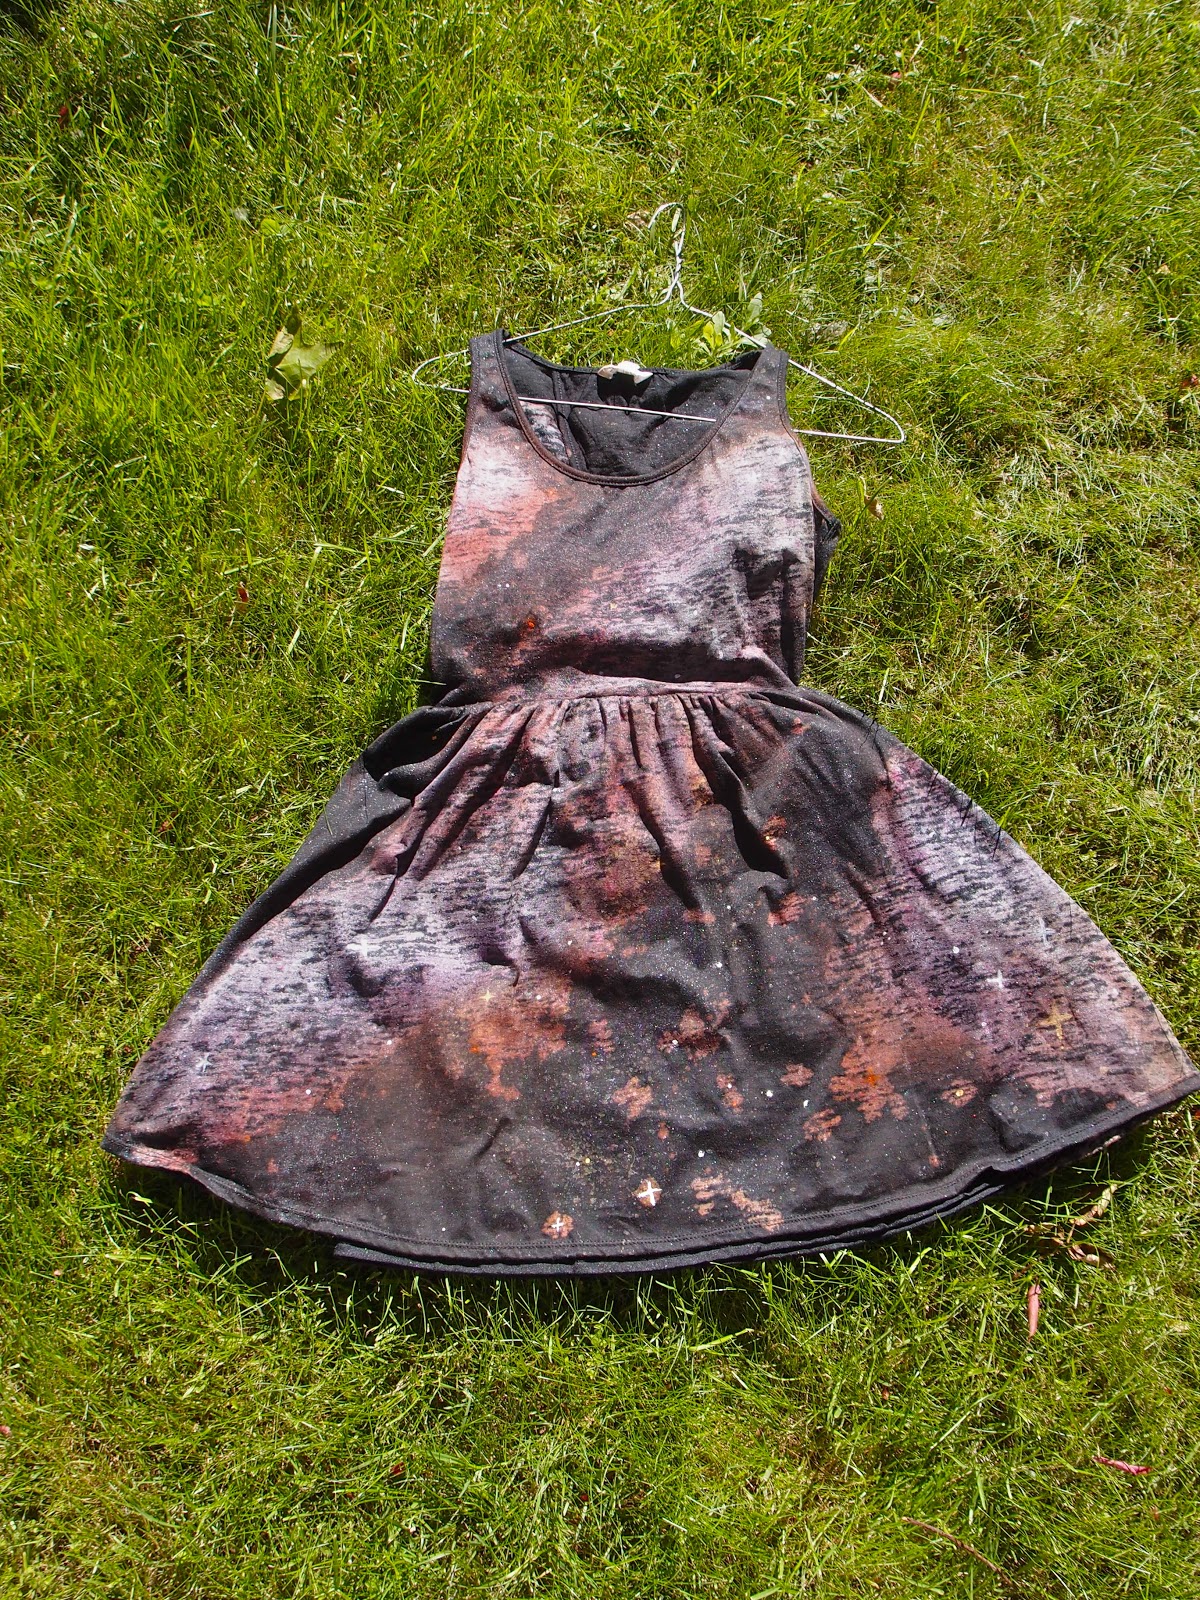
Yay a dress! Or a nightie? I’m not sure if I’ll wear this out but I love it to bits!