I immediately sewed it together and now it’s a vest!
As you can see I’m quite pleased with myself!
This is taking way longer than I thought it would. My Miette cardigan didn’t take nearly this long!
As you can see I’m quite pleased with myself!
This is taking way longer than I thought it would. My Miette cardigan didn’t take nearly this long!
It’s a great big market held by Shop Handmade, a beautiful boutique of locally made stuff. This market is on every year around this time and this is my third time!
This year, there were a lot of Canberra-themed goods, as this year is Canberra’s 100th birthday (actually it’s today)! Lots of cute fridge magnets, posters, cards, and soft furnishings! There were also the usual non-Canberra-themed things like clothing from indie designers, kids’ clothes, accessories and jewellery, furniture, paper goods, HEAPS of stuff.
Here’s what we bought!
First up, two gorgeous cushions by local maker Gatbi. We chose these two cushions because they are Canberra-themed!
Each pattern is made of a Canberra landmark. The square one is Parliament House:
And the round one is Telstra Tower! We thought they were just so special and clever. Plus it turns out they match our couch, and are super comfy!
Lastly a hair accessory for me. It was from a cute shop with lots of little handmade hair accessories, called Summerblossom. It cost me $12, which is quite pricey but it wa so gorgeous. And I’m happy to be supporting indie designers!
It has little gems in the middle.
Such a lovely day! I just love our cushions 🙂
First open out your folder and measure how long it is. Then add how much flap you want there to be on either side. I just doubled it essentially, because I wanted to cover up all the weird things I’d written on the inside of the folder. Plus you want to hem the sides. Remember to add seam allowances to the height of the folder.
You’ll end up with a long piece of fabric the same height as your folder. Wrap it round the folder and mark where you need to sew to, and sew it up right-sides-together. Turn and slip it on your folder!
It nicely covers up all the weird scribbles the folder accumulated.
And I can use the cover as a pocket for my notebook! Or anything else secret I might want to store in there 🙂
Cheap black/dark blue dress. Mine is a really cheap thin black dress from Jay Jay’s. I wouldn’t normally wear something this short! But I figured, if I mess it up no big deal.
Spray bottle
Bleach
Fabric paints. I used both normal fabric paint and some old screen-printing paint I had. I used dark purple, fuscia, red, yellow, gold, silver, and pearly-white. People in other tutorials used spray-on fabric paint but mine worked really well with normal.
Paintbrushes
Plastic bags
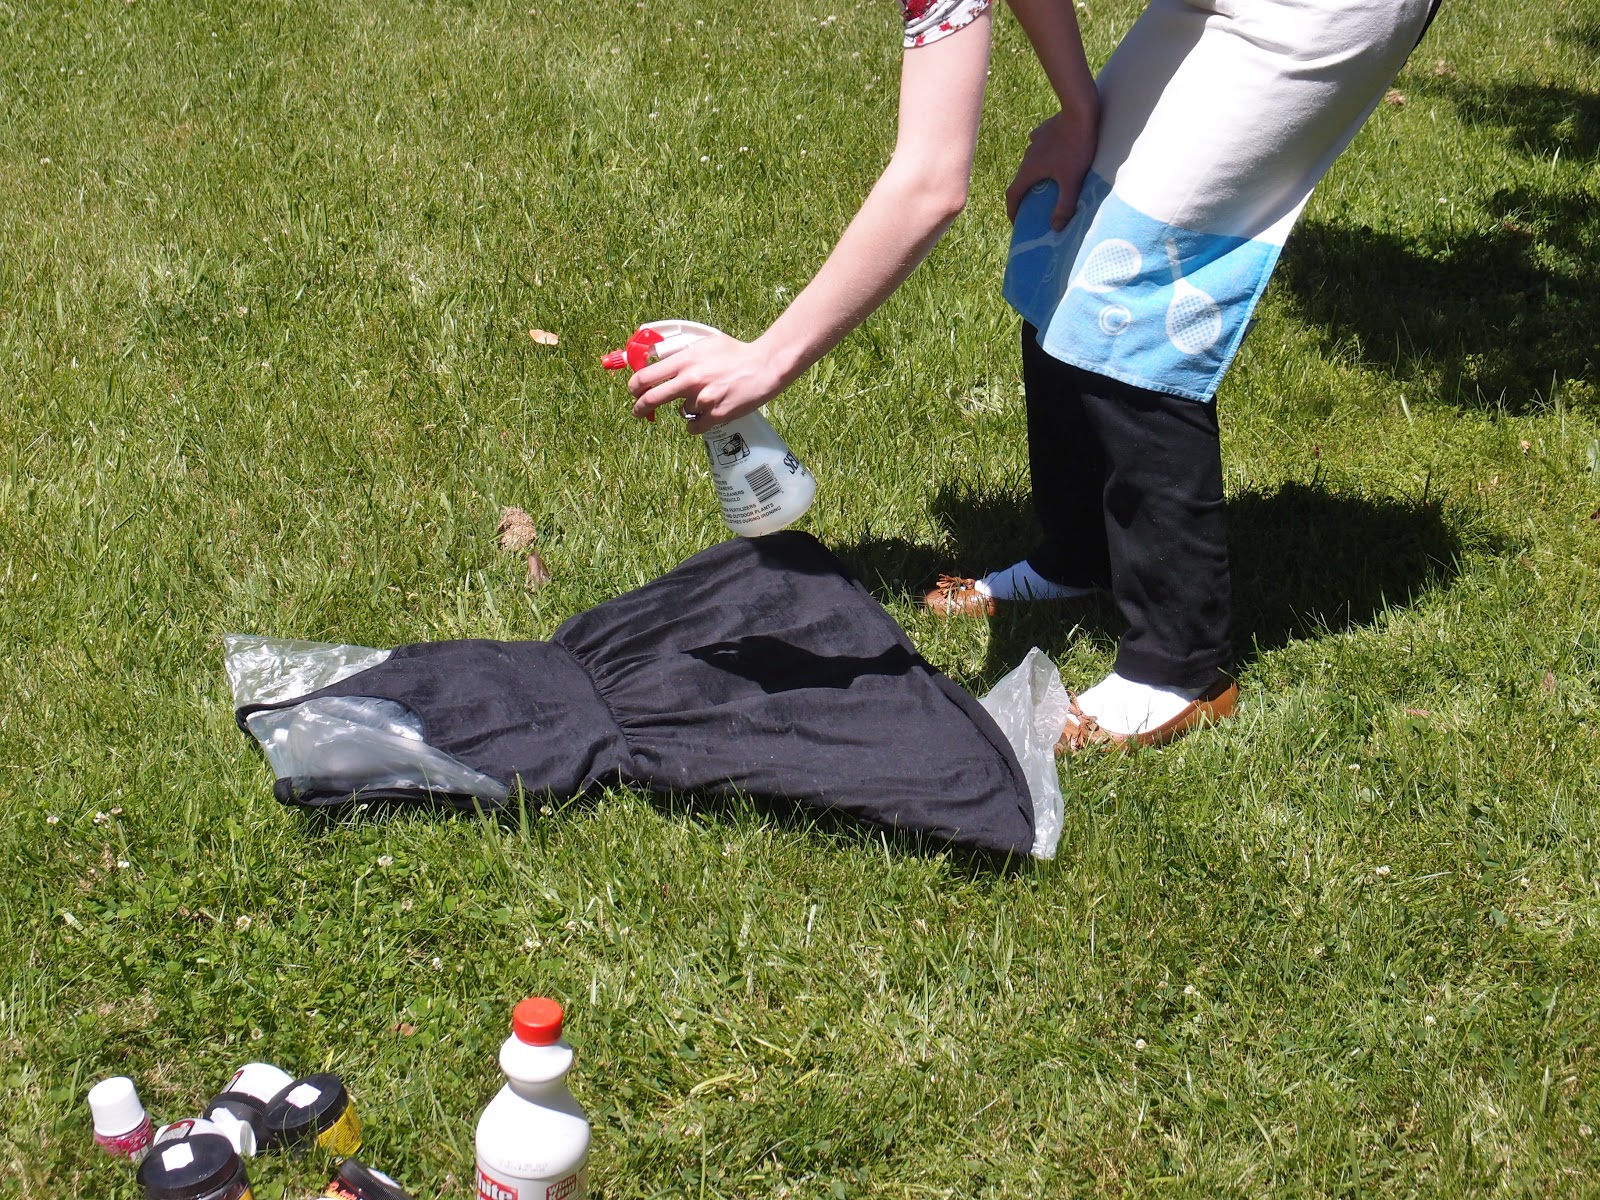
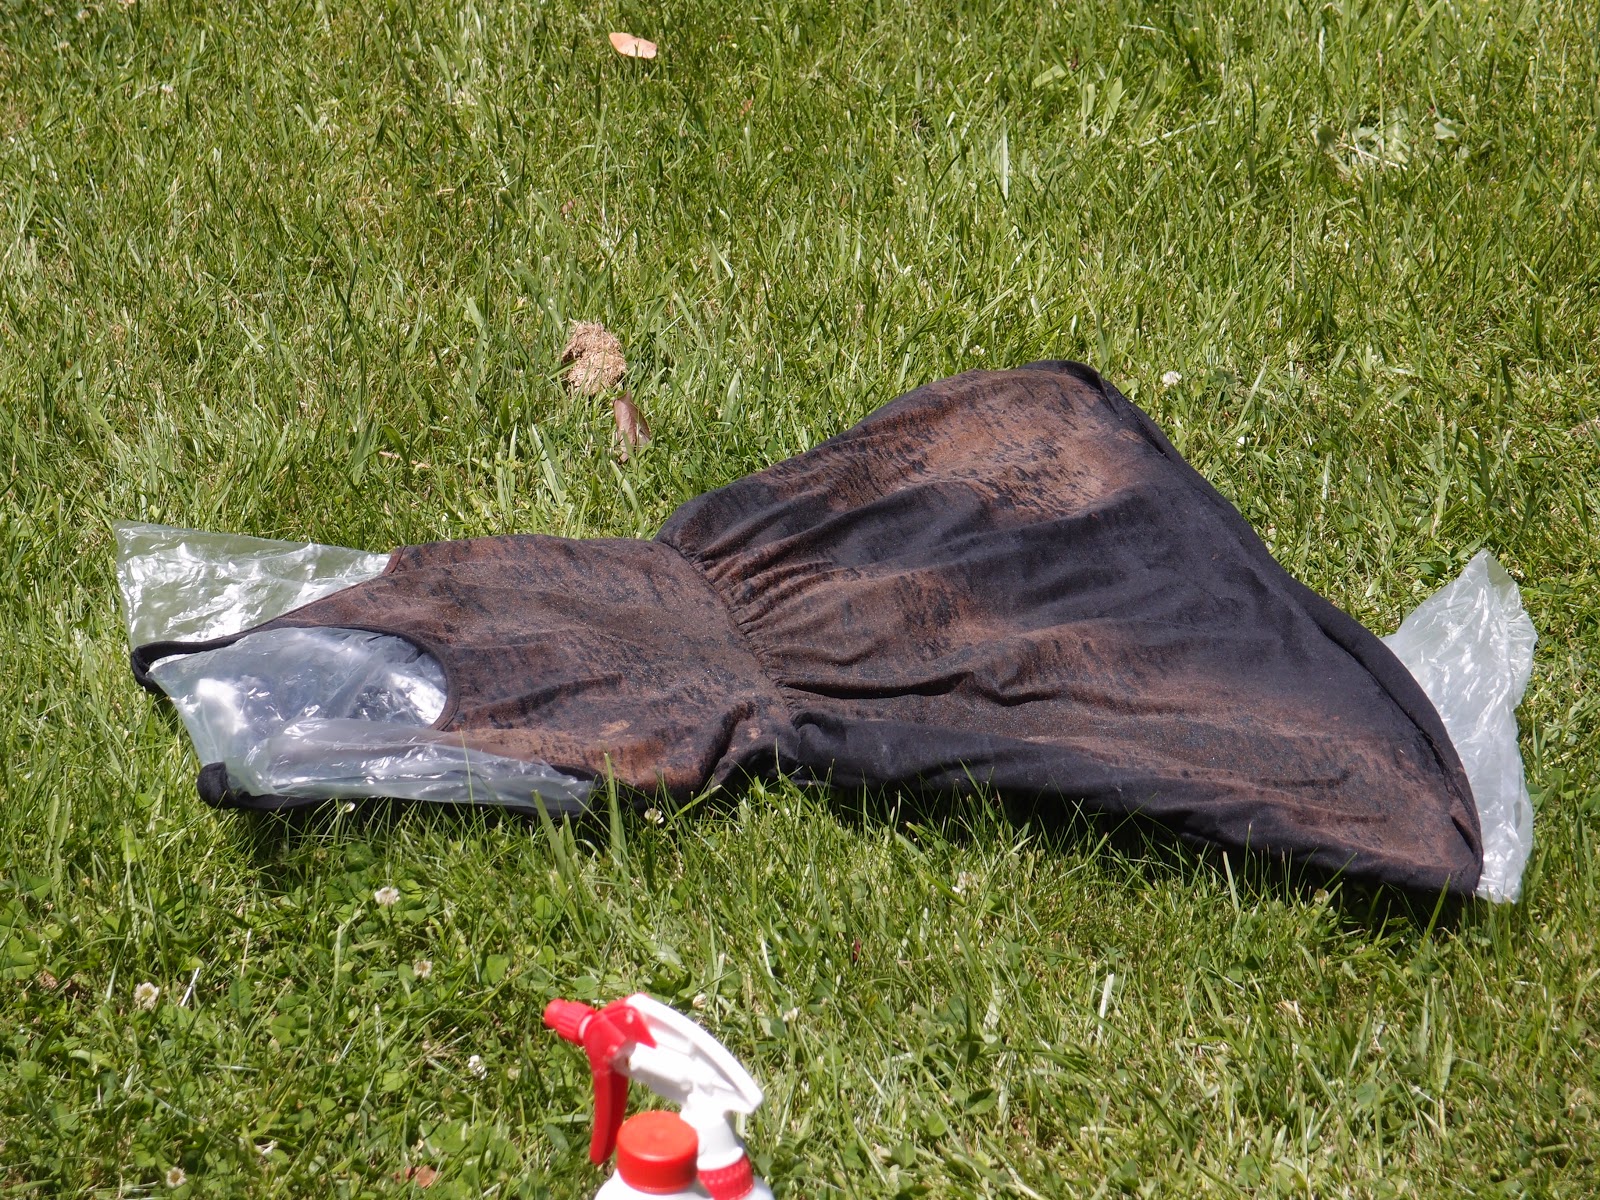
First lay out your dress on top of some plastic bags, with some inside to prevent things from leaking through.
Mix your bleach with about equal parts of water. You won’t need much, as this stuff is quite potent.
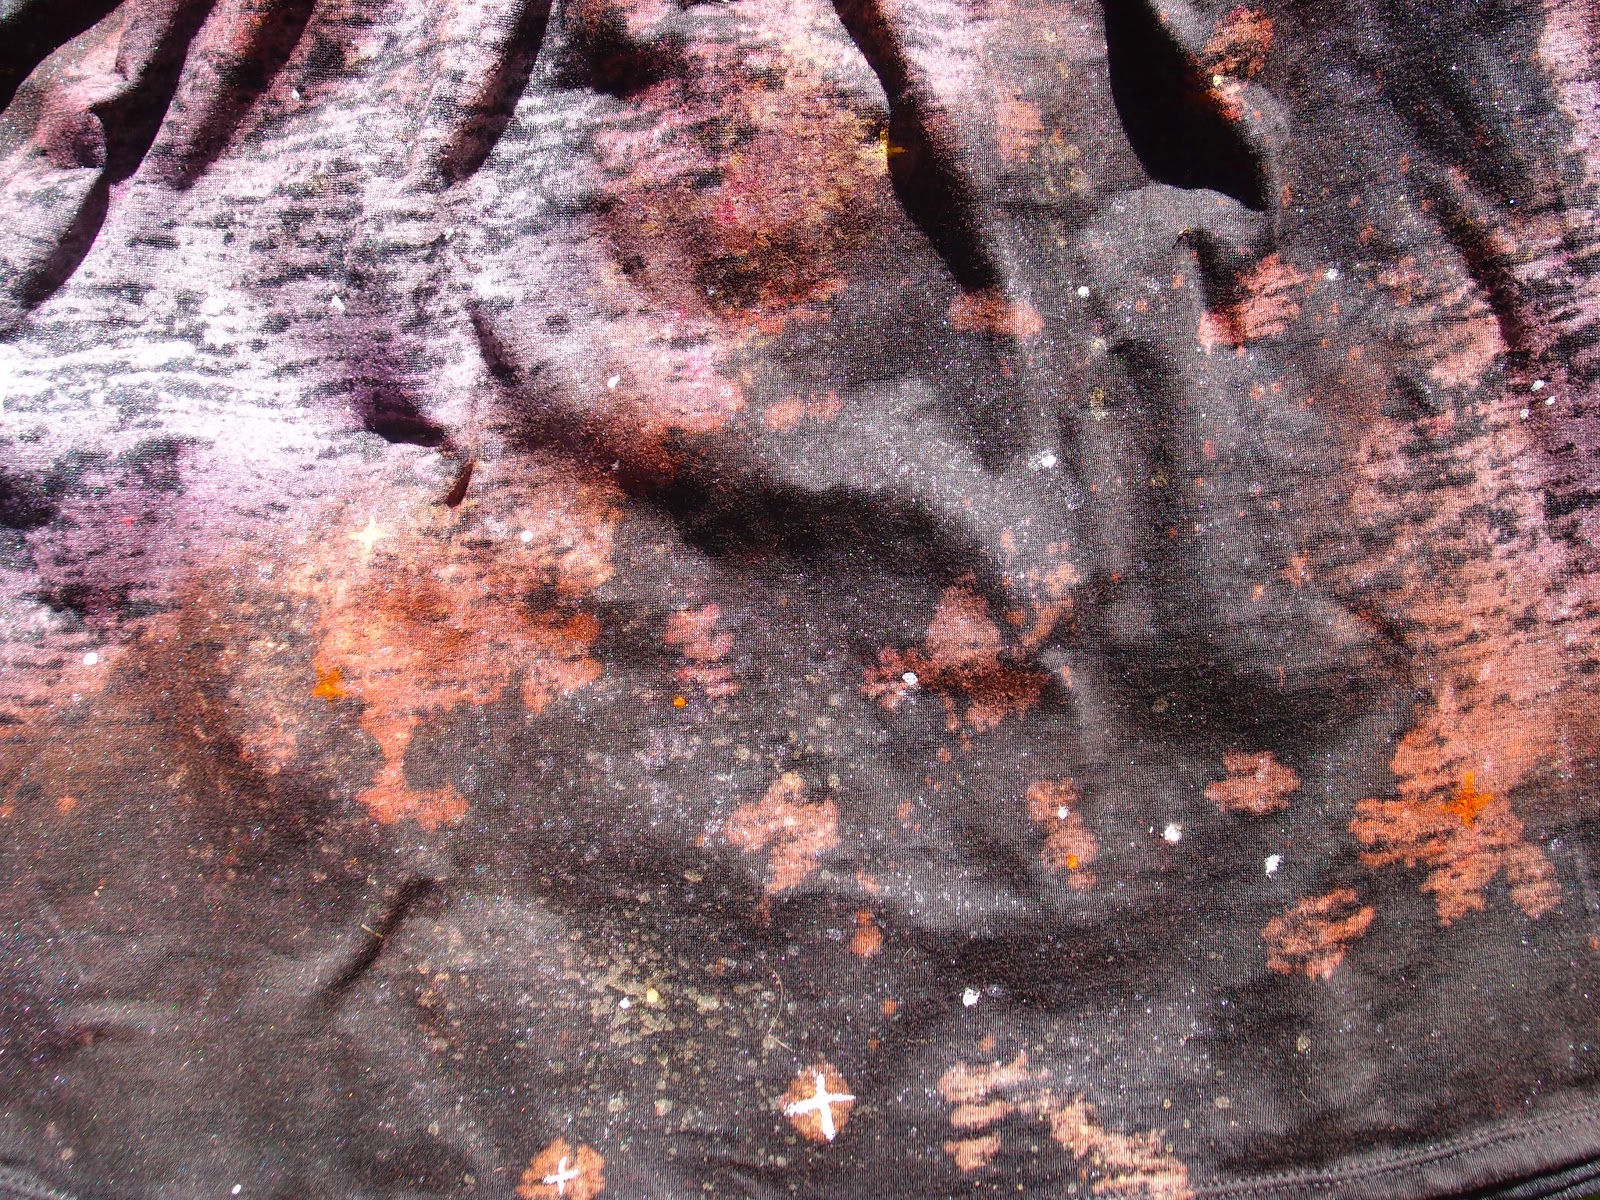
Spray on some nebulas and galaxies with the bleach. The more bleach you spray, the lighter the area will become, so it’s nice to have it whiter on the inside of the shape.
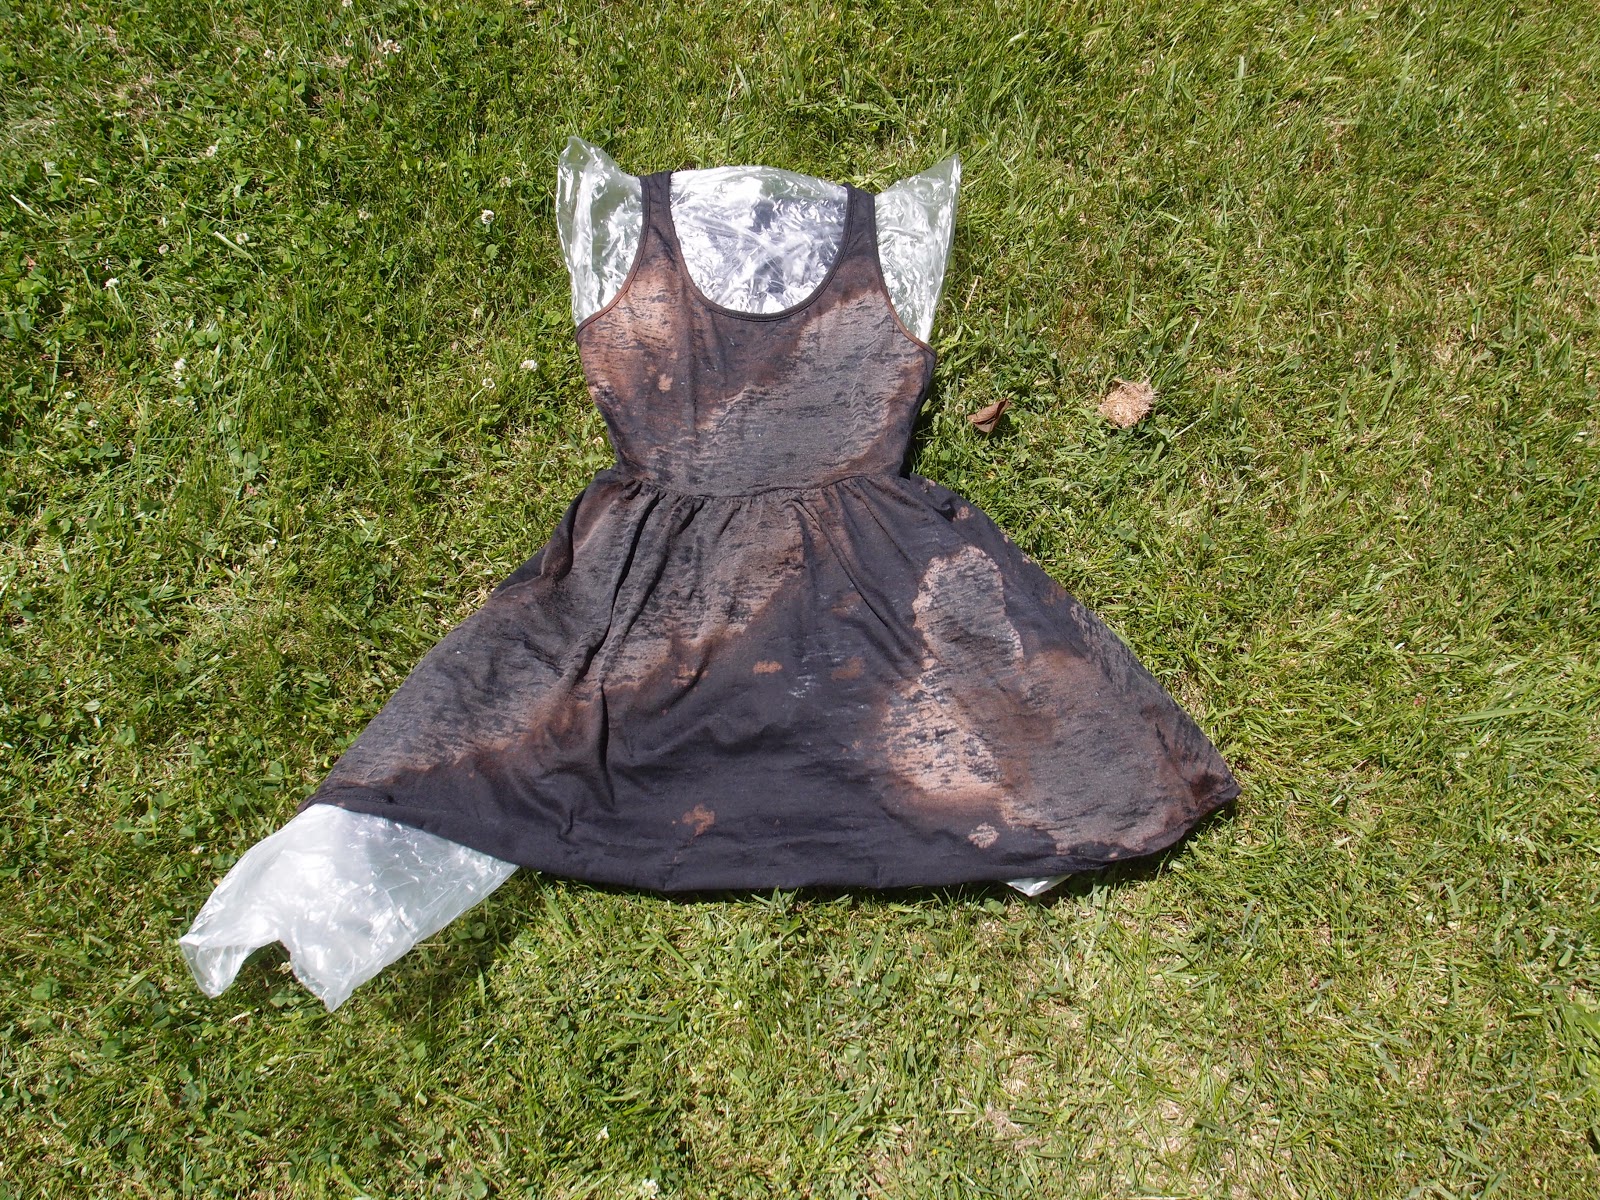
Wait for it to dry… and you’ll see the bits you sprayed more go whiter.
I added some drip drops of bleach to look like little distant galaxies.
The fabric of my dress was extremely thin and weird so it was kind of blotchy.
Now you need to put it through a wash to get all that bleach out! Stinky gross!
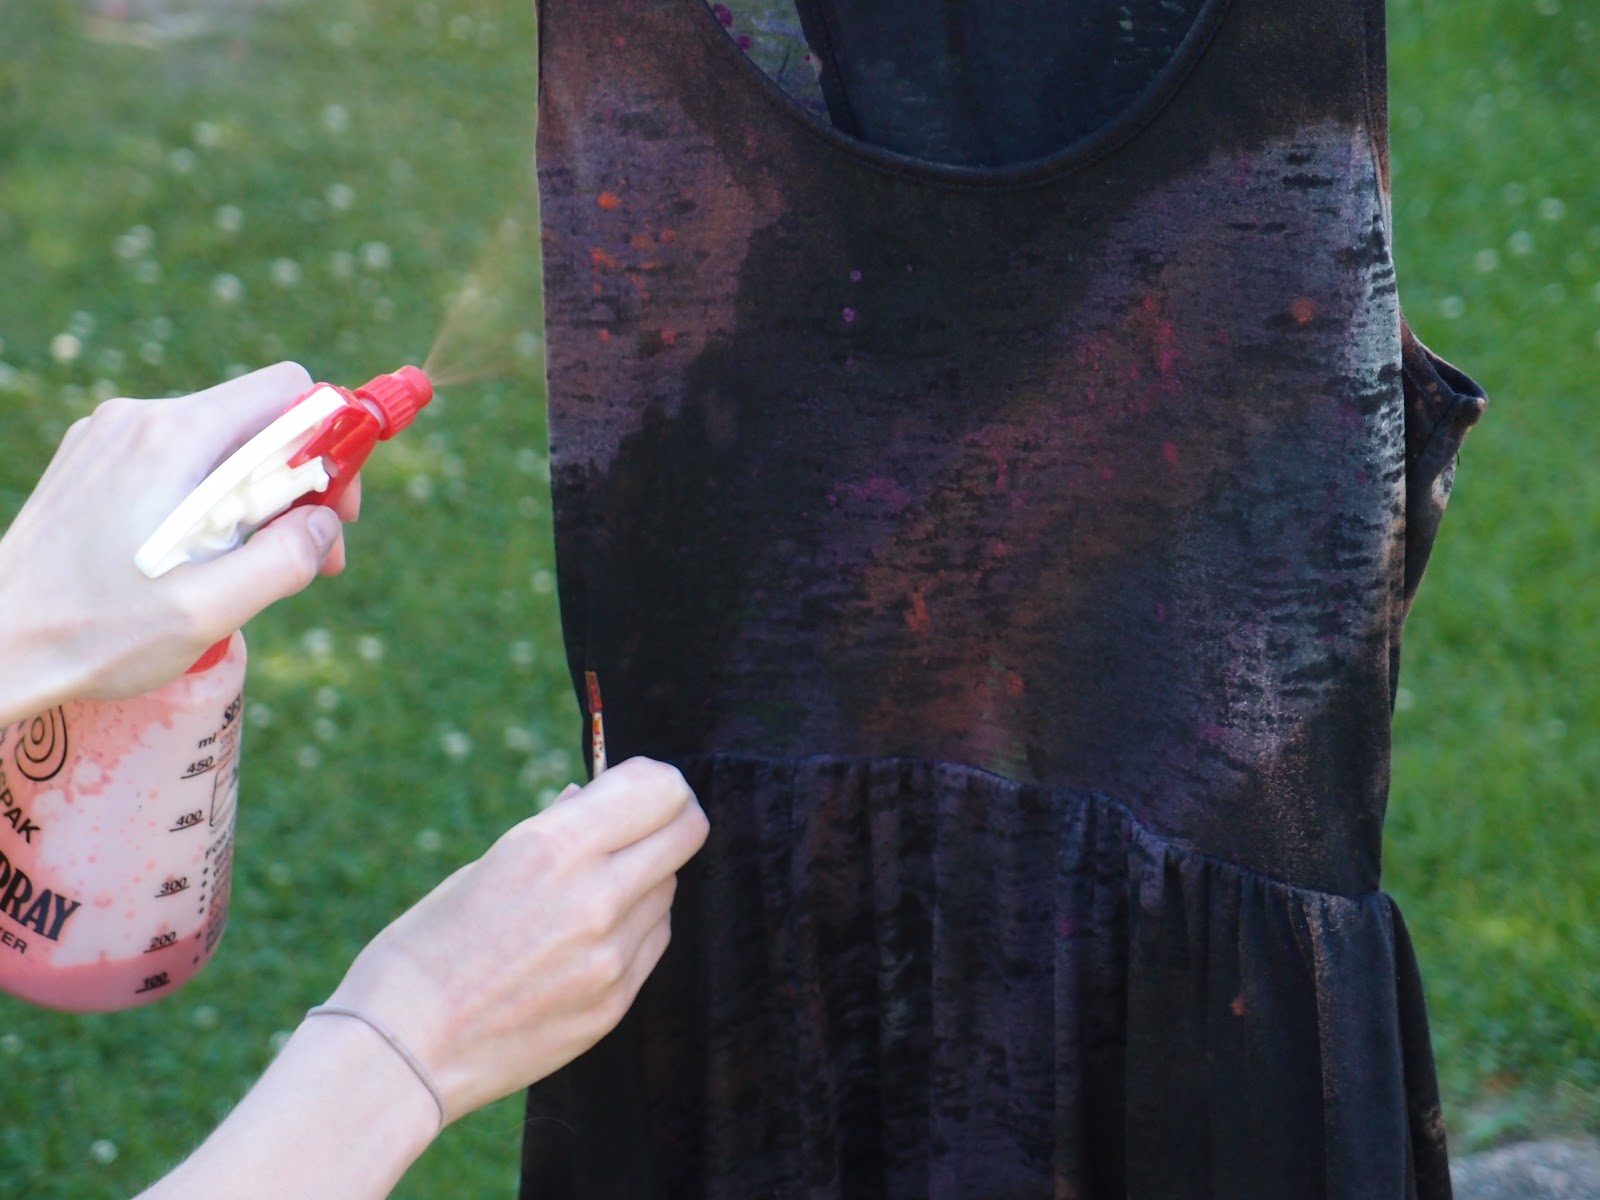
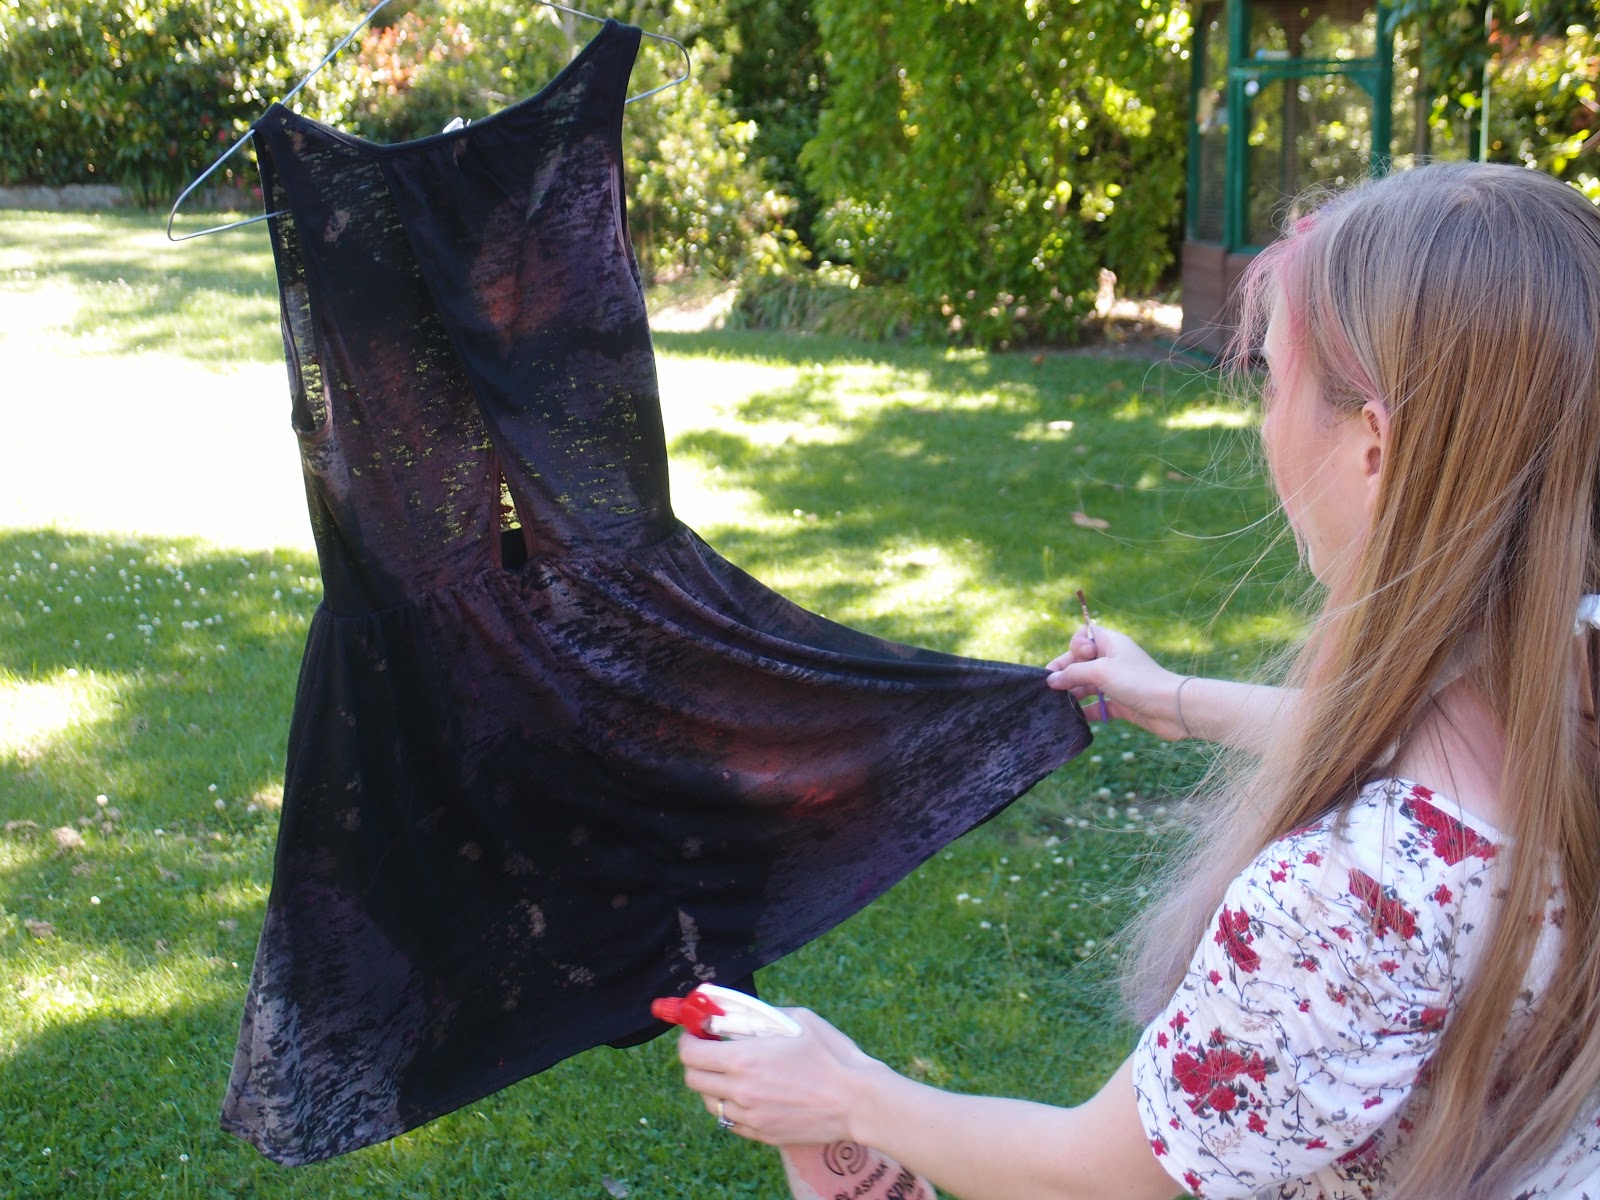
Now get a little bit of paint and put it in the (rinsed out) spray bottle. Dilute with a bit of water to ensure you can actually squirt it through the bottle. It doesn’t matter if it’s a bit thin, you can layer it up. Sometimes it’ll squirt out little blobs of paint, but that looks cool too!
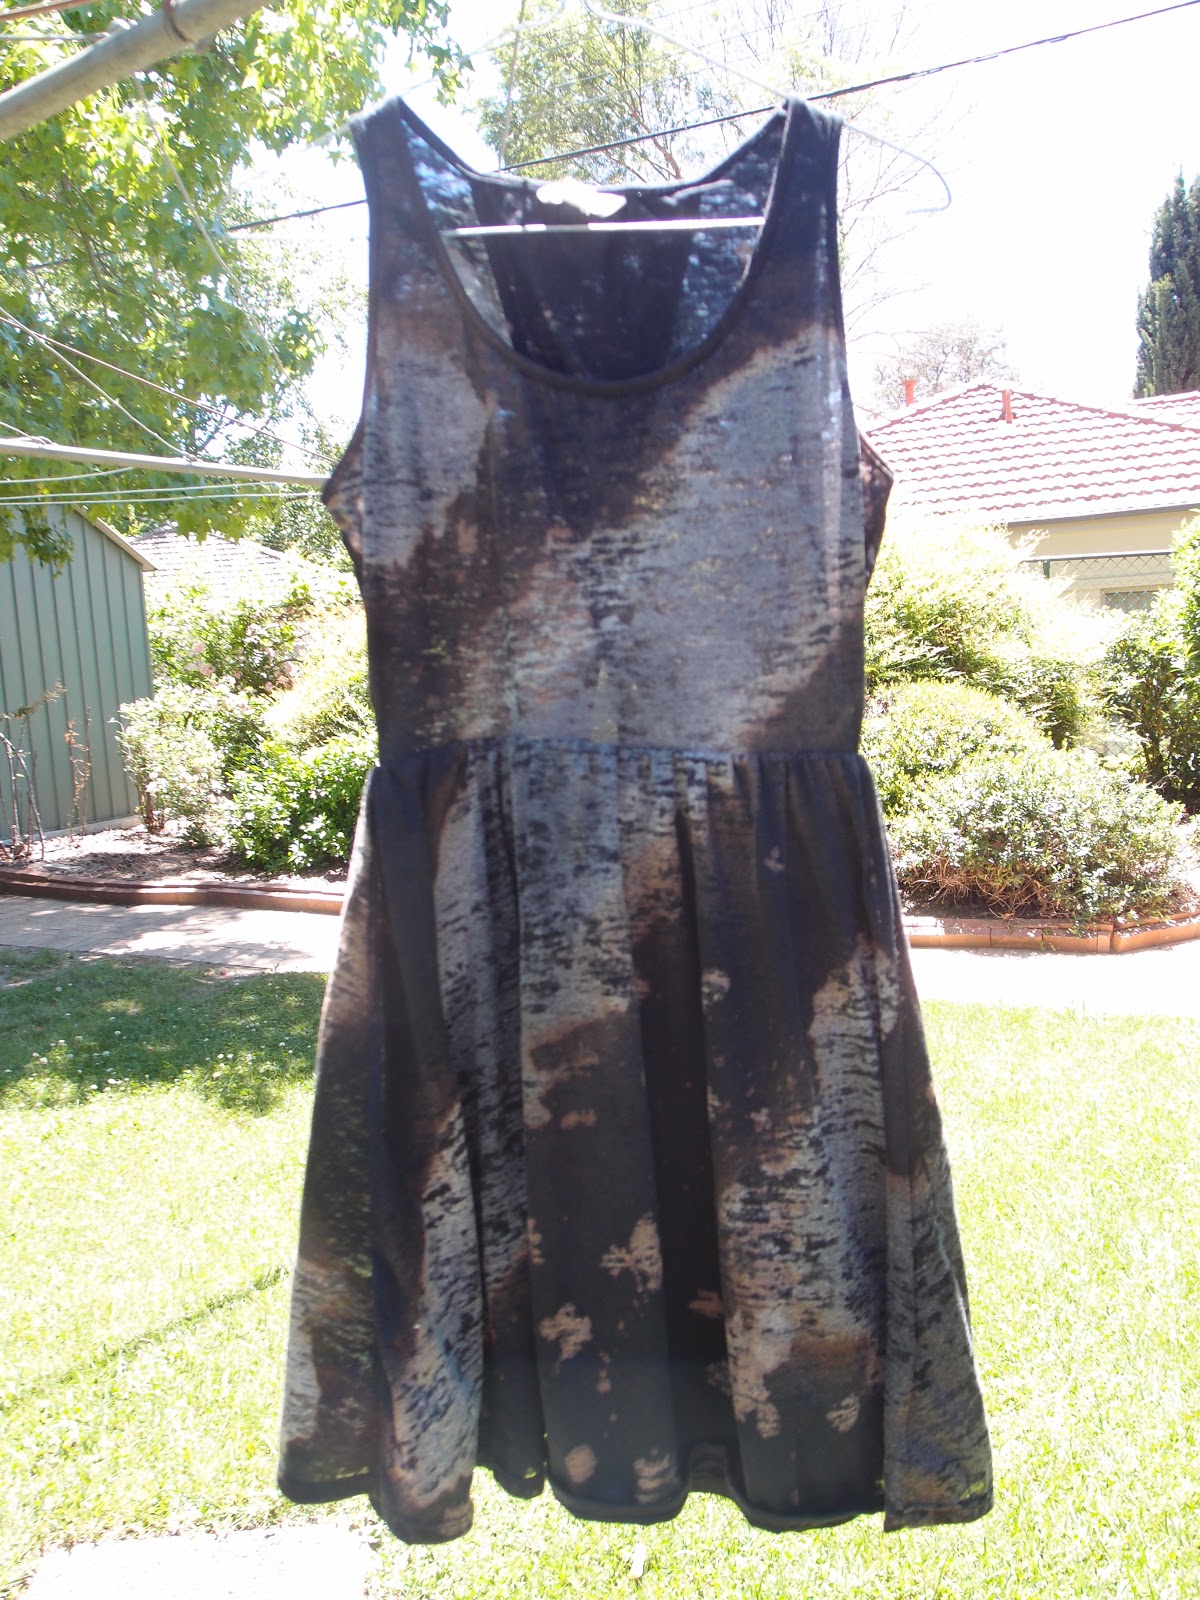
It was easiest to hang it on the line for this process.
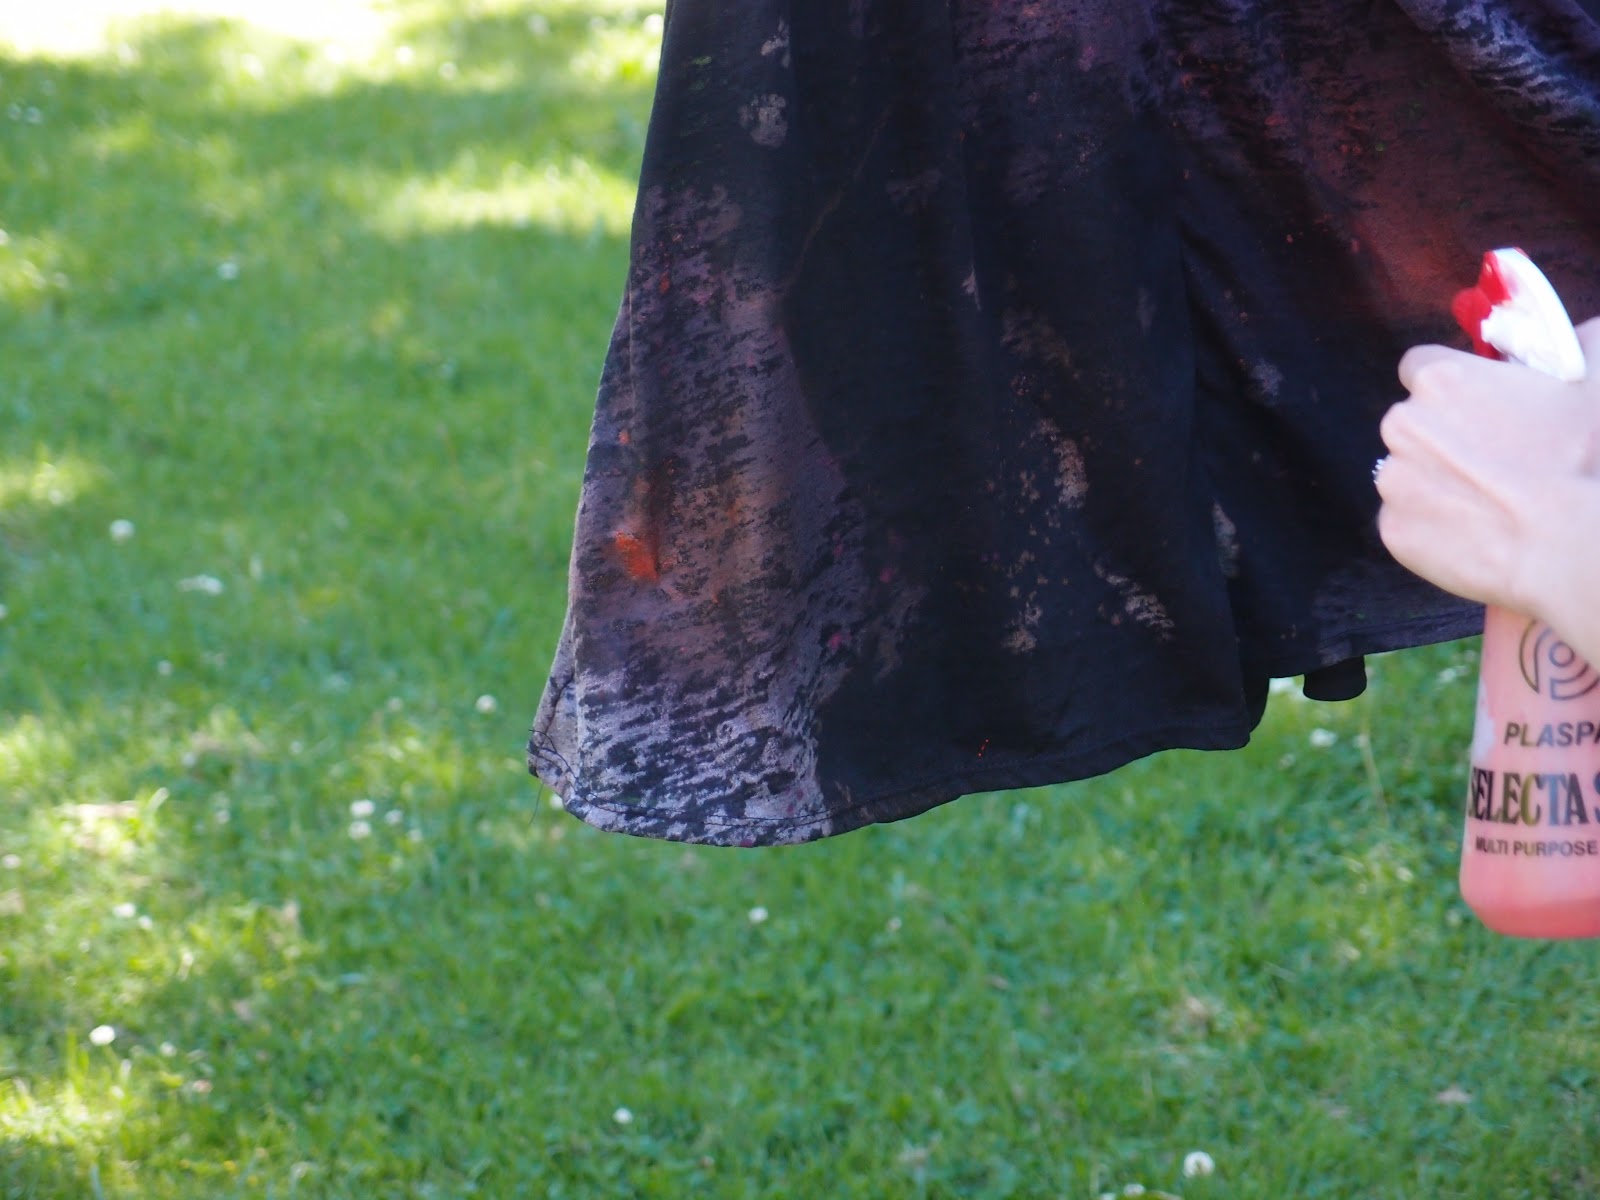
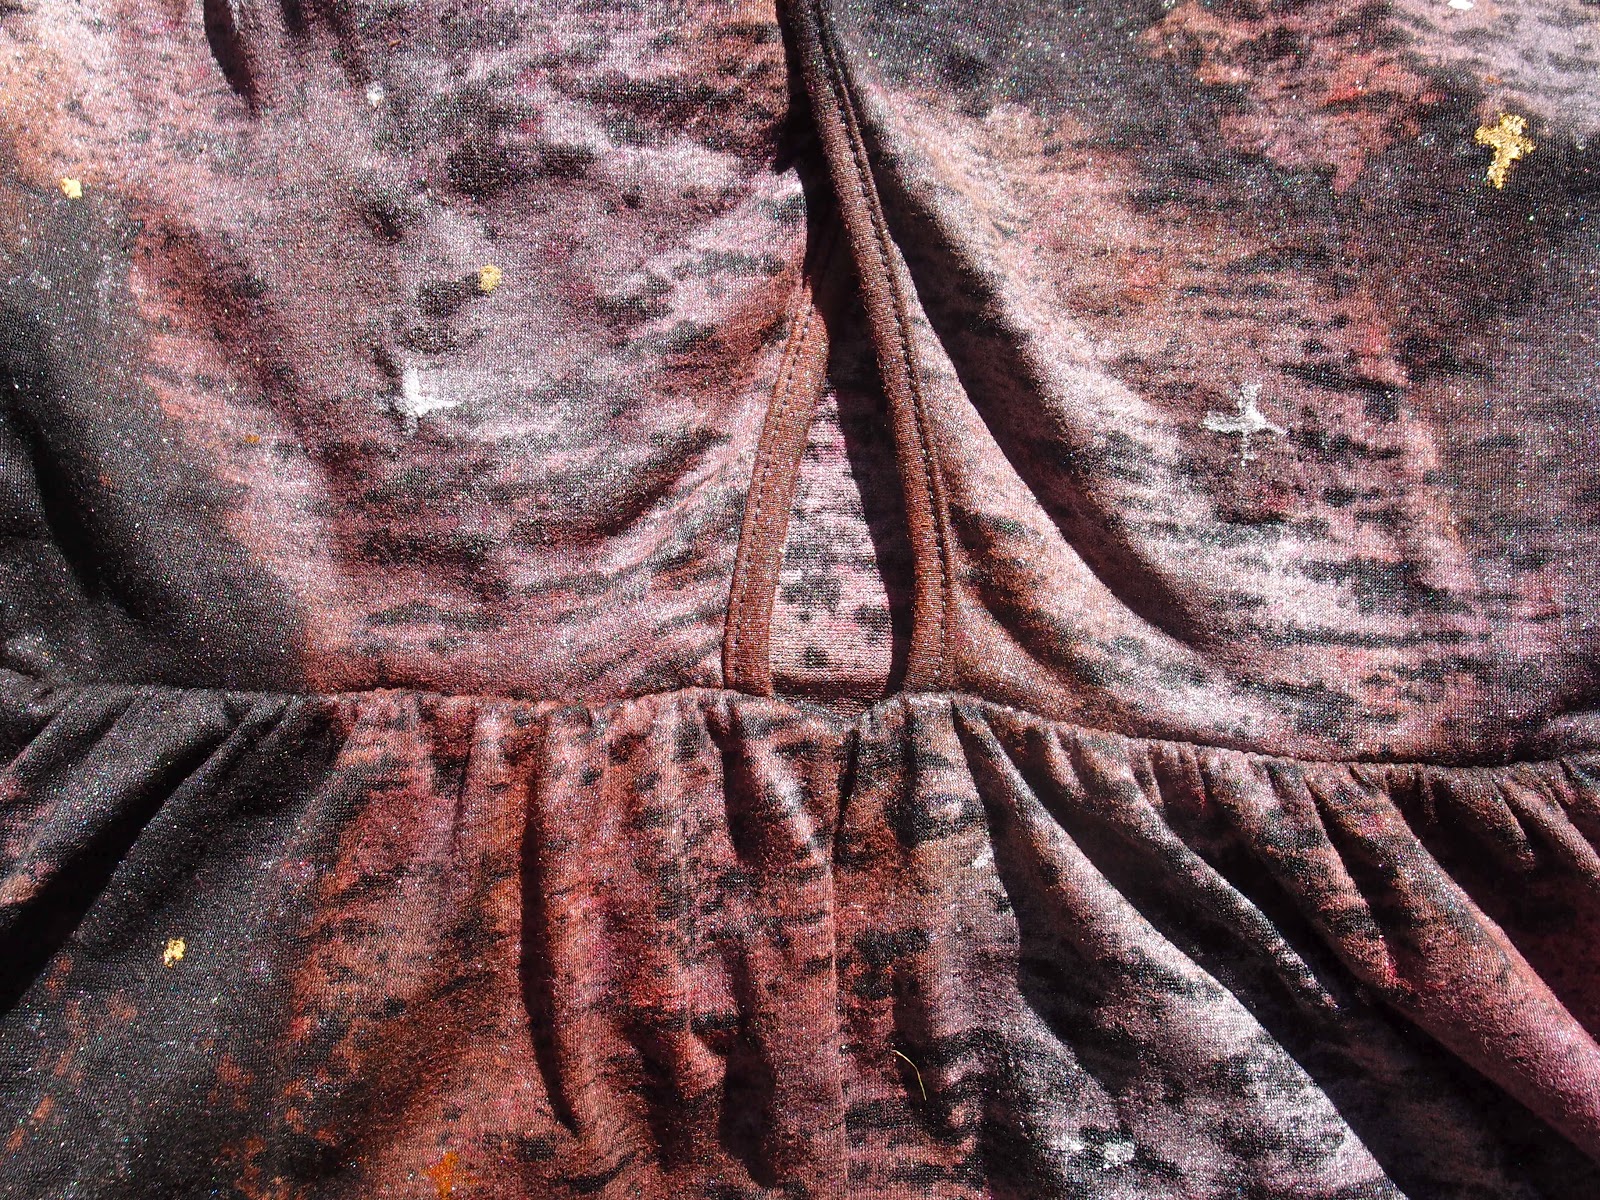
Lastly I sprayed the whole thing with a mixture of silver and pearly-white, which gave the entire dress a gorgeous shimmer. I sprayed lots of that colour on the middle of the nebulas to make it look like there was lots of stars there.
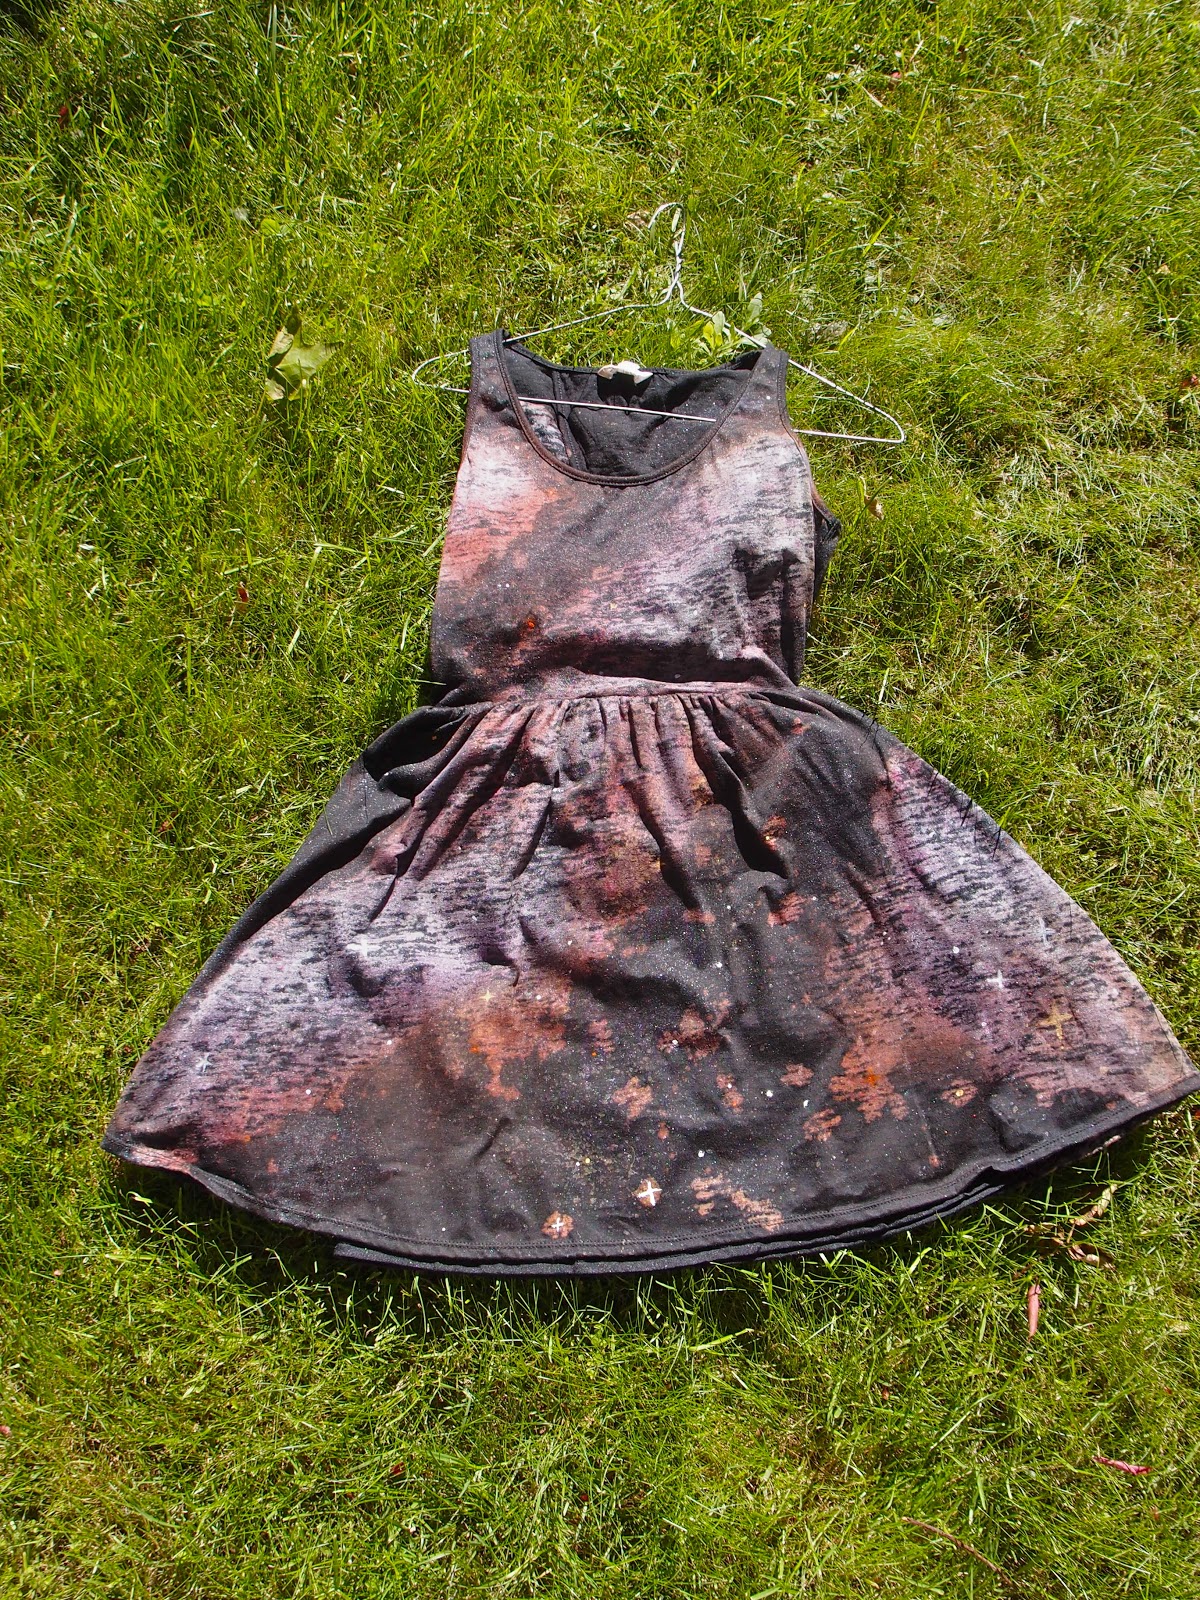
Leave it to dry a bit, and then start to paint on little individual stars with a paintbrush.
Some were little crosses and some were just spots. I used gold, silver, red, and pearl to do this.
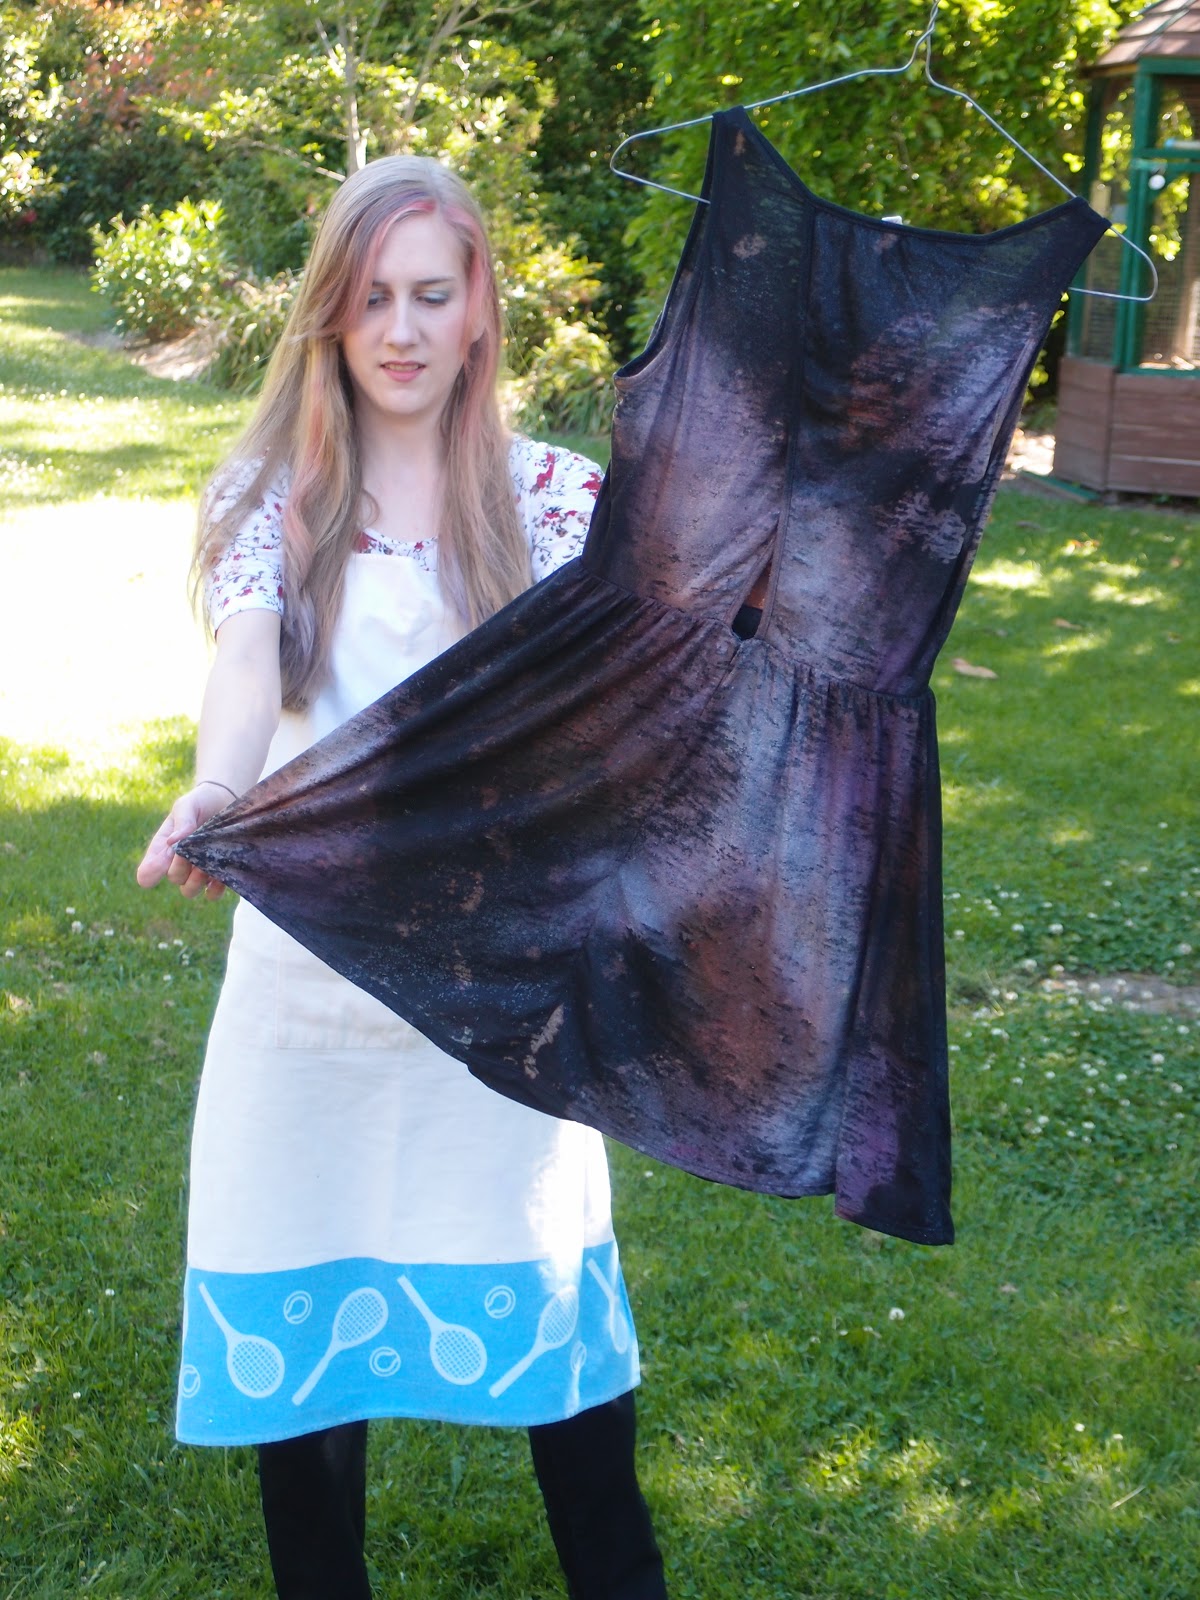
The back of the dress turned out beautiful I think! It has a cute keyhole back.
Next, leave until completely dry and then heat-set the paint with your iron according to the instructions on the paint. Probably best to put an old sheet in-between so you don’t get a galaxy print iron.
Gosh it’s short.
But cute! I’m really happy with this and can’t wait to wear it to all this Summer’s pool parties! Does anyone I know have a pool? Guys? Anyone?
Now I know this method works, I might get a nicer black dress and do it again! It was a really fun afternoon!
I just found these old photos of a wallet I made from wide sticky tape and some electrical tape.
I encased various things I liked in the walls of the wallet.
First I decided on the pattern of things to put in the wallet. Then I made a rectangle of tape with each strip overlapping a bit. Then I put the items on the tape and stuck them down. Then another layer of tape was put on top to seal it in. I made another one the same way. Then I made them into a kind of envelope, using the red electrical tape to hold the sides together.
I also made a little card window on the inside where I could put my licence. I put printed out photos, a nostalgic movie ticket, lolly wrappers, a scotty dog iron-on transfer, a glow in the dark star, an old bookmark.
This picture (sort of) shows it with some cards in it. This was when I was like 17 so I probably didn’t even have a licence. But I did have a library card and a McDonald’s voucher!
I’m working on some other projects, some tutorials, some sewing things, and I’ll get them up shortly.