charles, chocolates, cooking, life

How to make chocolates!

On Friday, Charles and I made chocolates to sell at the election on Saturday.  Since the church was to be used as a voting venue, our friends decided to have a sausage sizzle/ chocolate sale/ cake stall to raise money for charity.  Charles and I ended up in charge of making the chocolates!  We made chocolate ginger, strawberry flavoured hearts, freckles, peppermint swirl, orange swirl, and rocky road.

Ingredients:
Moulding chocolate – white, milk, and dark.
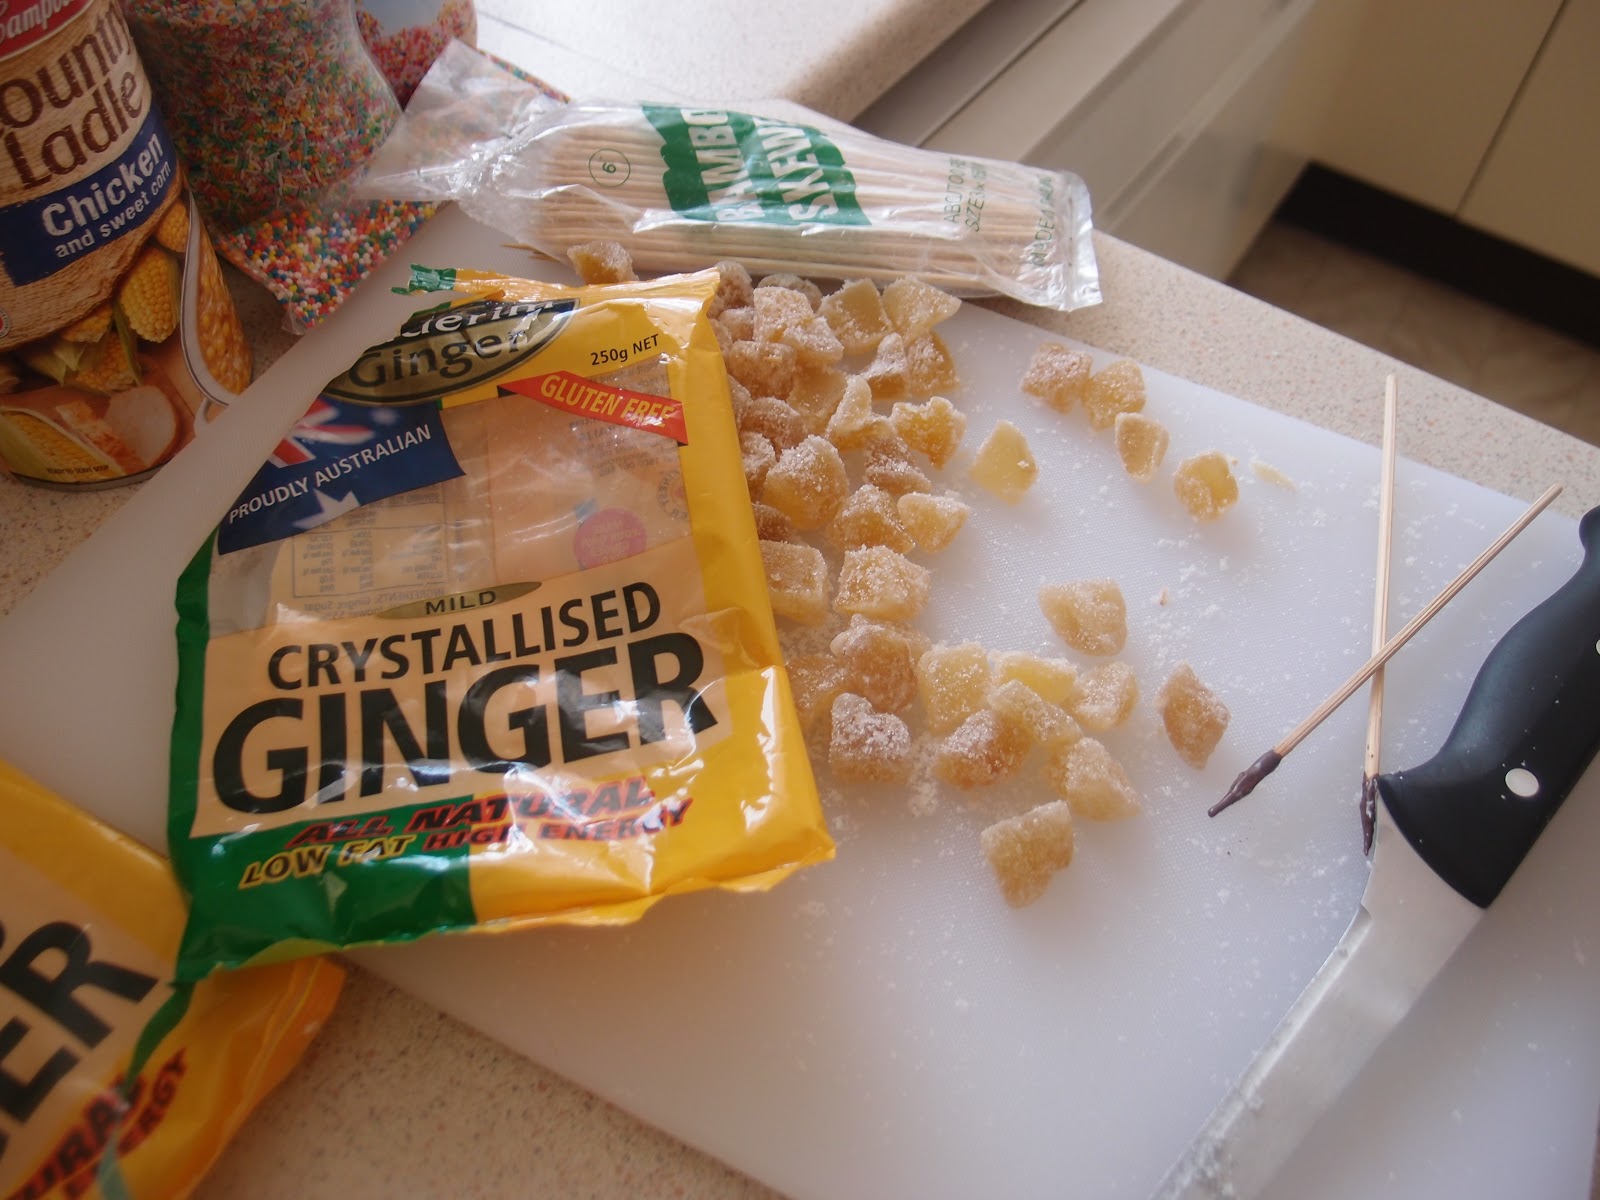
Crystallised ginger.
Hundreds and thousands (sprinkles)
Food colouring – green and orange
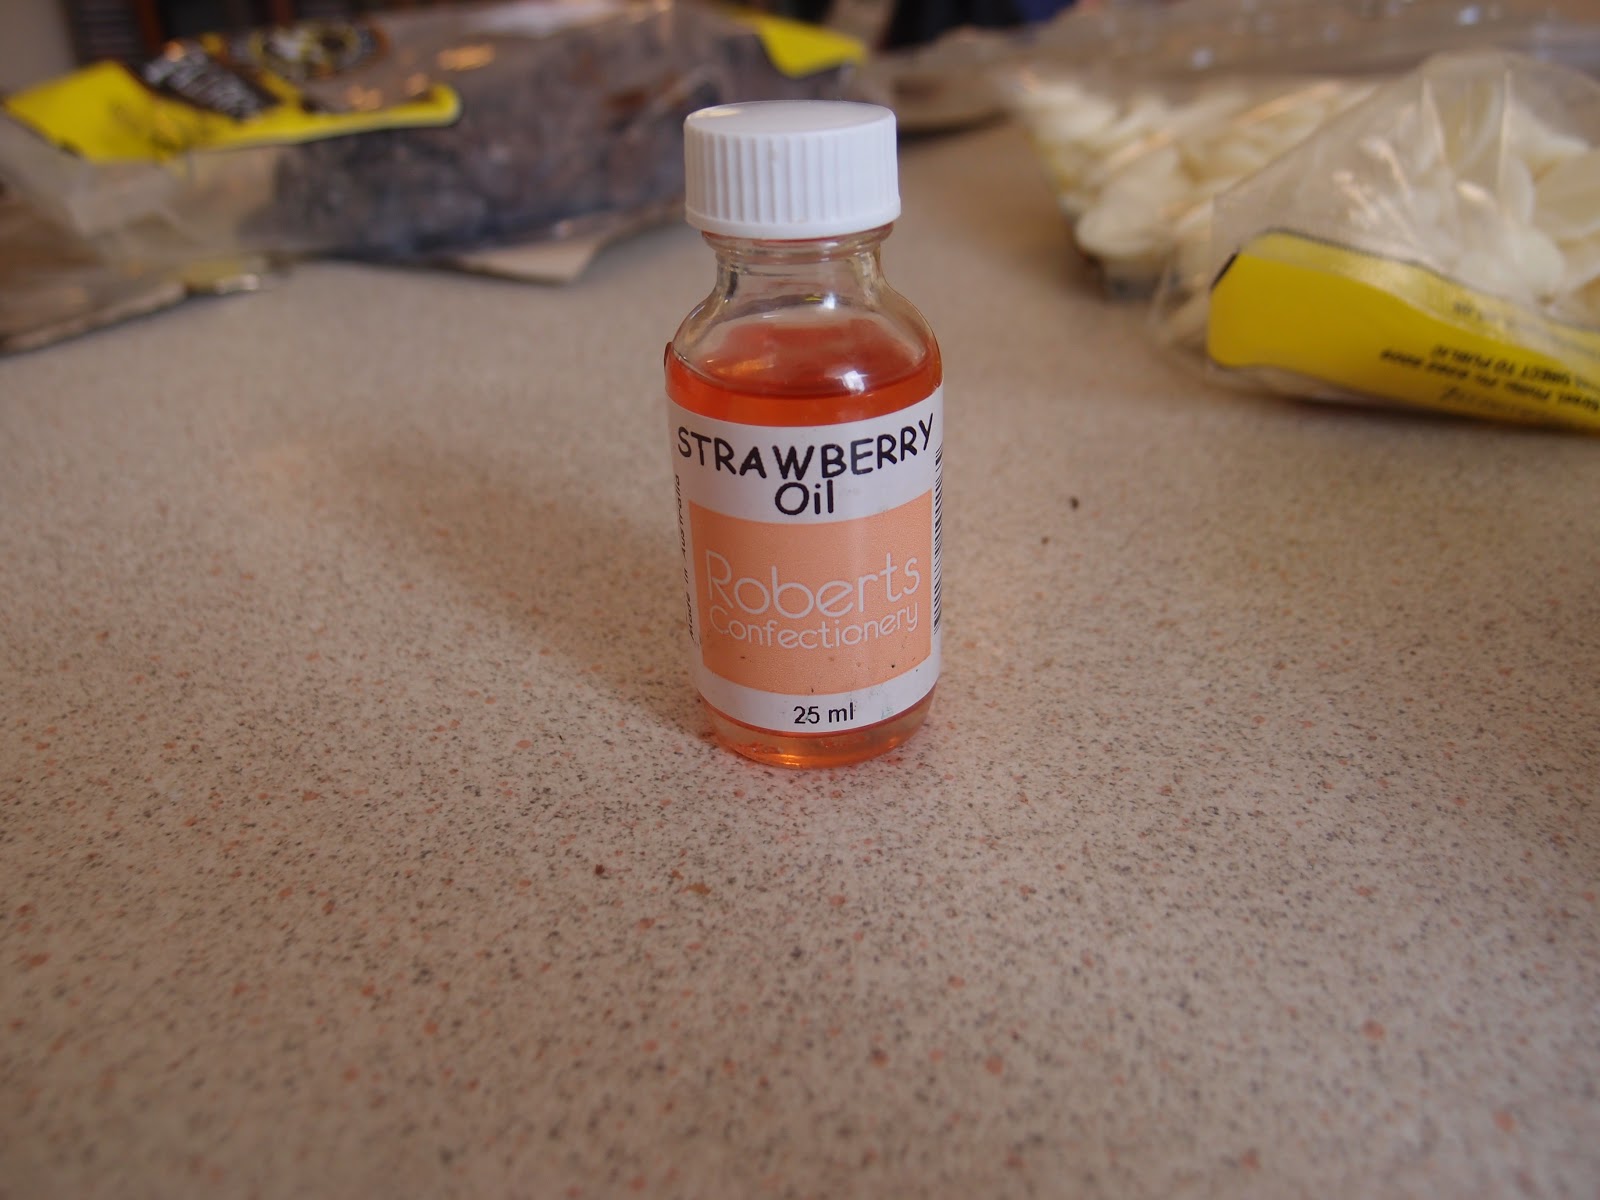
Food flavouring – strawberry, peppermint and orange

Tools:
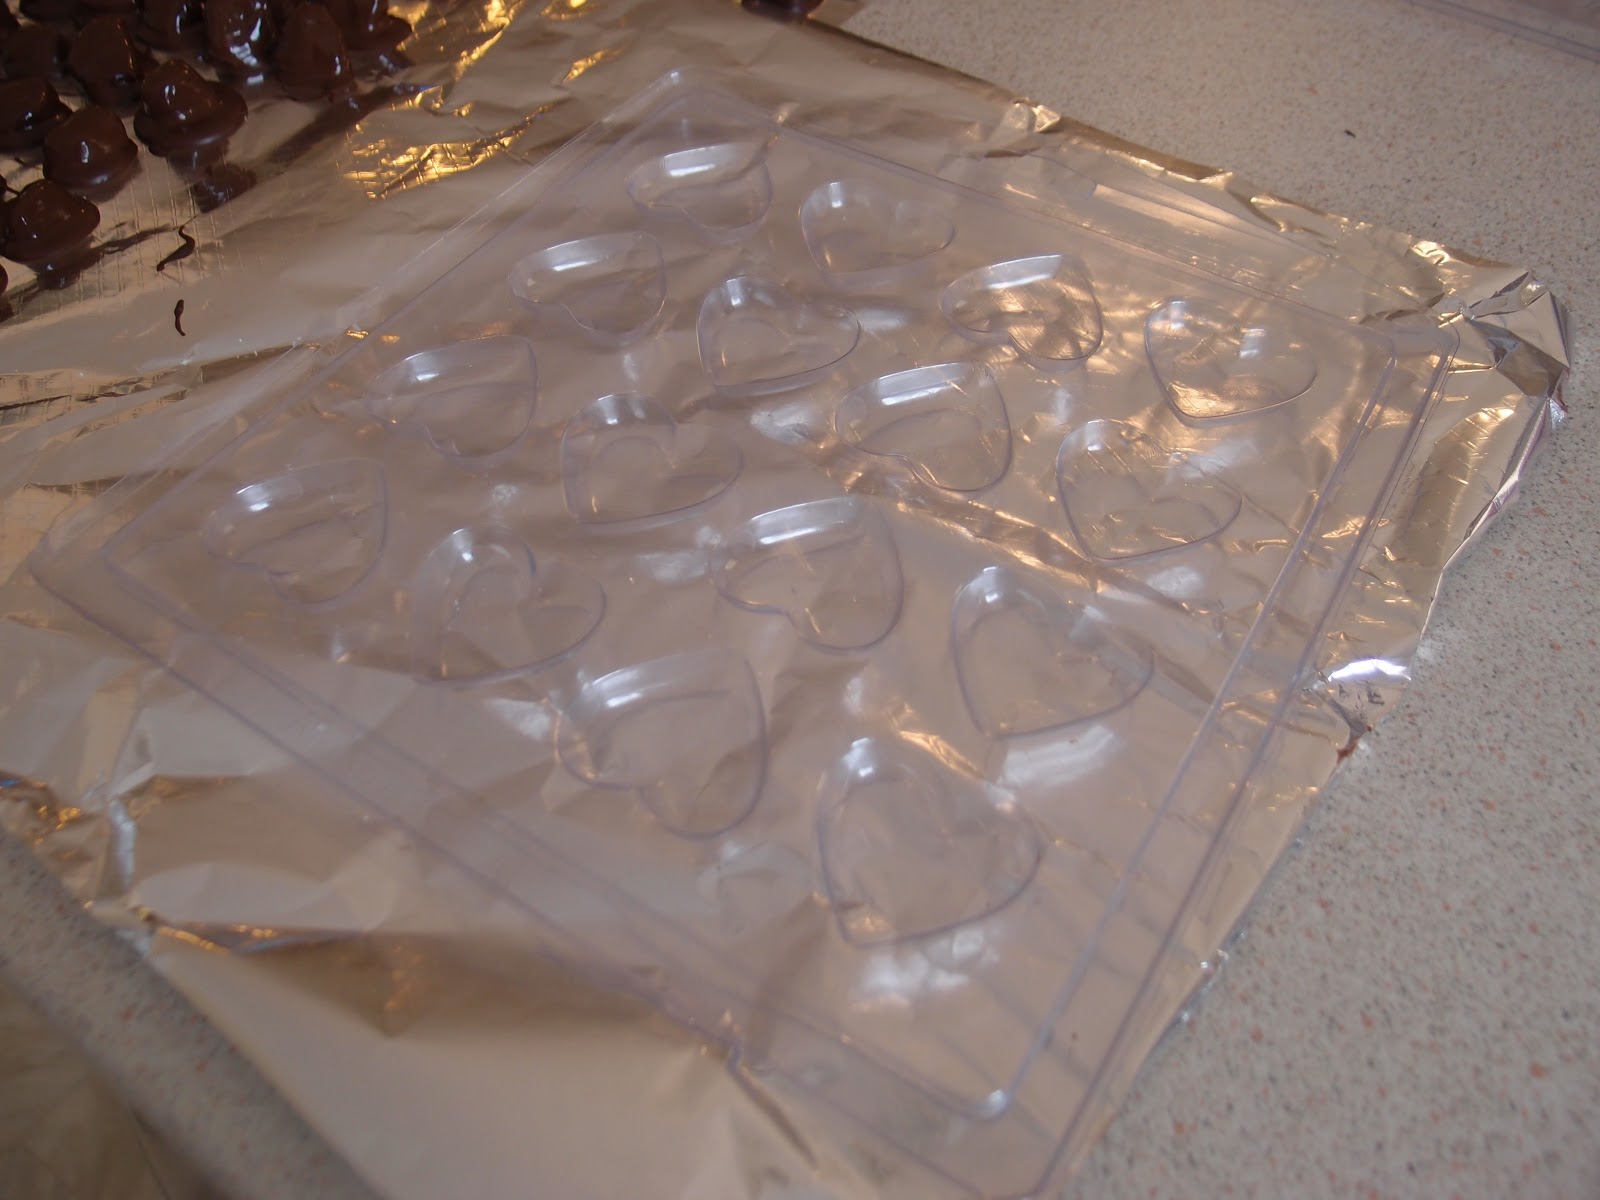
Chocolate moulds – hearts, or whatever you like!
Aluminium foil 
Skewers
Muffin or cupcake baking pans
Baking trays
Tupperware shallow box
Microwave

1. Ginger Chocolates
First, get your crystallised ginger and chop it up into little bits.

Melt your chocolate and put all the ginger bits into the chocolate!  Make sure they’re all coated.

 Use tongs or chopsticks to get out the ginger pieces and place them on a piece of foil to set!

2. Strawberry flavoured dark chocolate hearts

First get a bowl of dark chocolate and nuke it til it’s nice and runny. 
You’ll need some strawberry flavouring stuff, this is what we used.  Put a tiny bit into the chocolate and mix.  You really only need a little, this stuff is potent.

 
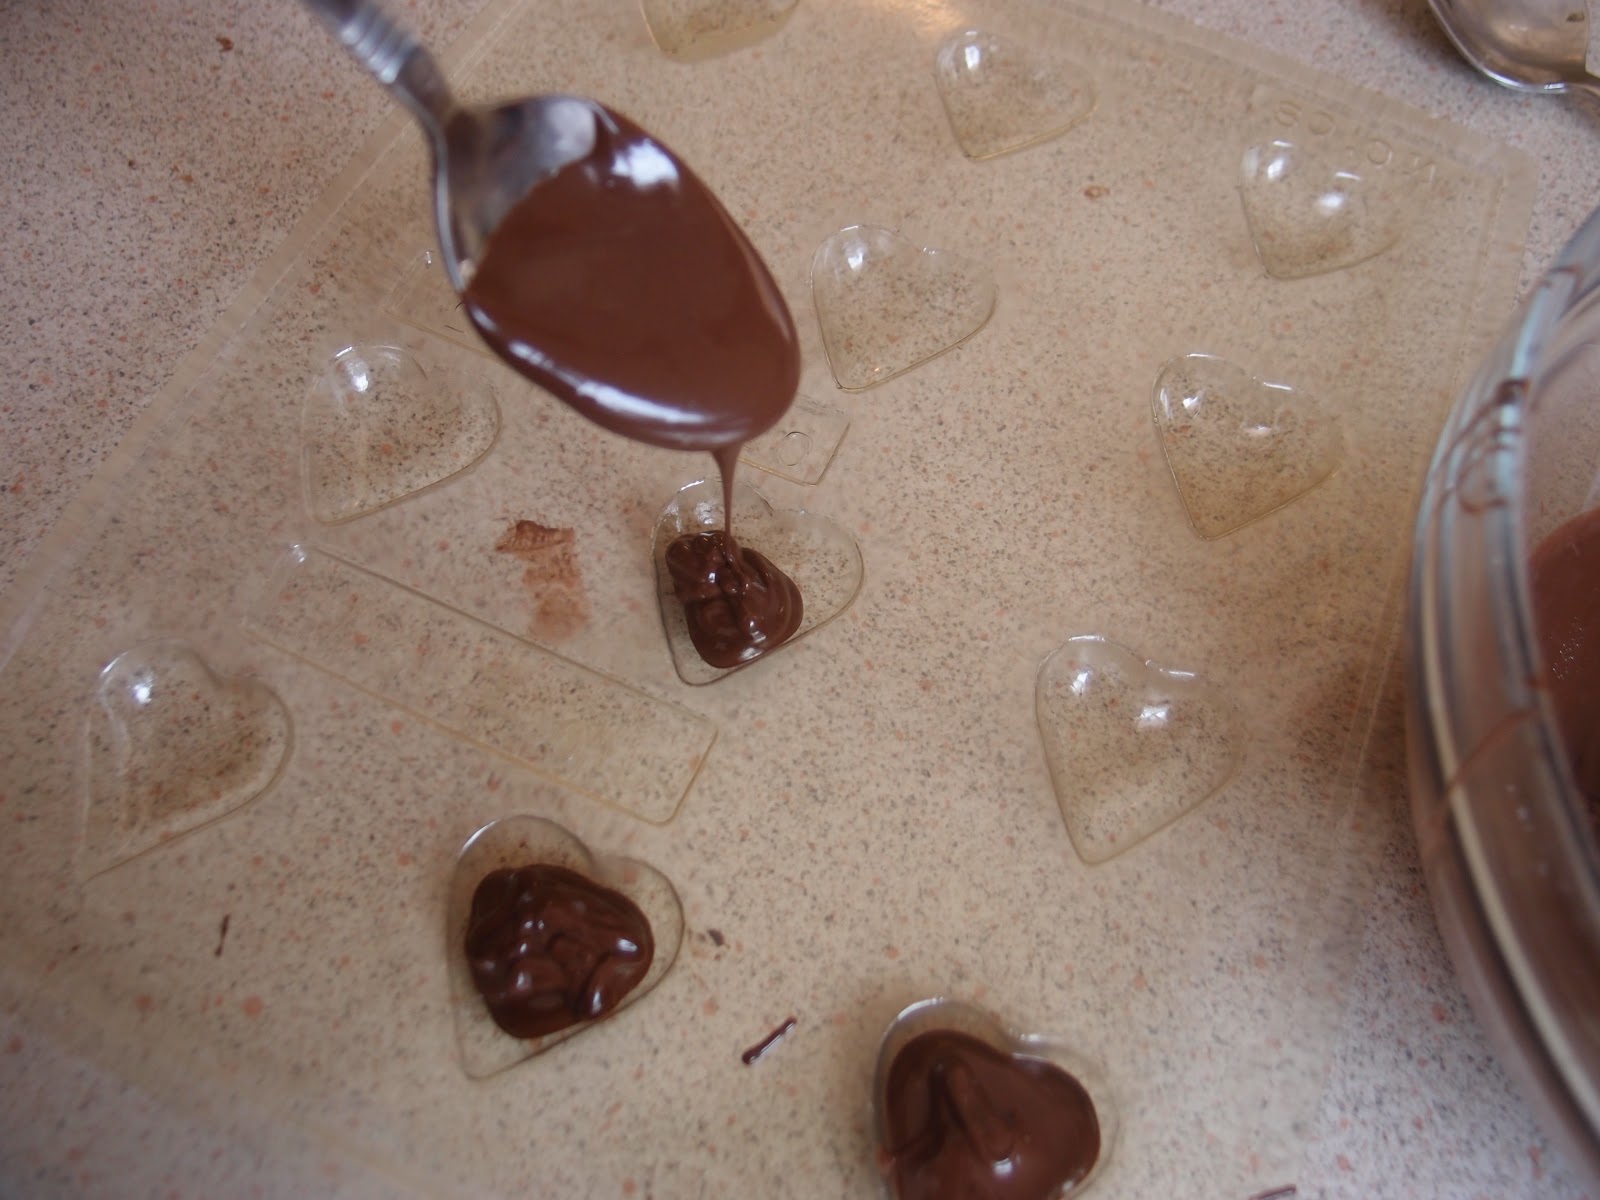
Get your moulds ready…

 Pour in the chocolate!  Leave to set in the fridge.

 3. Giant freckles!

I forgot to take progress pictures but here’s what you do.  Melt some milk chocolate.  Put the chocolate into some muffin trays.  About a teaspoon of chocolate each is right.  Wait a minute til it starts to cool, then put a whole lot of sprinkles on top! 
Leave to set.  When it’s cool, you can shake off the remaining sprinkles and put them aside for later.

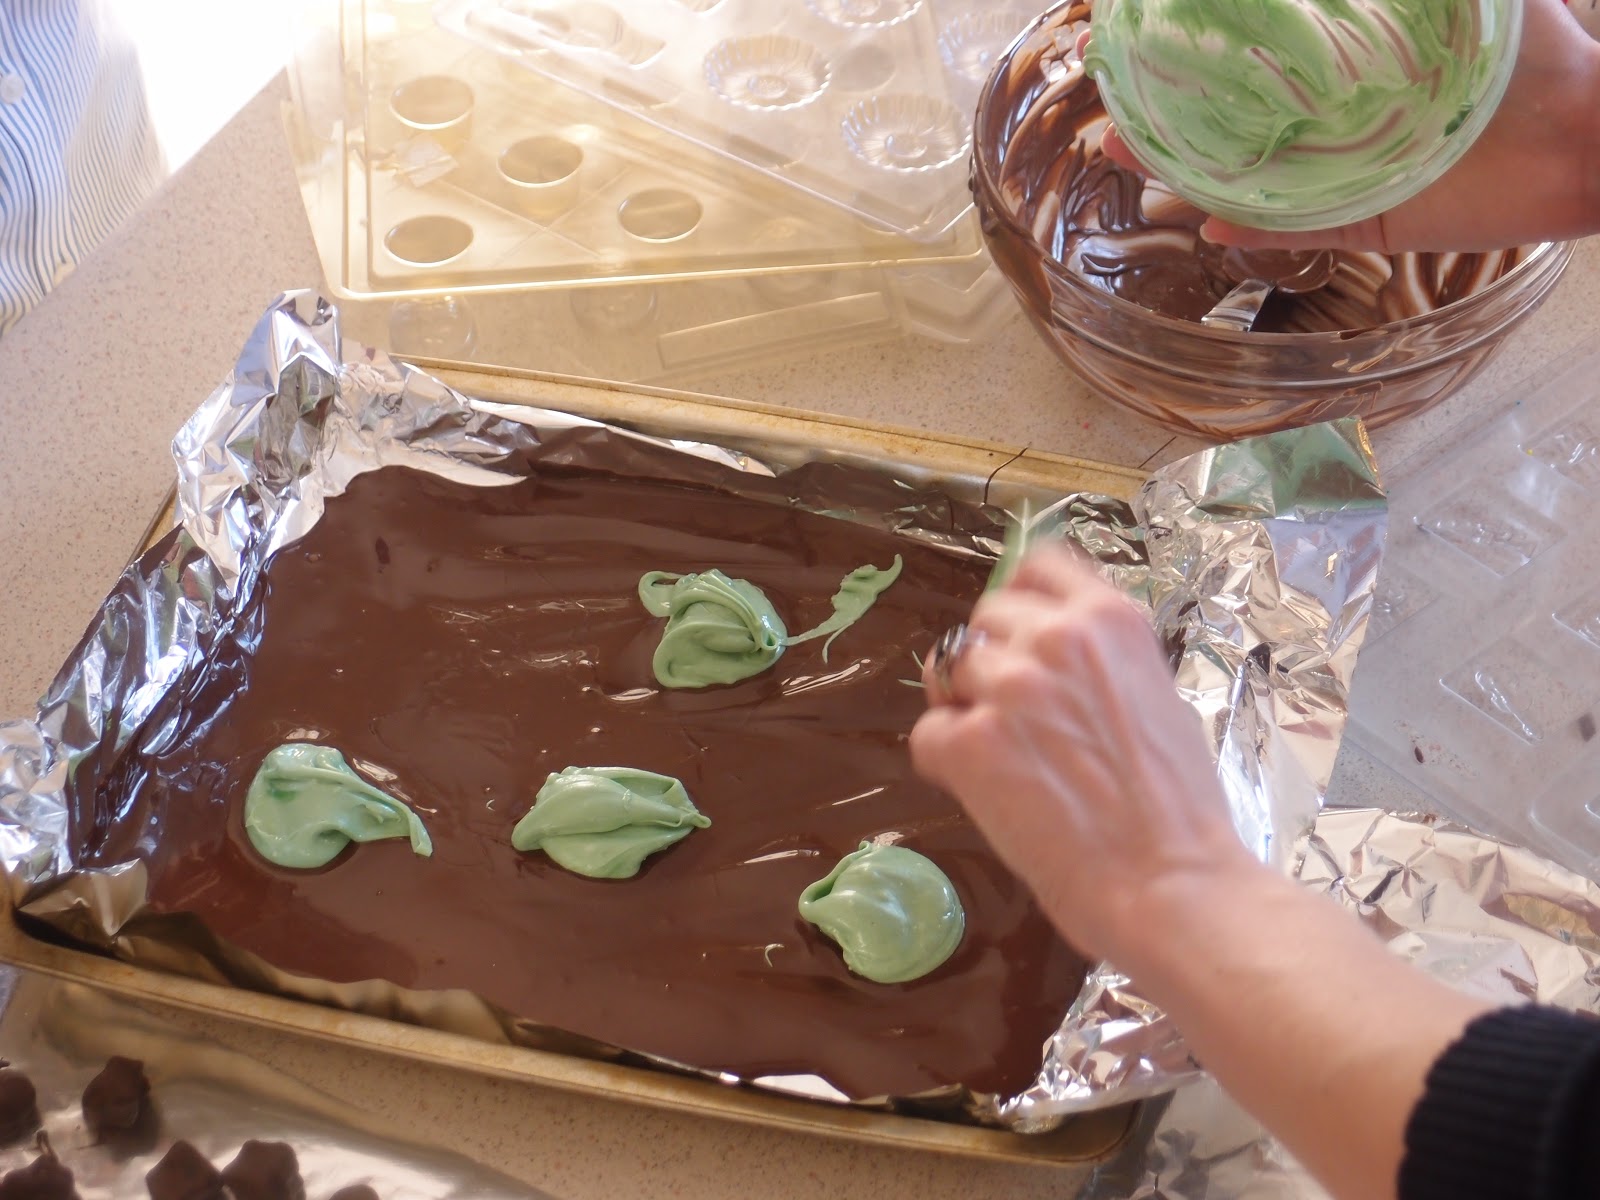
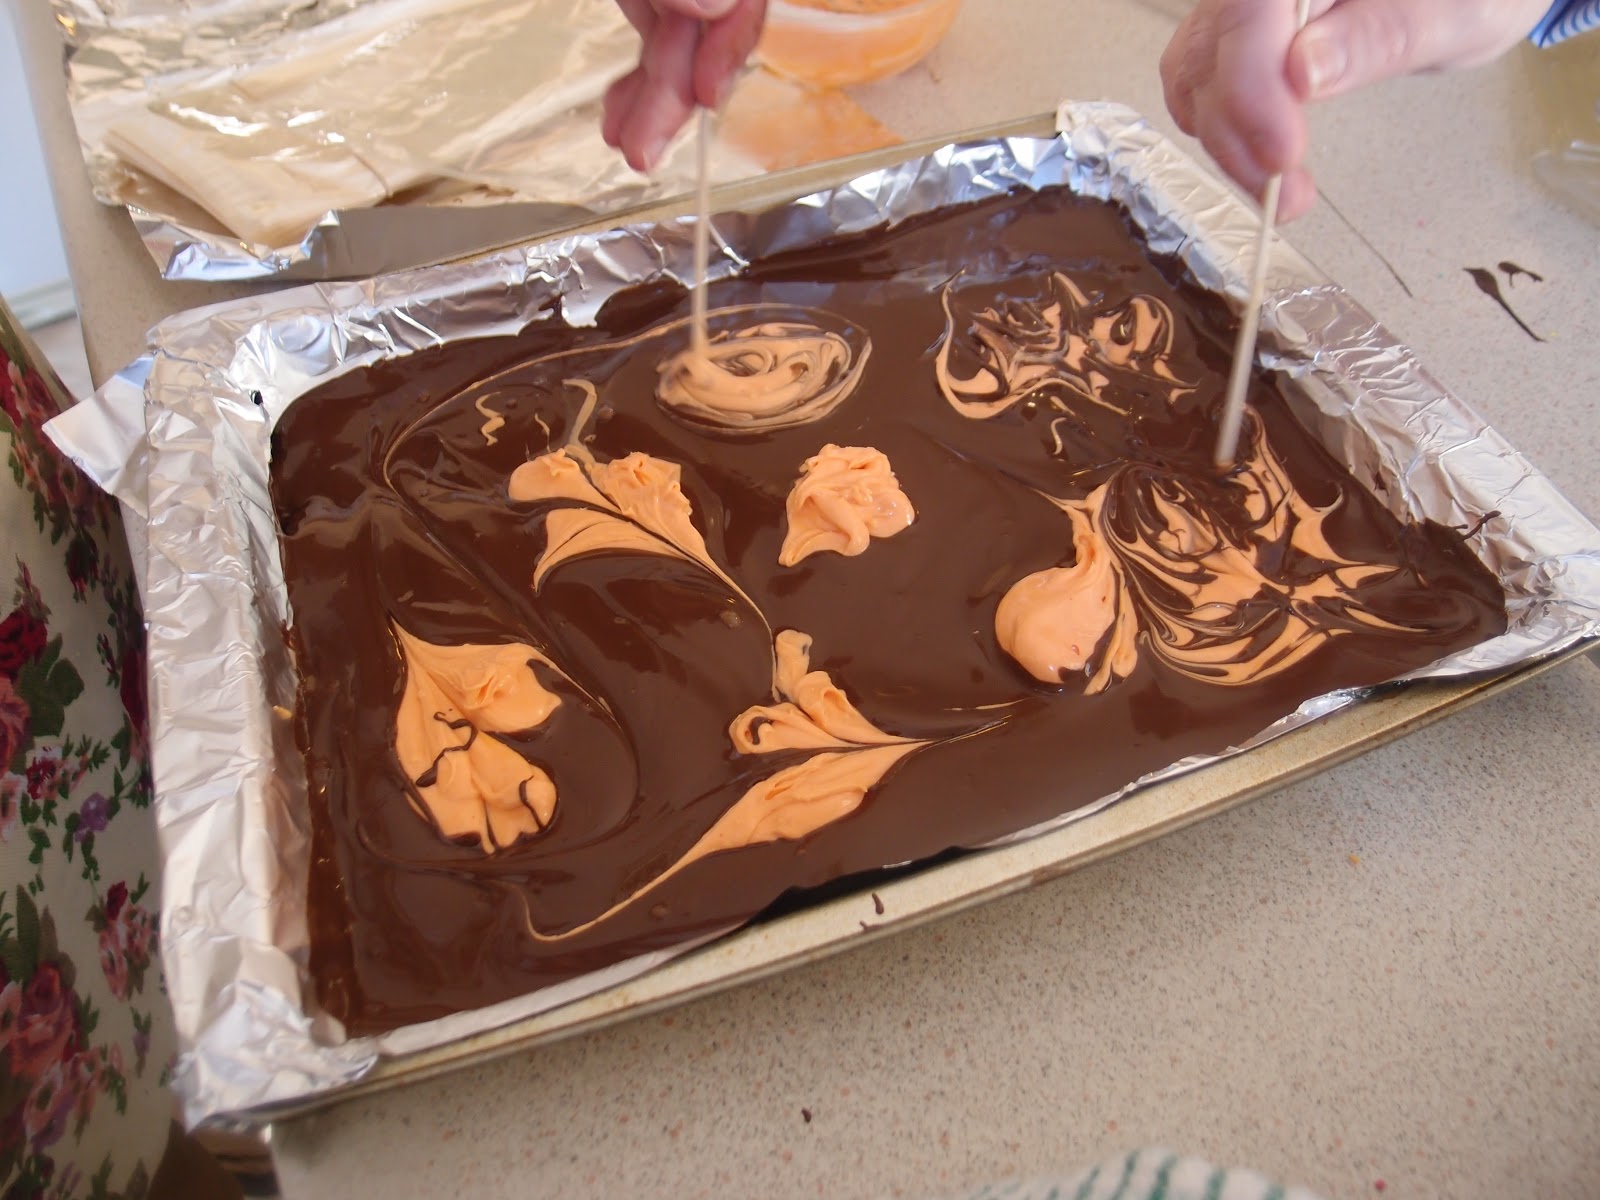
4 and 5.  Peppermint/ Orange swirl! 
First melt around 500g of dark chocolate.  Mix in a small amount of peppermint/orange oil.  Line a baking tray with foil and pour it all in.  
Then melt a smaller amount of white chocolate and colour it green/orange.  Put big splodges of colour onto the dark flavoured chocolate.  Like so. 

 Then using a skewer, mix around the coloured chocolate to make swirls.  I like to drag the skewer across the whole tray in zigzag motions.  Charles likes swirling in a circle.  Be creative!

Leave to set!  When it’s set, peel off the foil and break it up into bite-sized pieces with your hands.

 6. Rocky Road
First melt 500g of milk chocolate.  Add a bag of mini marshmallows and half a bag of chopped peanuts!  Mix it up and pour it into a tray.  I didn’t take pictures of our progress with this one but it’s the easiest!


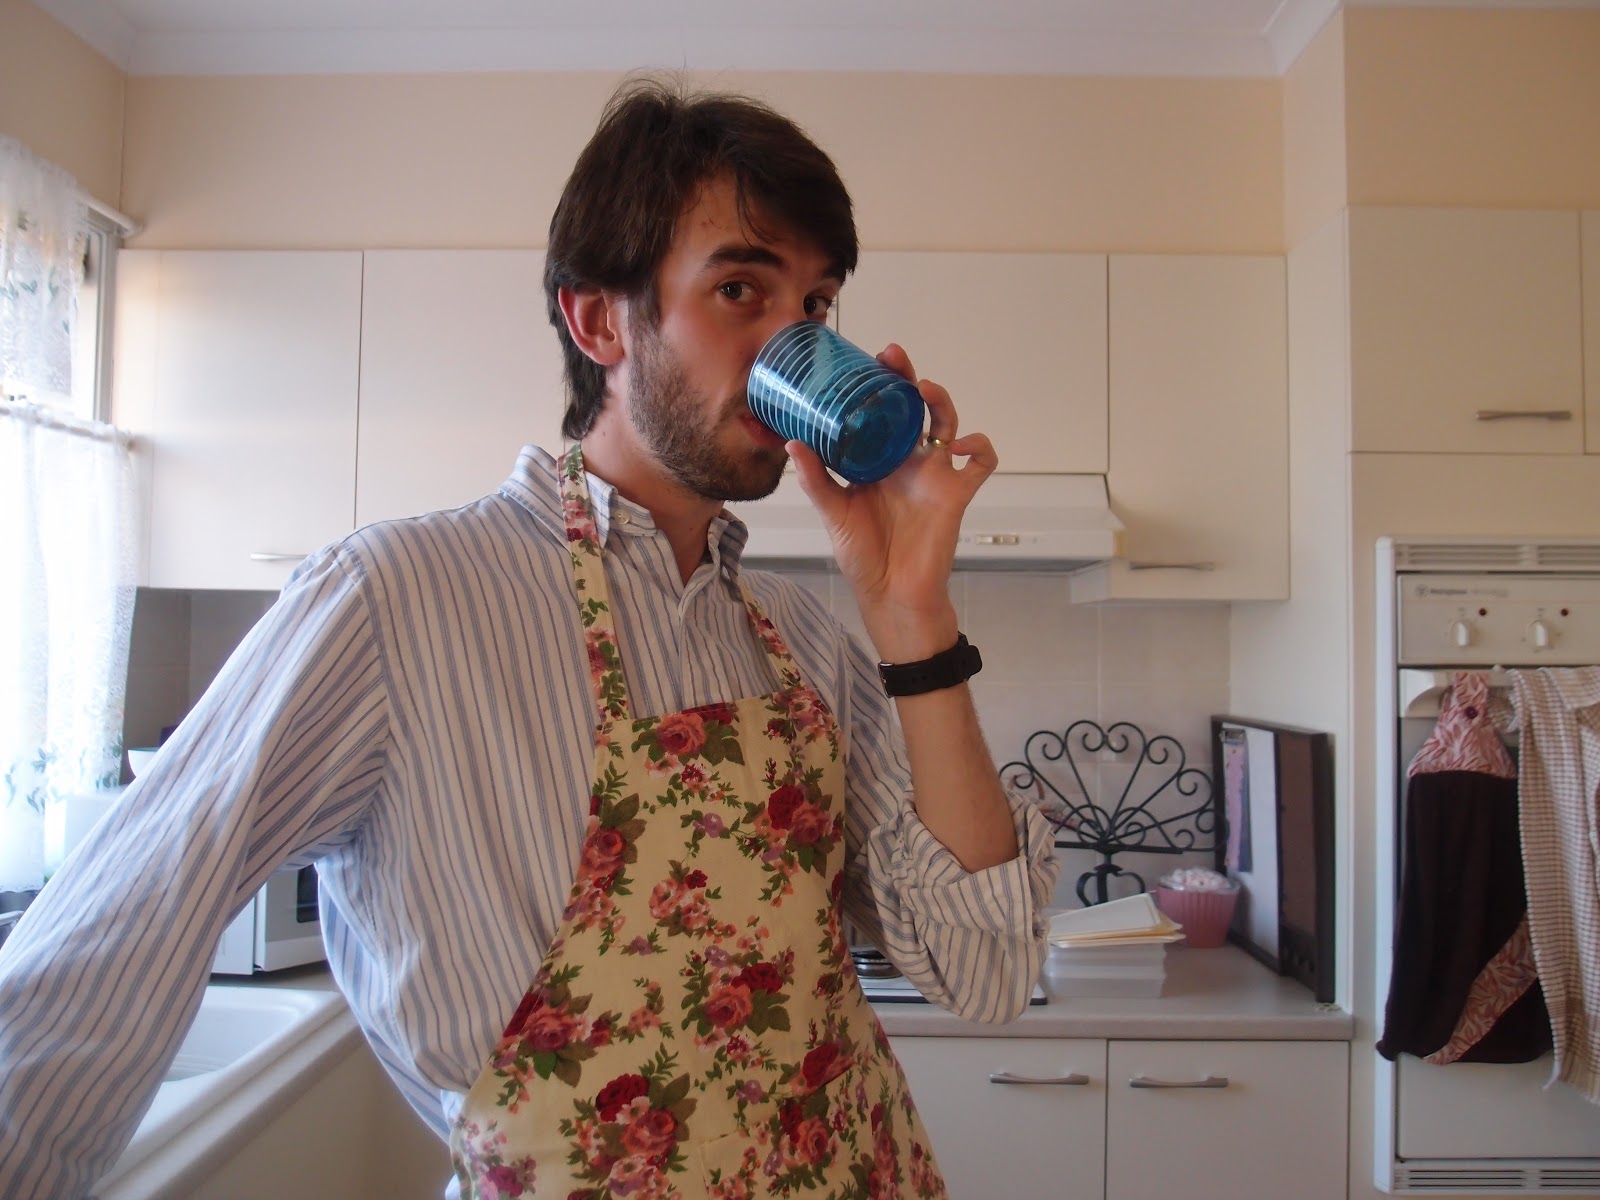
After all that we were tired and needed a drink.  Charles has a cute apron.

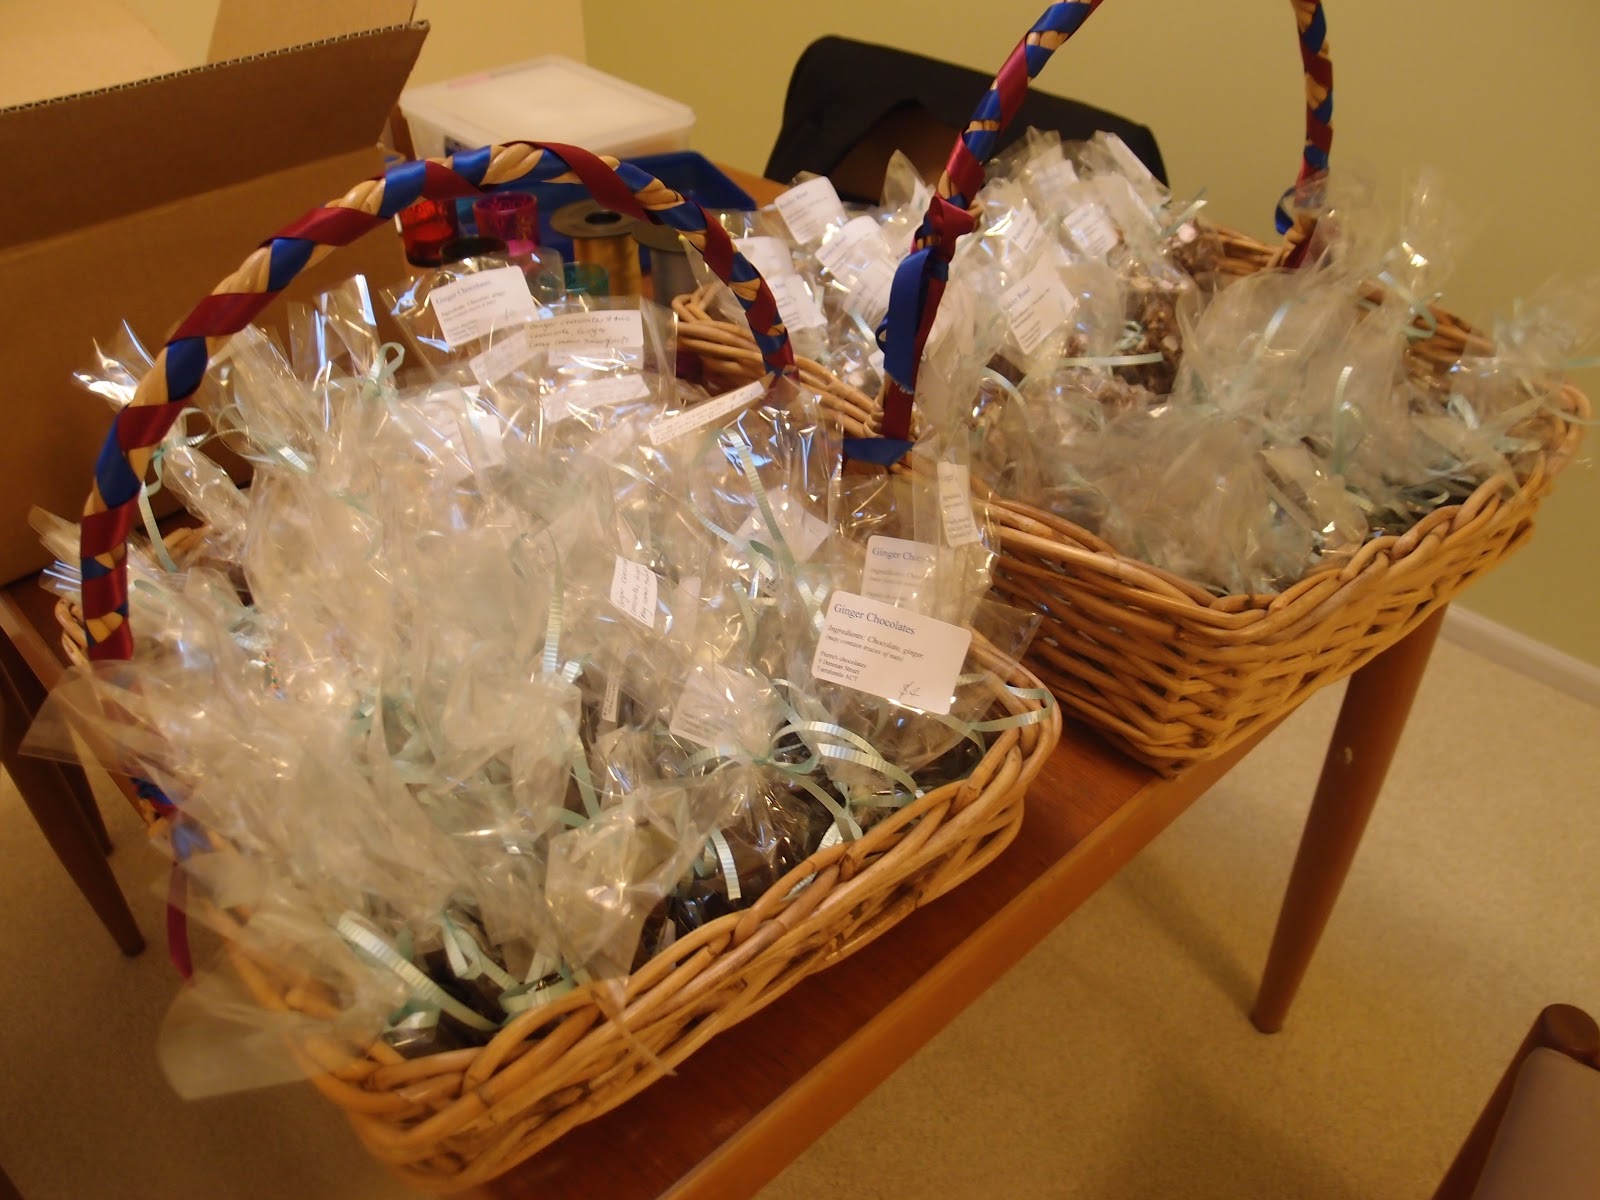
 We bagged all of the chocolates and tied them with a ribbon.  And labelled them with a price.

 Two whole baskets full!

THAT’S A LOT OF CHOCOLATES

cooking, life

Lego cake!

My friend had his 21st birthday party the other night and we threw him a surprise party with a Lego theme!  He’s really into Lego, which is awesome, because Lego is the BEST TOY EVER.
I was given the task of a Lego birthday cake.  I’d seen a few on the internet which looked amazing, but mostly used fondant icing which I don’t like.  So I made do with buttercream icing (sooo delicious – I always make too much on purpose).
First I baked two vanilla cakes – a rectangular loaf cake and a square cake.  I cut them into pieces, after planning it out.  I made a 2×4 block, a square 2×2 block, and two 2×1 blocks.
Here are the bits of cake prior to putting the knobs on.  That pile at the back is my offcuts!
Nobbly bits cut out of cake.  They were a bit uneven but that’s what happens when you’re not a baker.
Finished product!  Looks a bit homemade, because I had trouble with the icing not wanting to stick to the cake.  But gosh it tasted delicious!

I like making themed birthday cakes!  The birthday person is always so thrilled!
cooking

Non Stop Butter Biscuits – a walkthrough for Charles

Since staying with Charles in Sweden for so long, I got pretty good at making biscuits.  Cakes were kind of difficult and took too long to eat, so biscuits were perfect.  Despite using the same recipe every time, the biscuits always came out different, but delicious.  I don’t want Charles to go without this treat, so I’ve made a walkthrough for him.  

In Sweden I found a delicious chocolate bar called “Non Stop” which was a milk chocolate bar with smarties through it.  Later I figured out that the smarties are what’s called Non-Stop, and the chocolate company just mixes it together.  Anyhow I loved Non-Stop chocolate.  In Sweden I added the Non-Stop smarties to the biscuits.  You can also use glacé cherries, chocolate buds, or chopped nuts to your taste.  In the photos there’s chocolate buds instead of Non-Stop, because I’m not in Sweden anymore!

Ingredients:
125g butter or margarine (about two tablespoons full).  Butter makes the mixture more firm, with Margerine you need more flour.
2/3 cup sugar – any type is fine, but I prefer brown for maximum deliciousness
1 tablespoon vanilla sugar OR a splash of vanilla essence
1 generous cup plain flour mixed with 1 teaspoon baking powder OR 1 generous cup Self-Raising flour
1 egg
Non Stop (or whatever)


Method

1. Pre-heat oven to 180C


2. Prepare baking trays.  Either use clean baking trays or line a tray with foil.  You don’t need to grease the tray because there is butter in the biscuits.

3. Melt butter in saucepan.  Swirl it around to make sure it’s all melted.


4. Take butter off the heat, add sugar, and stir in.  

5. Cool mixture for a minute and then stir in the egg and vanilla essence.  I sometimes cool it by placing it in a sink of cold water.


6. Add flour and mix.  Add more flour if it is too runny – it should hold its shape.  Test for taste and add sugar if necessary.

7. Add some non-stop to the mixture and stir in.  Instead of mixing in the chocolates, you can also arrange them on top of the uncooked biscuits in fun designs.  

8. Using a teaspoon, ladle dollops of mixture onto baking trays – not too close together!  Makes around 20 biscuits.

This is for me:

9.  Remove from oven when they look golden brown and have risen – takes about 10 – 15 minutes depending on the oven.  Leave to cool for a bit.  Use a spatula to get them off the tray.  They should easily come away from the tray when they’re cool.  Careful of getting hot chocolate on your fingers!


Too much sugar will cause the biscuits to spread out all over the baking tray and become brittle when cool.  However, this can ALSO be delicious and fun, so no problem.  These ones didn’t spread much at all!


Yum yum!