Blog

earrings, life

Interesting Earrings Story!

So I was at work the other day at the music library, and a girl came up to the desk to borrow something.  I noticed first that she was wearing mismatched earrings that looked *kind of* the same but were obviously different.  I looked closely… and one of them I had definitely made, and sold at my church’s Arts and Crafts show!  It was pretty much the most exciting thing ever.  But I had to keep my composure. 
 I asked her where she got her earrings.  She said she couldn’t remember, but they were mismatched because she’d lost one of each pair and they’d gone reasonably well together.
Anyhow the truth came out and I told her I’d made one of them.  And then I offered to take it home and make her a new matching one.  So I did!
It was a really nice little run-in!
co-ordinate, dress, juliette et justine, outfit

One dress three ways!

Today it was finally cool enough to wear this dress without worrying about sweating! I have a low heat tolerance.  I bought this dress a few weeks ago from the EGL sales community and have been dying to play around with outfits since.  It’s by Juliette et Justine, and is called Fleur et Rose.
It is quite a long dress with an A-line shape, so it’s not the puffy “lolita” silhouette but a much more demure, elegant shape.  I curled my hair 🙂
First, a simple co-ordinate.  This dress is so pretty you only need shoes and pearls to make it work!
Shoes: Vintage, from a cute shop in Perth.  I love them, they’re my sparkly ruby slippers.
This one is a bit teacher-ish.  Offbrand blazer and brooch, shoes from MaruiOne in Shinjuku (can’t remember the brand).

I think this works quite well but is a little harsh with the black x florals.
Shoes: Betts
Gloves: Vintage
Bolero: ValleyGirl
Choker: Diva (I think)
The room is actually about to get new carpet in, and has just been painted!  So it’s a good place to take outfit photos.
Cross posted to Daily_Lolita
blouse, sewing

Blouse making!

I am making a blouse.  The pattern is from Deco Alice a la Mode Summer 2009.  It’s an Innocent World pattern.  Super cute with pintucks at the front and a nice small collar.

I have been running into a few problems.

This is the first blouse I’ve ever made, so I’m not familiar with how the pattern pieces look.  The blouse has 10 panels.  10!  Other blouse patterns I’ve looked have either 2 (back and front) or four (back, back side, front side, and front).  The front panels of this blouse have 3 pintucks each.  I’ve chosen some really cute cream coloured cotton with tiny purple flowers.

Problems: I can’t read Japanese (although I can speak a little).  This means that both the instructions in the book and on the pattern pieces are unreadable.  I have to work out how to do it from common sense, indicative lines on the pattern, and looking at other blouse patterns (I have a few).  Why did I choose to make my first blouse essentially without instructions?

So I ironed and sewed the pintucks but it’s so close to the edge I assume I must have done it the wrong way.  Mega confusing.  I also don’t know how they do the sleeve cuff or inside collar or placket.  I DON’T KNOW HOW TO MAKE A BLOUSE.

I keep trying, but it’s so depressing realising for the umpteenth time that I have to unpick something.  

dress, outfit, qutieland, shoes

SS shoes and an outfit

I ordered these Secret Shop shoes from Qutieland back in June.  It was a pre-order, so it was always going to take a while for them to come.  They ended up arriving on the 11th of December, ONE DAY after I left the country.  So I only got to see them when I got home 2 weeks ago!
They fit super well!  And they’re very comfortable.  I wore them at uni all day yesterday, and did a lot of walking and standing up and playing marimba.

The heel is big but it’s nice and thick too.

Sorry this photo is so bad.  Bad camera I guess, or bad lighting.

I curled my hair but you wouldn’t know it.
Look!  I have a new present hanging on my bookcase!
I’ve been wanting to do more outfit posts but it’s been hot!  I don’t like wearing my really nice dresses when it’s hot.
cooking

Non Stop Butter Biscuits – a walkthrough for Charles

Since staying with Charles in Sweden for so long, I got pretty good at making biscuits.  Cakes were kind of difficult and took too long to eat, so biscuits were perfect.  Despite using the same recipe every time, the biscuits always came out different, but delicious.  I don’t want Charles to go without this treat, so I’ve made a walkthrough for him.  

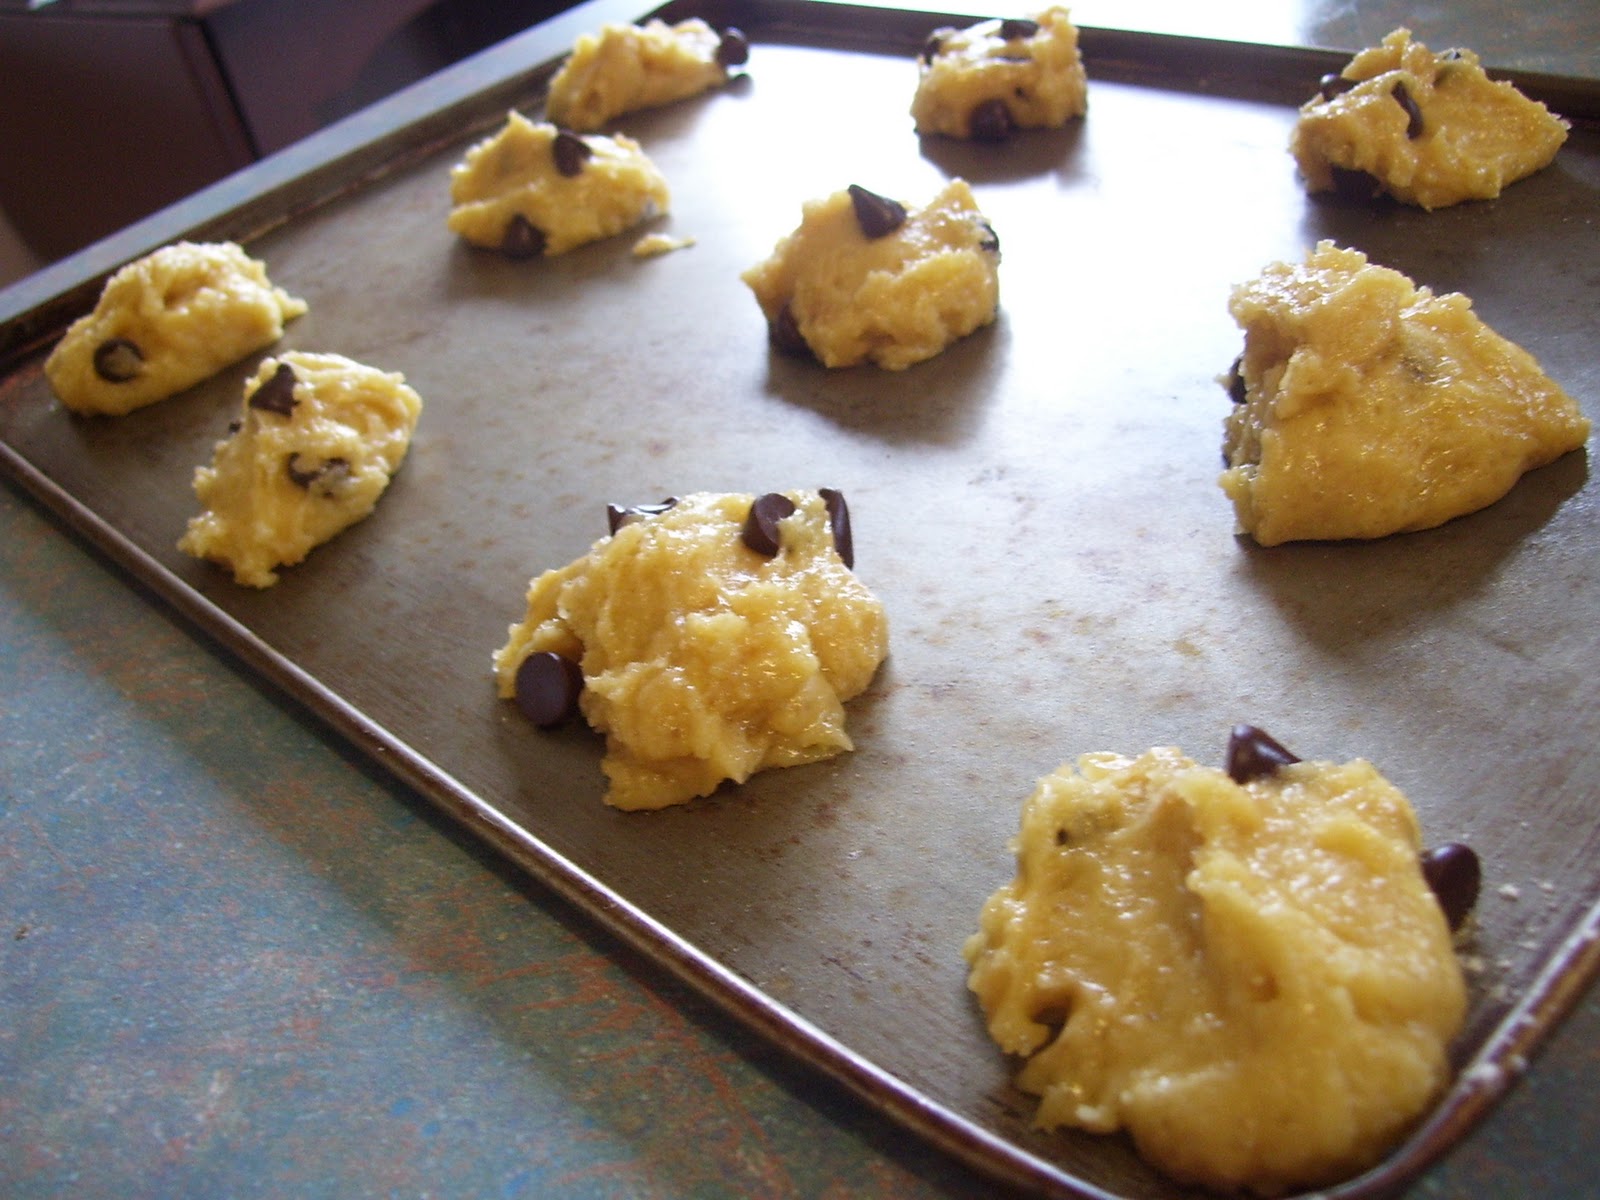
In Sweden I found a delicious chocolate bar called “Non Stop” which was a milk chocolate bar with smarties through it.  Later I figured out that the smarties are what’s called Non-Stop, and the chocolate company just mixes it together.  Anyhow I loved Non-Stop chocolate.  In Sweden I added the Non-Stop smarties to the biscuits.  You can also use glacé cherries, chocolate buds, or chopped nuts to your taste.  In the photos there’s chocolate buds instead of Non-Stop, because I’m not in Sweden anymore!

Ingredients:
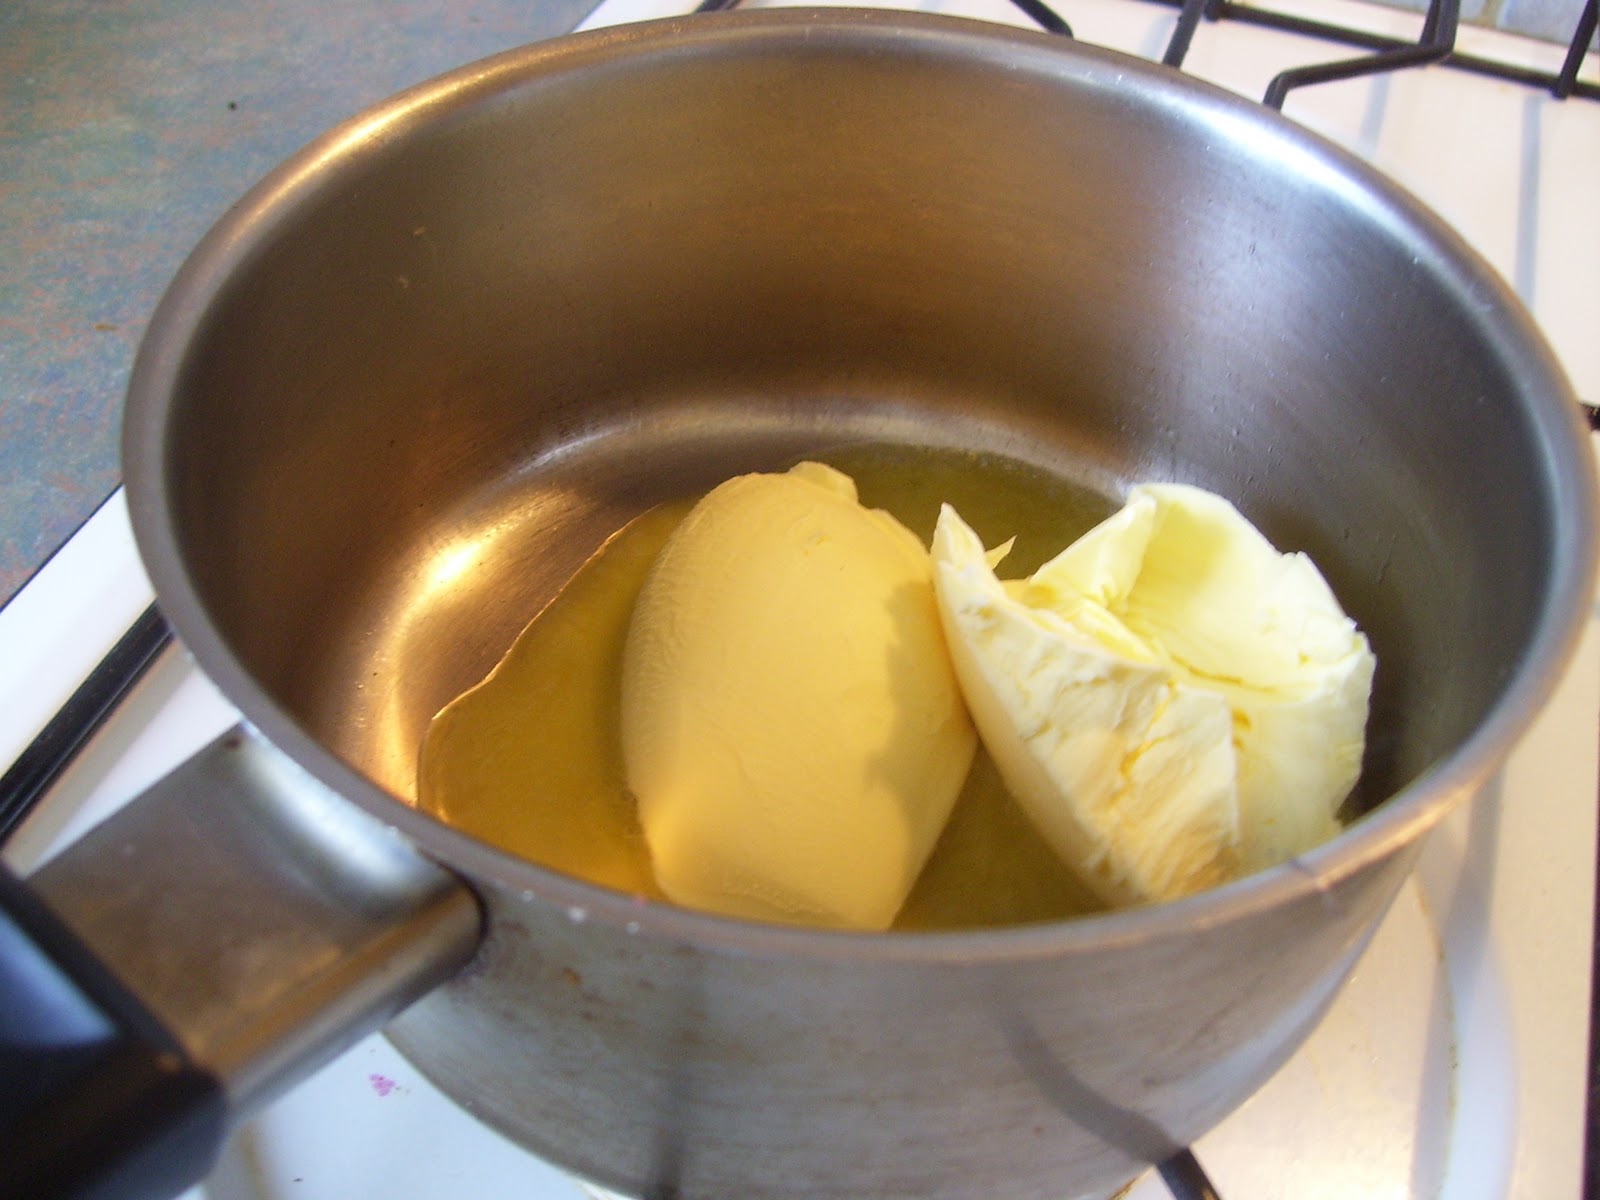
125g butter or margarine (about two tablespoons full).  Butter makes the mixture more firm, with Margerine you need more flour.
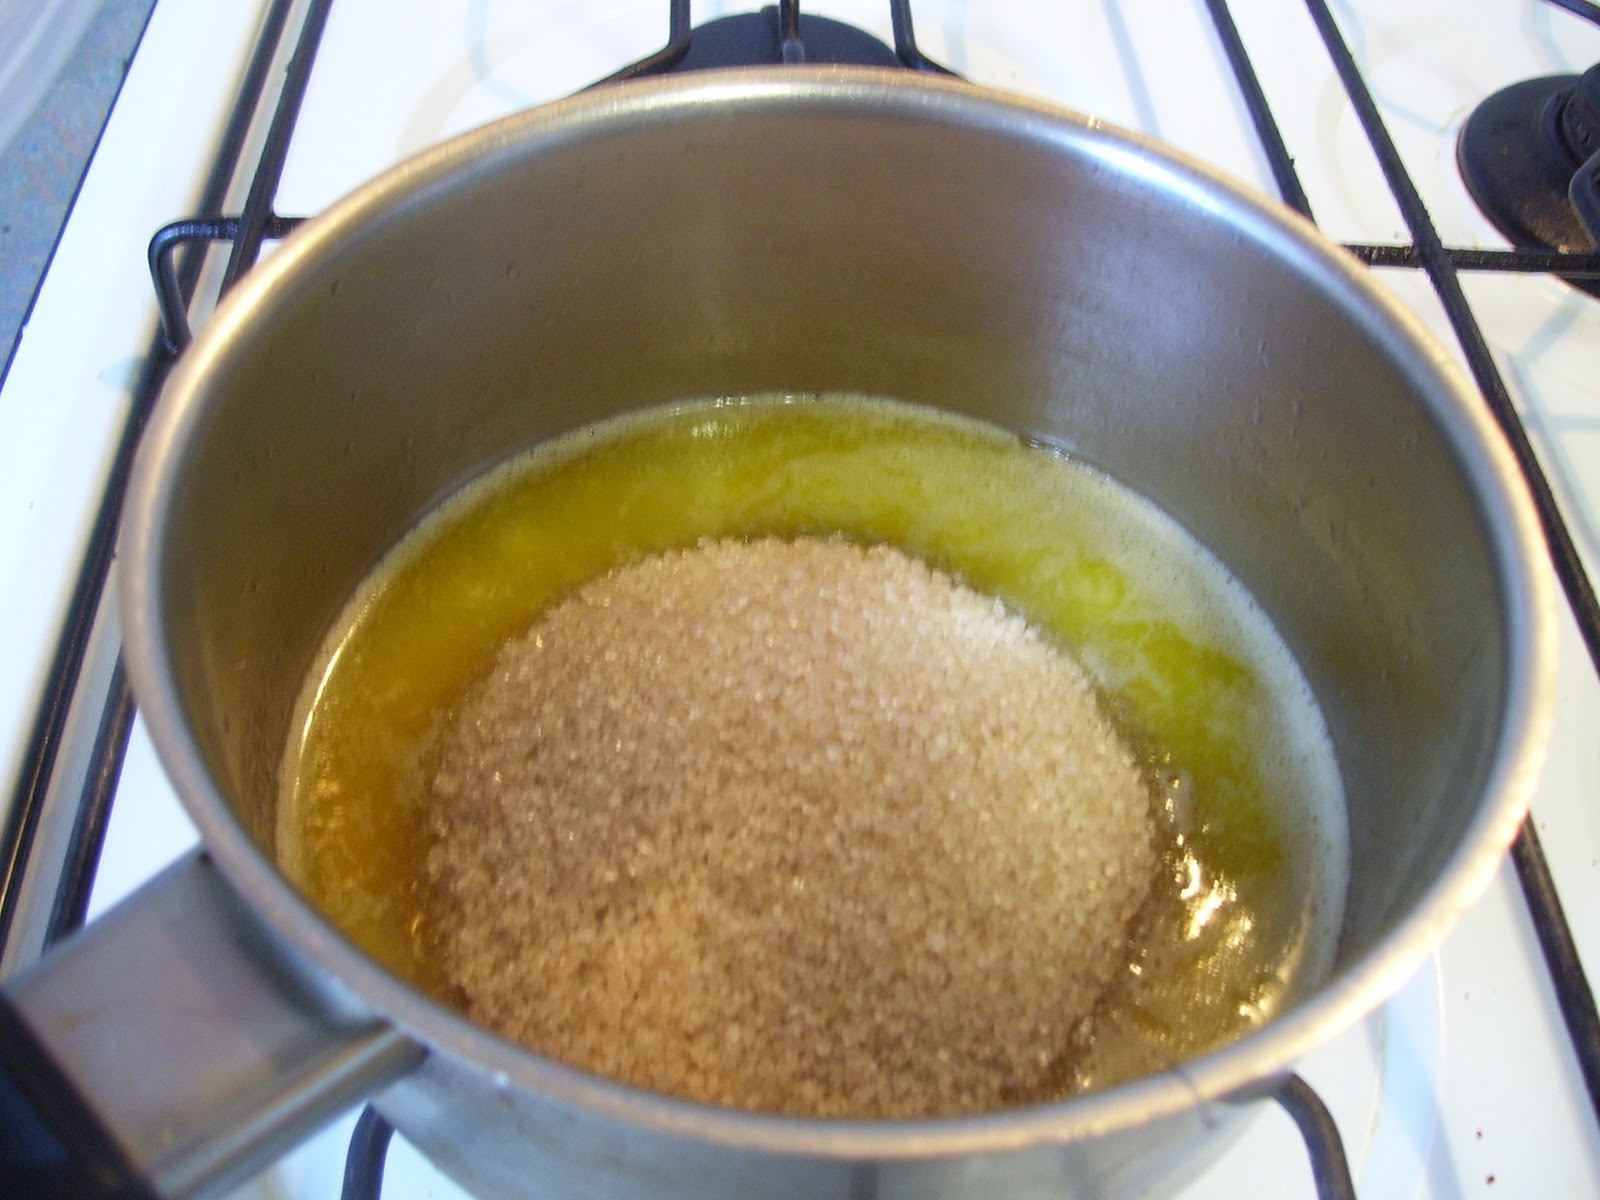
2/3 cup sugar – any type is fine, but I prefer brown for maximum deliciousness
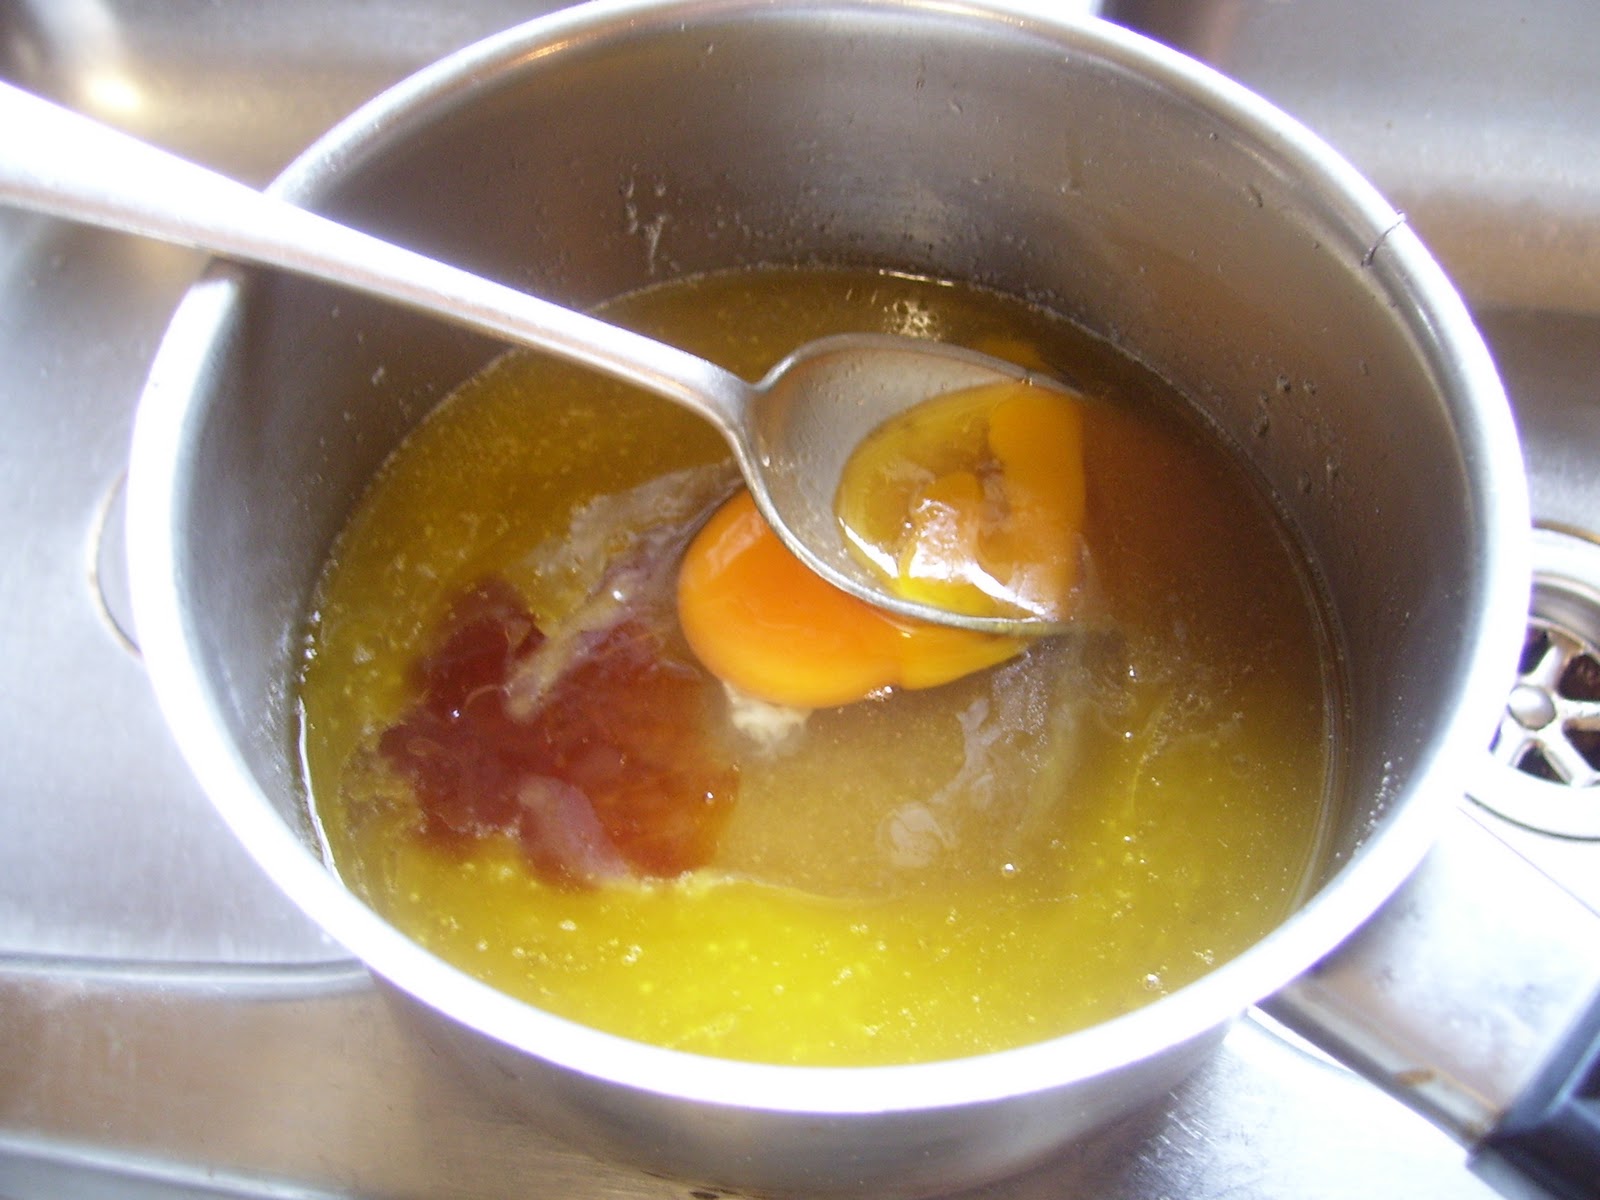
1 tablespoon vanilla sugar OR a splash of vanilla essence
1 generous cup plain flour mixed with 1 teaspoon baking powder OR 1 generous cup Self-Raising flour
1 egg
Non Stop (or whatever)


Method

1. Pre-heat oven to 180C


2. Prepare baking trays.  Either use clean baking trays or line a tray with foil.  You don’t need to grease the tray because there is butter in the biscuits.

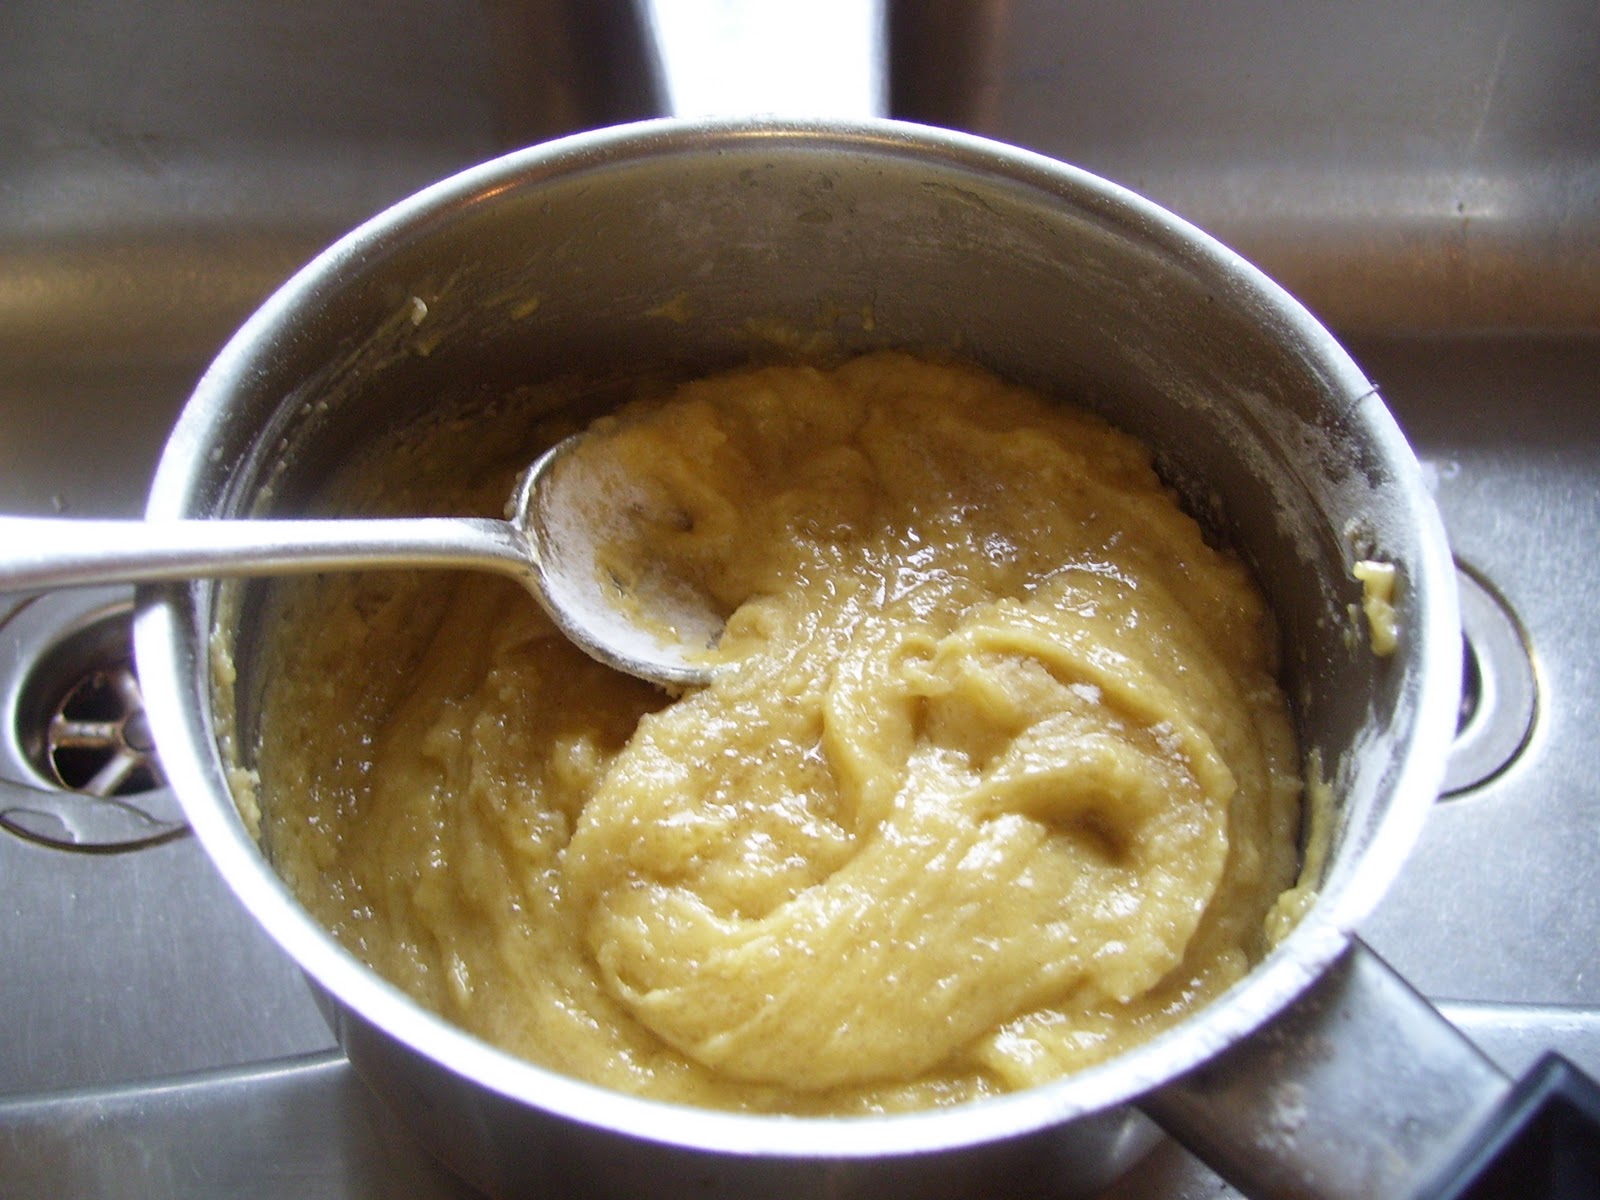
3. Melt butter in saucepan.  Swirl it around to make sure it’s all melted.


4. Take butter off the heat, add sugar, and stir in.  

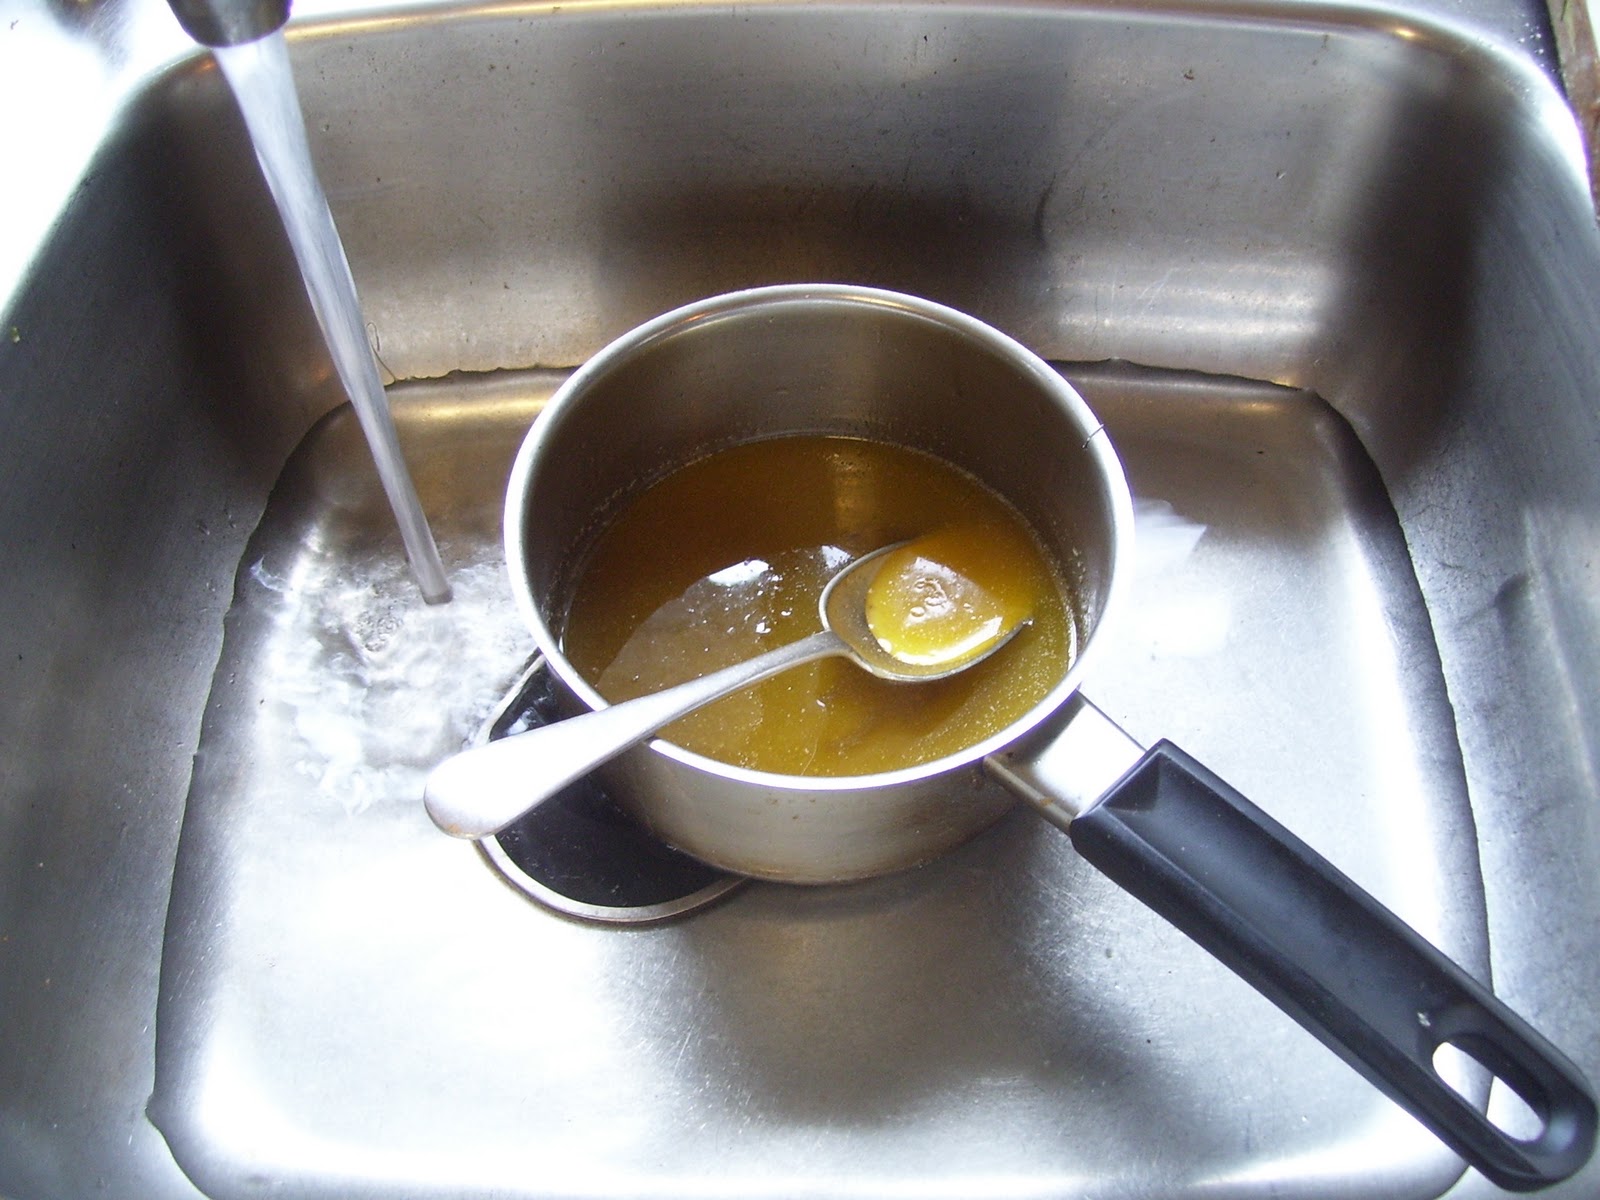
5. Cool mixture for a minute and then stir in the egg and vanilla essence.  I sometimes cool it by placing it in a sink of cold water.


6. Add flour and mix.  Add more flour if it is too runny – it should hold its shape.  Test for taste and add sugar if necessary.

7. Add some non-stop to the mixture and stir in.  Instead of mixing in the chocolates, you can also arrange them on top of the uncooked biscuits in fun designs.  

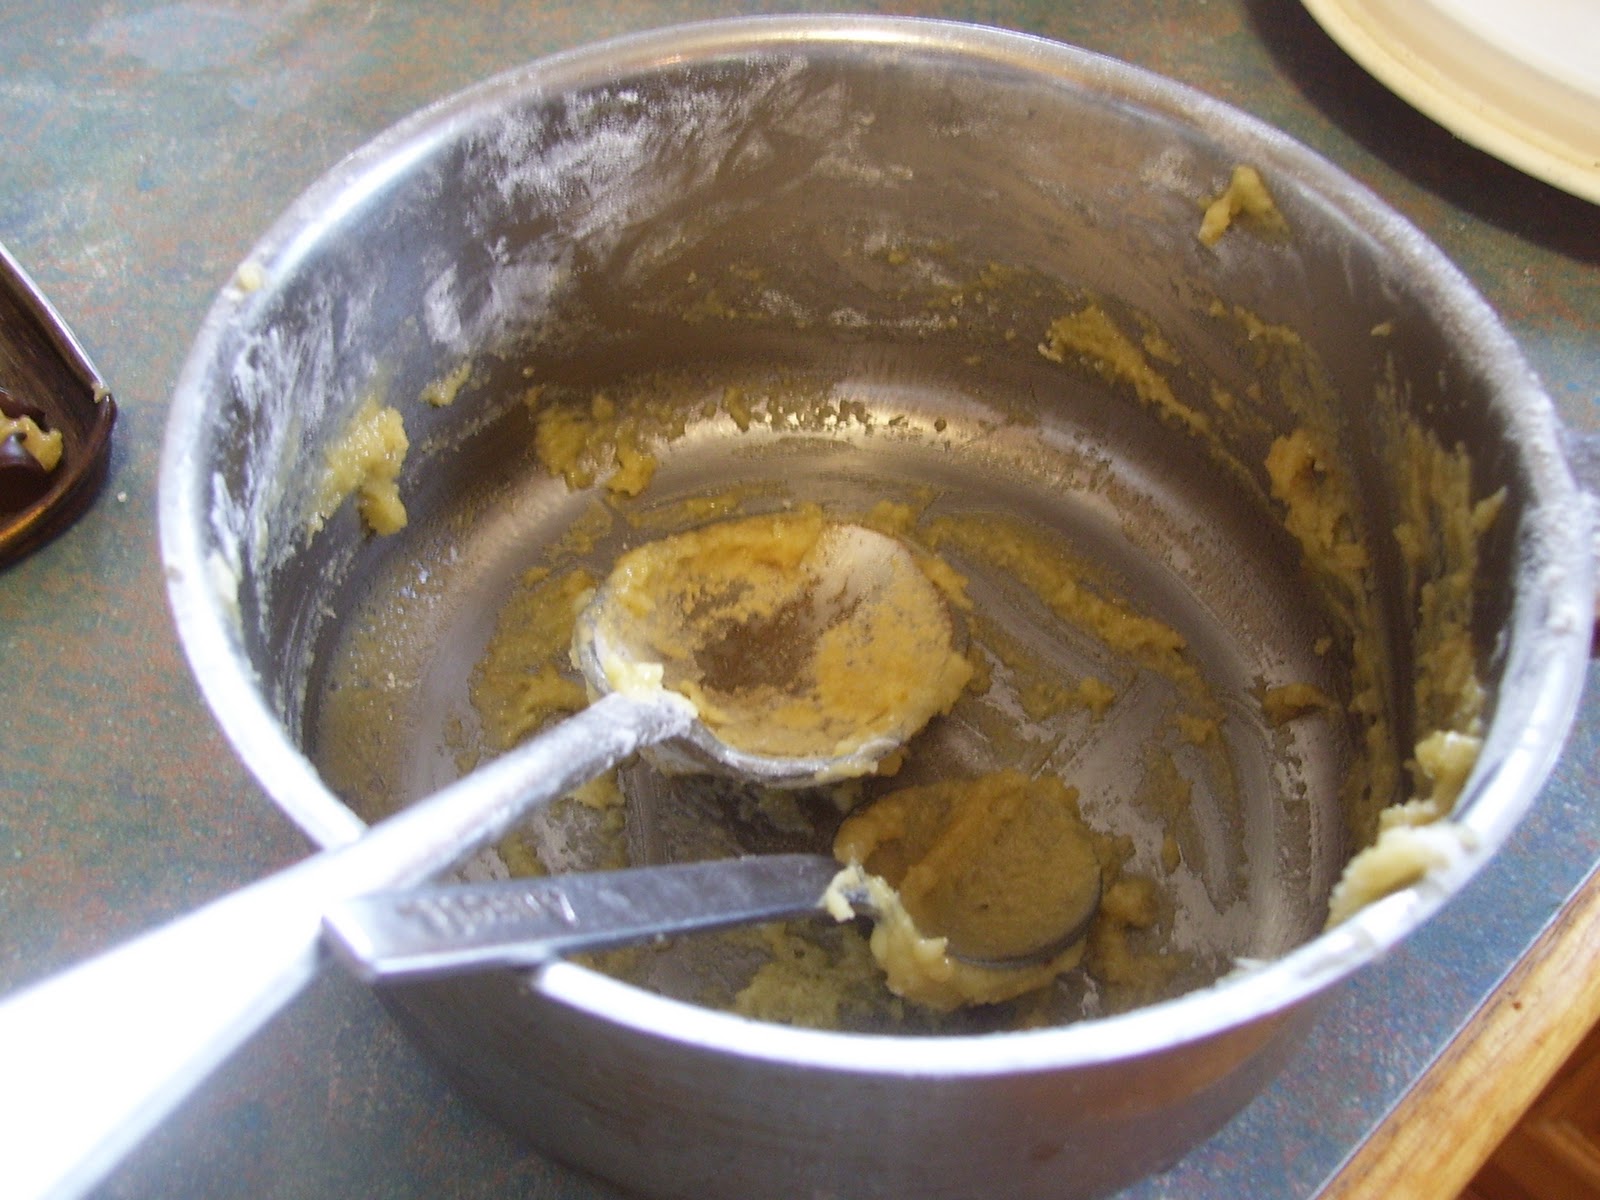
8. Using a teaspoon, ladle dollops of mixture onto baking trays – not too close together!  Makes around 20 biscuits.

This is for me:

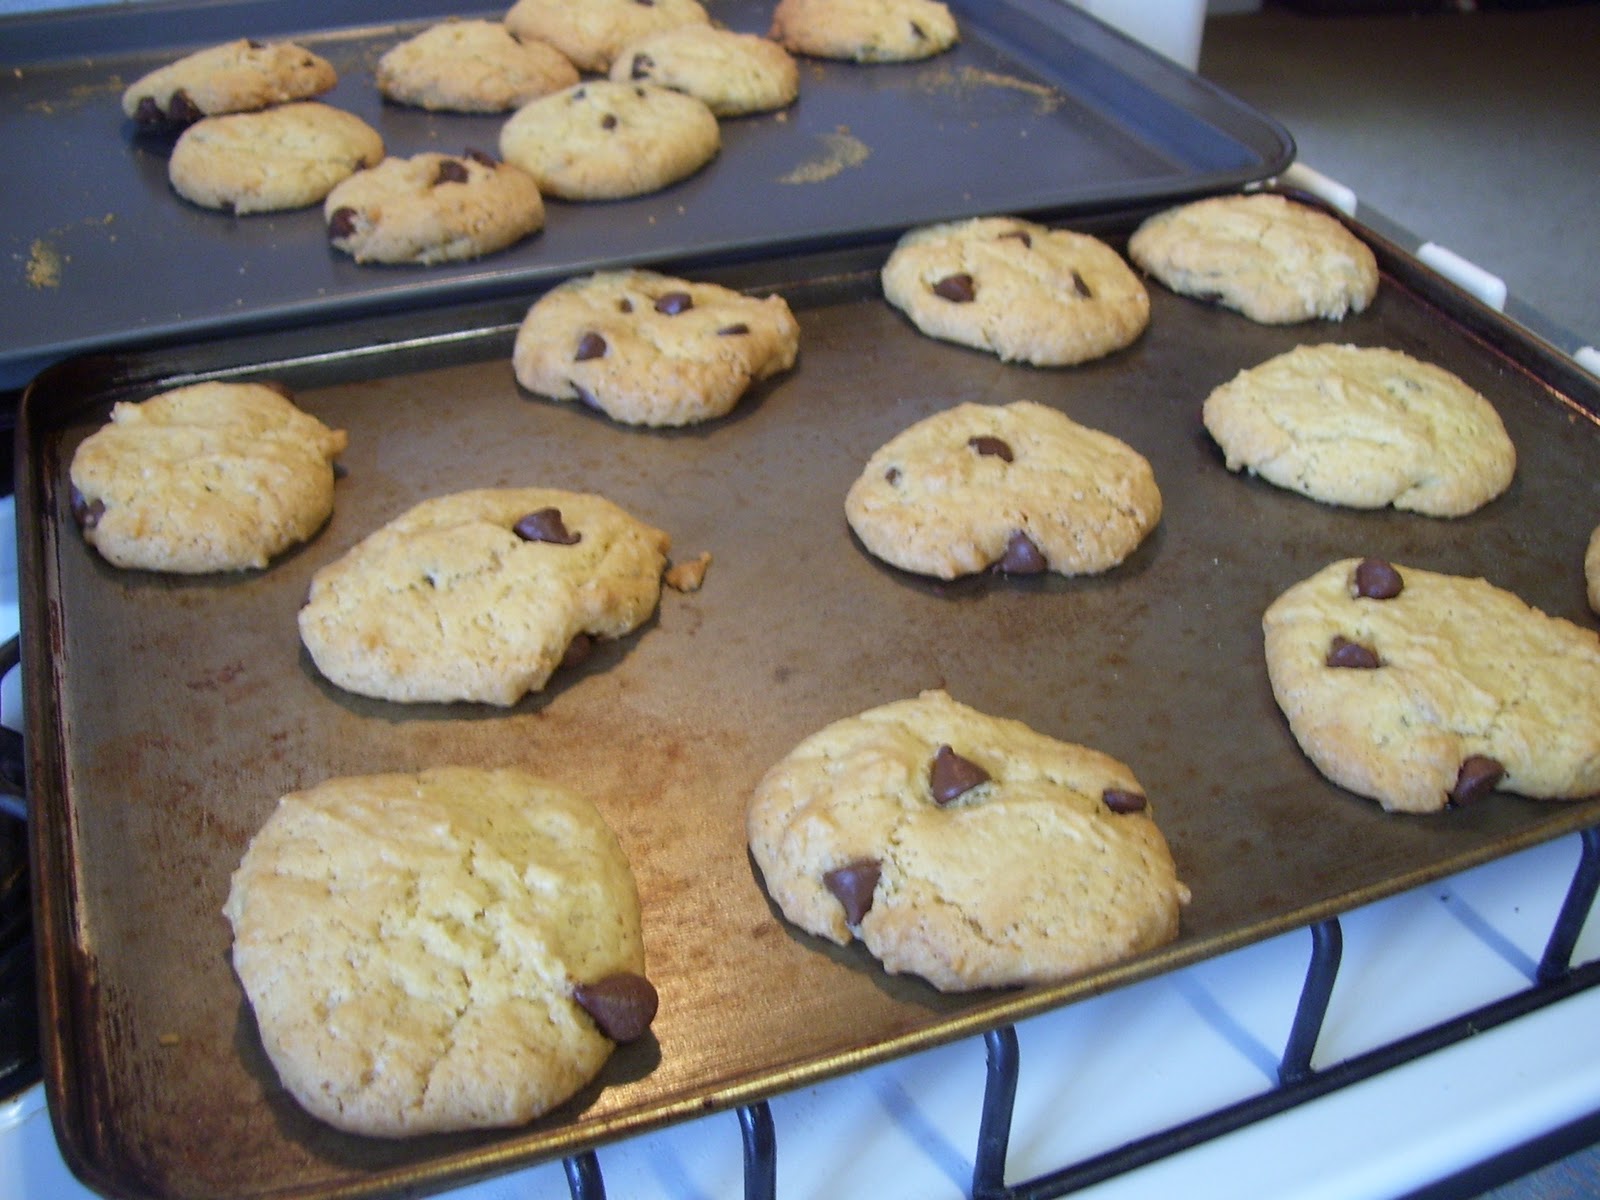
9.  Remove from oven when they look golden brown and have risen – takes about 10 – 15 minutes depending on the oven.  Leave to cool for a bit.  Use a spatula to get them off the tray.  They should easily come away from the tray when they’re cool.  Careful of getting hot chocolate on your fingers!


Too much sugar will cause the biscuits to spread out all over the baking tray and become brittle when cool.  However, this can ALSO be delicious and fun, so no problem.  These ones didn’t spread much at all!


Yum yum!