Blog

beads, knitting, Uncategorized

Knitted Luella Top with beads!

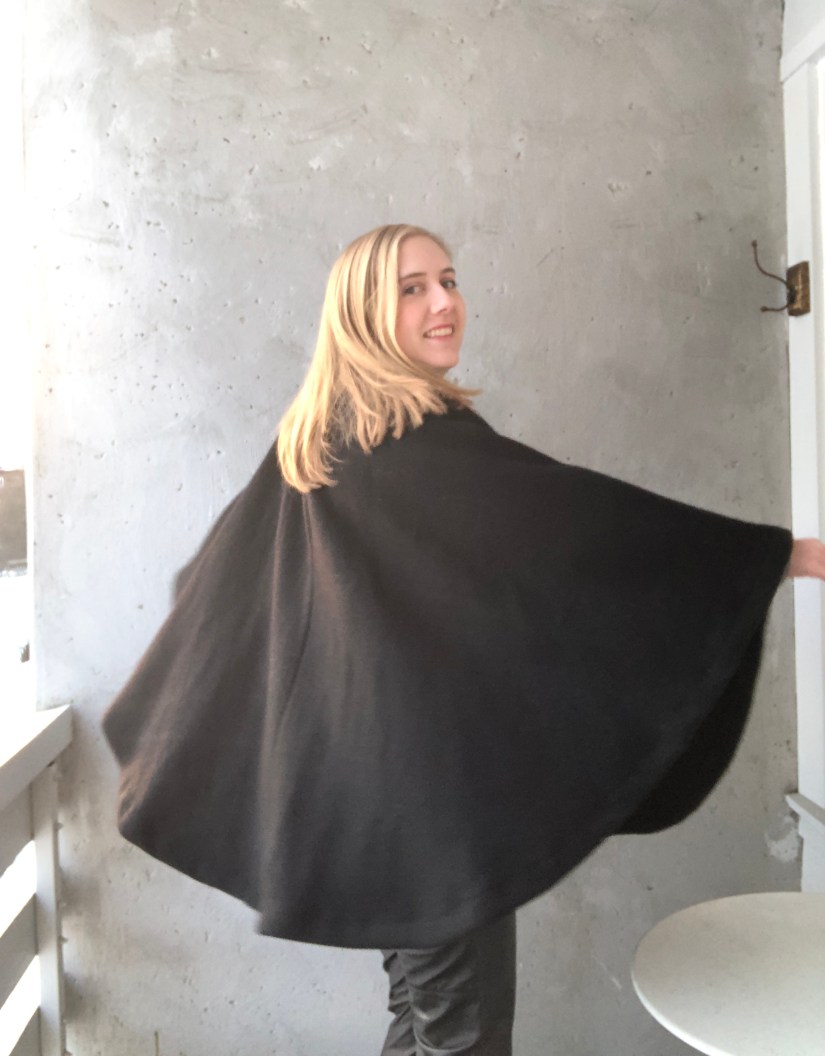
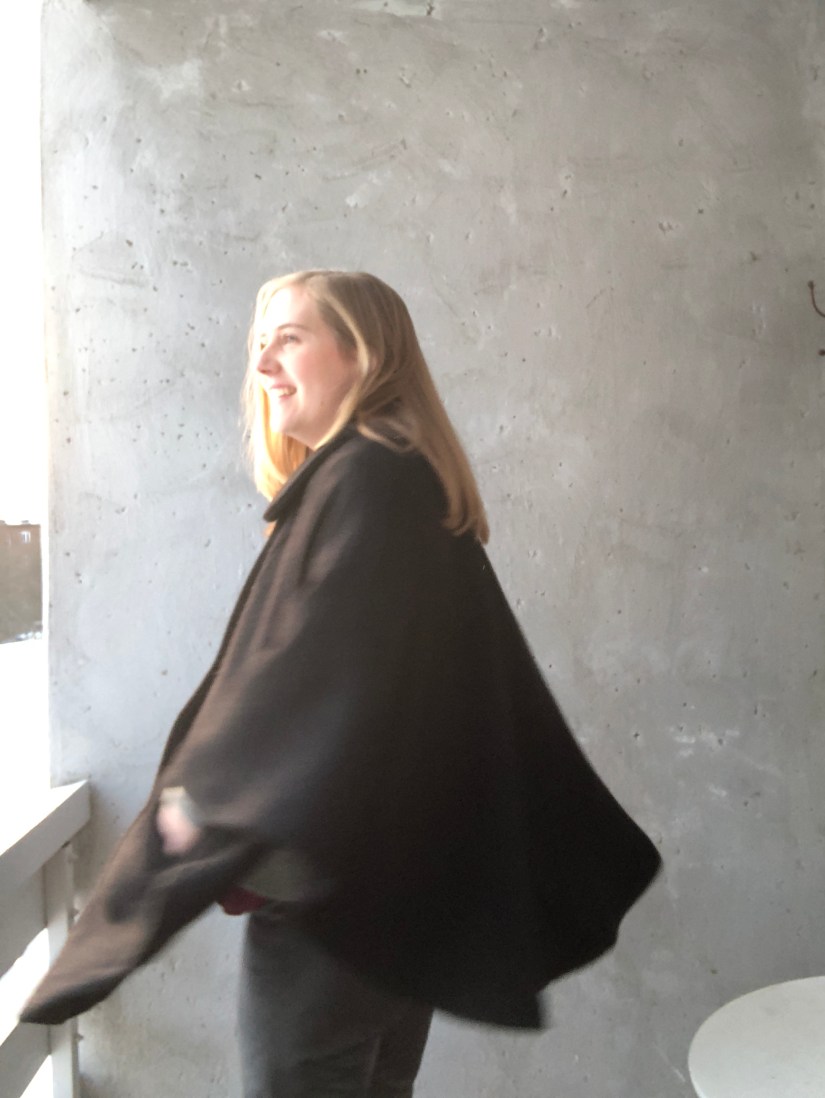
This knitting project has been a long time coming.  It was on my needles since August 2017!

fullsizeoutput_5ba9

Details

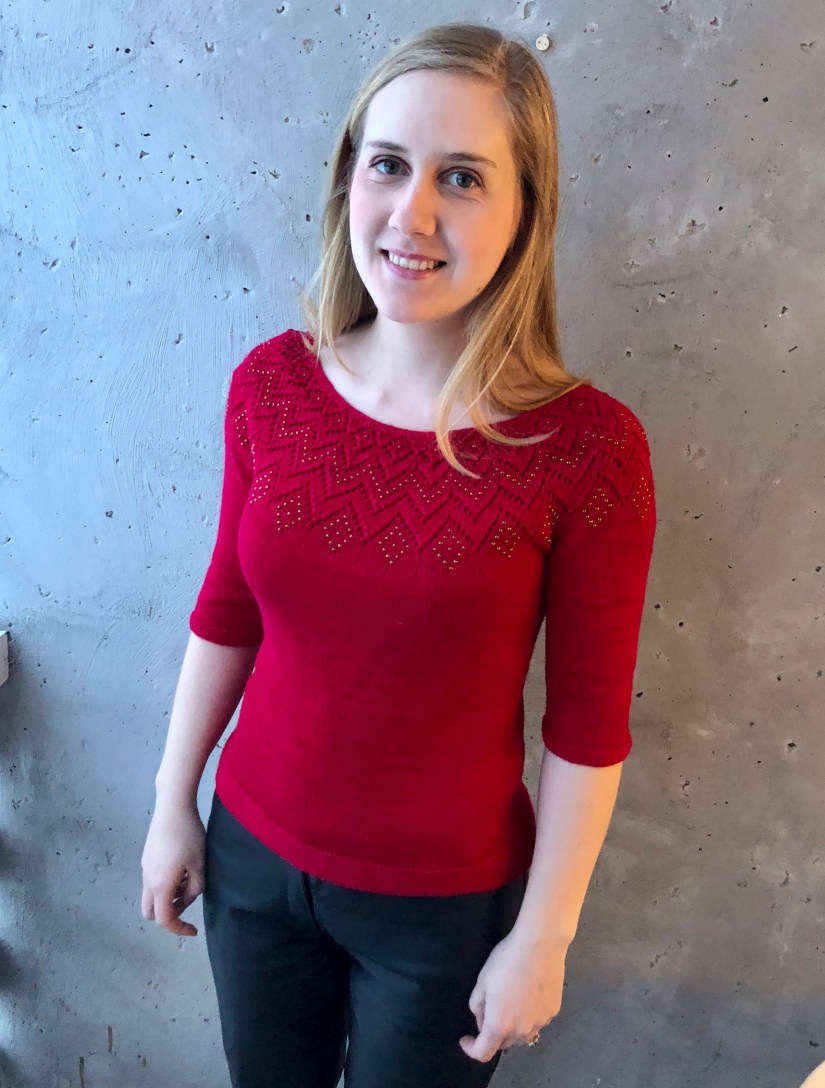
Pattern: Luella Top by Suzie Sparkles

Yarn: Wollmeise Lace yarn

My notes available on Ravelry here

fullsizeoutput_5bab

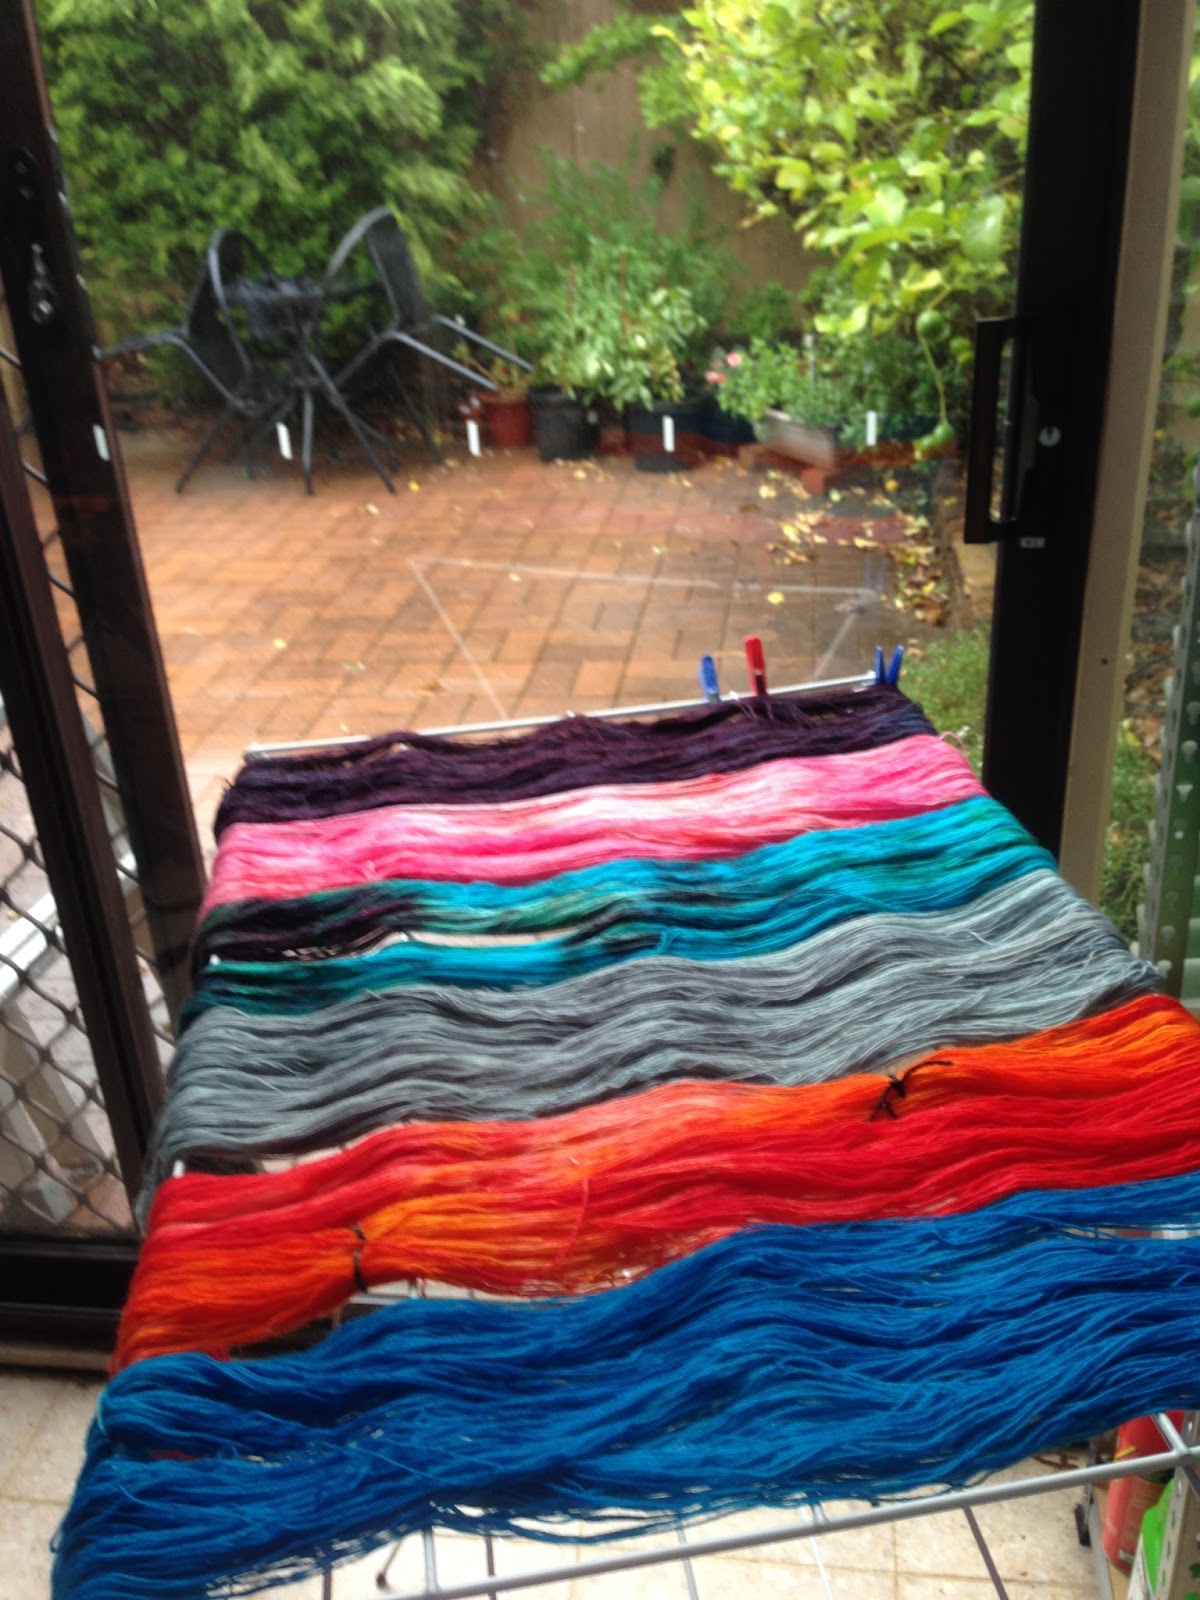
I bought this yarn at the Oslo Knitting Festival in October, 2016.  It was a 300g laceweight skein, which was a one-of-a-kind.  For this top, I held the yarn double as it’s written for a sock-weight yarn.  As a result, this whole top was one big game of yarn chicken!fullsizeoutput_5bac

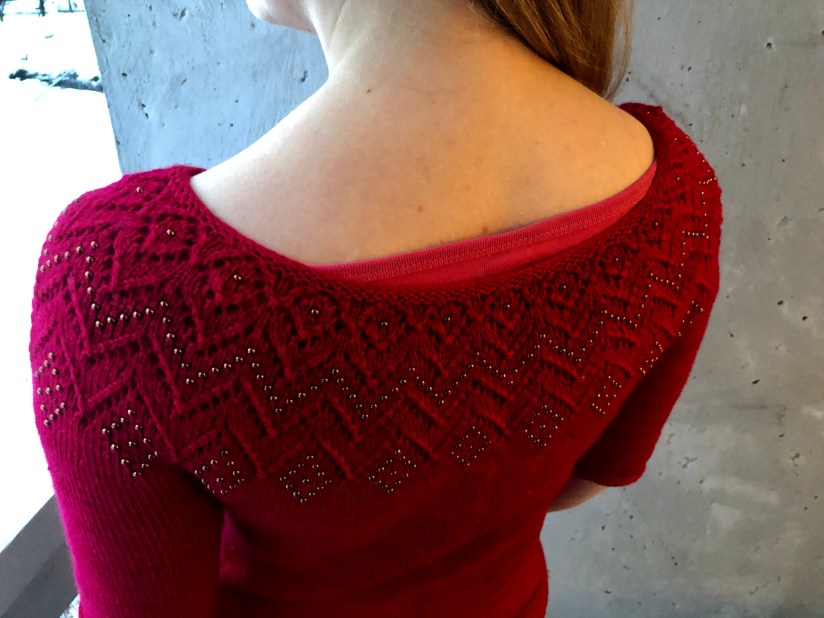
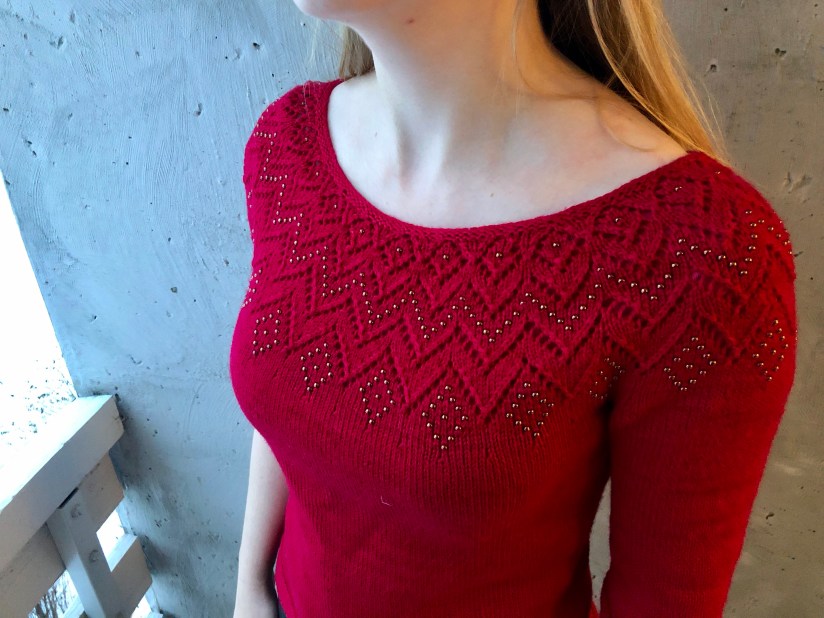
The pattern itself is very straightforward, a top-down round-yoke jumper which is the same back and front.  That’s nice, as I don’t need to worry about which way to put it on!  Of course the biggest change I made was to add beads into the lace yoke instead of the bobbles that the pattern calls for.  I guess this saved me some yardage which was added to the bottom of the jumper!  Initially I bought one packet of 125 beads thinking it would be plenty… I waws wrong! This jumper required about 500 beads and I had none left at the end!IMG_0459

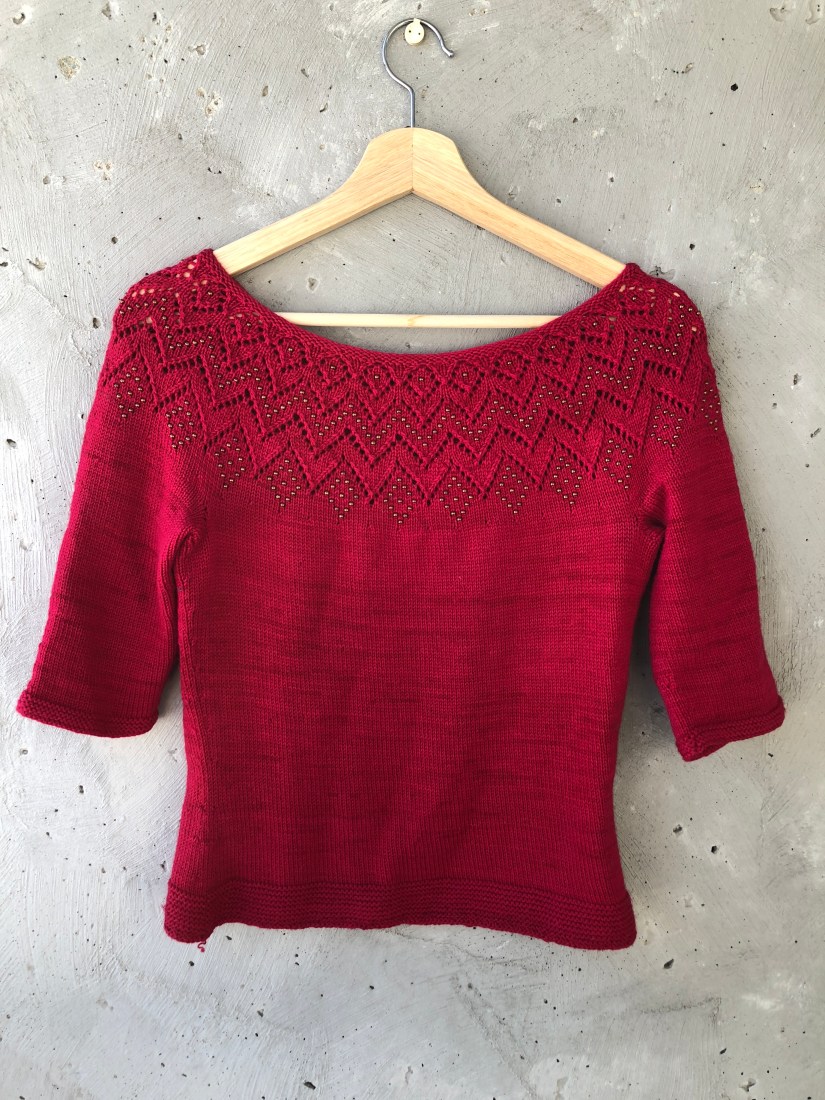
This picture kind of looks like it has and ombre effect but it doesn’t seem to in real life.  If I’d had more yarn I would have made the top a bit longer in both the body and the sleeves.  As it is, it hits me right at the elbow and the hip.  It works fine with mid-rise pants but I would have liked it a bit longer. I used every scrap of yarn, even the swatch!IMG_0460

The yarn itself is very smooth and feels almost like cotton, although it is 100% wool.  It was really lovely to knit with and feels smooth and soft against the skin.  Before it was blocked the fabric felt a bit stiff, but after blocking it’s got a lovely drape and handle.fullsizeoutput_5ba8

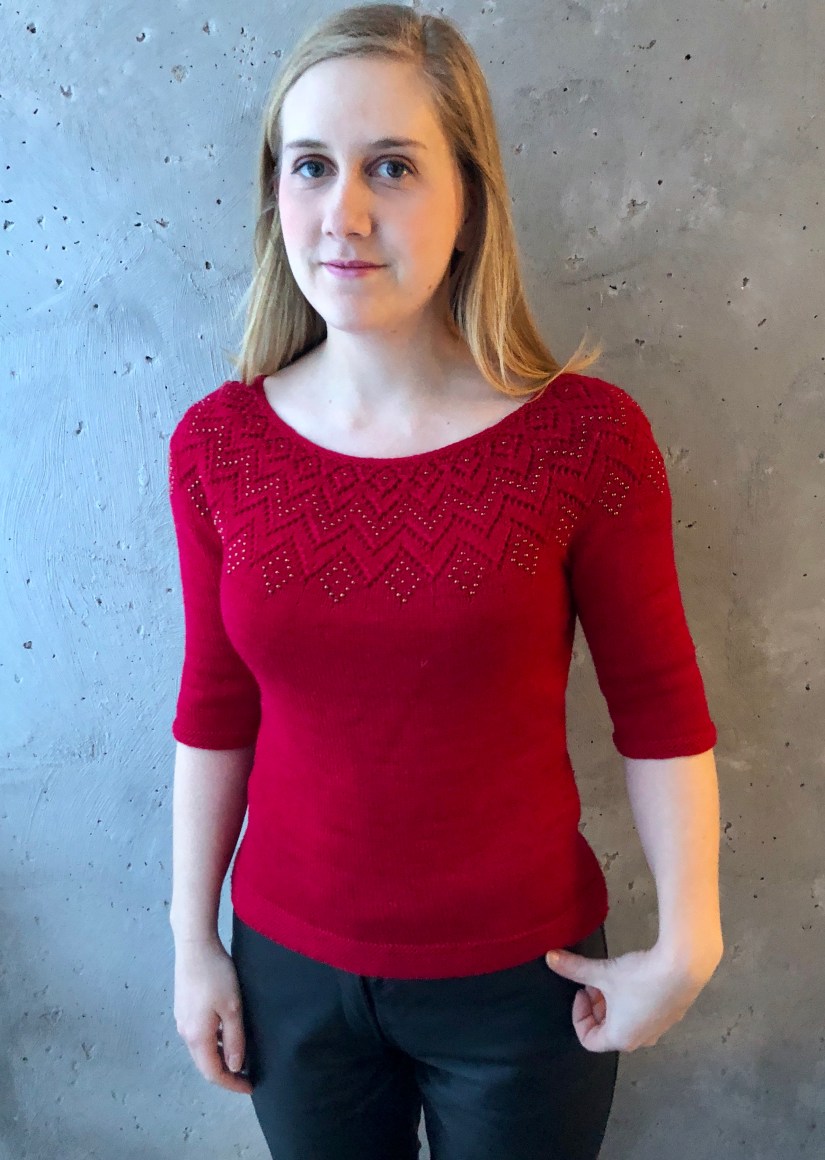
I highly recommend this pattern if you’re looking for a simple top-down top, with a bit of lace interest.  It would look beautiful with bobbles too.  The pattern would be a good basis for a plain jumper too, if you left off the lace!  I’m looking forward to wearing this top once the weather warms up a bit.  Right now it’s still too cold in Norway to even contemplate!

Uncategorized

Wool Milano Cape

Apologies for slightly blurry photos… Using my front camera on my phone is a bit blurry, oh well!

This latest make is the Milano cape by Papercut Patterns.  It’s only availble as a paper pattern, unfortunately.  The pattern is in 3 sizes, and the main difference between sizes is the length. I cut the smallest size.

fullsizeoutput_5bf0

The fabric is some wool coat fabric I bought years ago in Melbourne.  It’s quite thick, and has a nice heft and warmth to it.IMG_0455

However, as shown, it also picks up every particle of white dust in the vicinity.  Hopefully as the fabric wears and smooths out that will happen less?  A bit doubtful. IMG_0372

This pattern features a lovely Peter Pan collar with no undercollar.  It got a bit cumbersome and thick sewing the collar area on my little machine!IMG_0371

This pattern also has single welt pockets.  These are a bit scary to do, and were kind of hard to place evenly.  I also found that the welt pattern pieces were not the same length as the mark on the front pieces.  They were significantly different, not just a little, and it took a lot of checking and measuring to get it right myself.  IMG_0458

The pocket bags are some other wool suiting I had, and to prevent it from fraying I used a fusible hemming tape to glue some bias binding over the raw edges.  I could have just finished the edges before sewing them on but I didn’t think of it at the time!fullsizeoutput_5bf2

Who knows if I’ll wear this really.  I’m not a cape kind of person, yet.  I’d like to be one of those women who just swoosh around in a cape and look so cool, but so far I’m not quite convinced!fullsizeoutput_5bf4fullsizeoutput_5bf5fullsizeoutput_5bf6

It is very swishy, though 🙂

sewing

Red cotton Archer shirt

My latest sewing project is one I’m very happy with – my red cotton Archer shirt.  This is a pattern by Grainline Studio and is available as a paper pattern or a PDF. I have the PDF version, which has been marinating on my hard drive for some time now!

IMG_0448

This is the first time I’ve made an Archer and I’m really happy with how simple it is.  There are no darts or panels to provide bust or waist shaping, which gives it a relaxed fit.  There’s a small pleat in the back for ease and a double yoke.  IMG_0449

I didn’t bother to do a top button because I never do it up anyway, and it’s always so hard to get my machine to sew in that bulky party!IMG_0450

I wasn’t too happy with my plackets, but they pressed out ok.  I suspected that the pattern or instructions were slightly off there – it doesn’t really tell you how to place the cuff over the plackets.  As a result it’s a bit bulky there where I fudged it a little.IMG_0451

I didn’t have much of this fabric so I did the inner yoke in a flannelette fabric that was kicking around my stash and before that my mum’s stash.  I think I have dolly clothes made from that!  As you can see here, I used a bias binding to finish the hem.  I find it really hard to do a double-folded hem on a curve so this helped a lot to reduce bulk and curve nicely.IMG_0500

And I’ve pretty much been living in this shirt in the 2 weeks since I made it!IMG_0504

The only thing I wish I’d done better was my button placement.  Because I left out the top button, it got a bit off and the lowest button is a bit too low.  As a result I don’t do up that bottom button often.  It doesn’t make a huge difference though and I love the shirt!