dress, life, wedding

Our 1st Anniversary

On the 18th of August it was our one year wedding anniversary.  It was a Sunday and we were pretty busy that weekend, so we didn’t celebrate much.  Charles had been away in Perth all week too!
To mark the occasion, I got dressed up in my wedding dress again!  It still fits 🙂
 It is a pretty nice dress.  I’m happy with it.
Holding up one finger because it’s our first anniversary!
I was happy to take it off about half an hour later… that thing is tight around my chest!  I don’t know how I managed it for a whole day last year.  I remember being a bit uncomfortable but put up with it!
Charles gave me the Merchant & Mills Sewing Book as a present.  He bought it in Perth.  Such a lovely hipster book about sewing!  It has some simple patterns in it too.  Mabye I’ll do a review of this sometime if you like?

Yay for a whole year of marriage!  So far I love being married, it’s just great to be able to hug the person you love anytime you want.  Highly recommended.
dress, finished, monday, pyjamas, sewing, underpants, underwear

Monday Musings… recent makes: a disappointing dress, and a nice nightie!

The first thing I’m about to show you was a massive fail, in my opinion… please don’t judge! Scroll down for the WIN!
You all know how much I love the Luck Be A Lady dresses on Modcloth… I own far too many and they’re all amazing and I wear them almost every day.  So I wanted to make my own.  I spent ages finding a pattern and finally got one!
This is (supposed to be) New Look 6184. Here’s the pattern envelope: 
Looks like a simple dress.  It has the key feature, which is neckline pleats.  It probably is, if you use the right fabric!  You can either make it a pencil skirt or a full flared skirt.  I wanted to make a circle skirt, which was SO DUMB, why didn’t I just follow the pattern srsly.

 
My fabric… I don’t even know?  It said it was “suiting”.  This fabric has a tartan pattern on it, which is supposed to be STRAIGHT, as it is woven and not printed.  I could not get this sucker to lie straight no matter what I did!  The pattern just warped every which way.  So cutting was the first problem.

My second problem was that the iron-on interfacing wouldn’t adhere to this fabric.  As such my neck underlining keeps popping up to say hello (I managed to keep it down for the photos).

 This is the bit I’m happy with – it’s the first time I’ve used bias binding for underarms.  Even this didn’t quite work out, because the fabric also frayed like crazy making it hard to enclose the raw edge.
So I tried making a half-circle skirt instead of using the pattern pieces for the full skirt, which ended up being the dumbest thing ever.  I was trying to match up plaid and it wasn’t having it.

 Hooooly crap my darts were bad, the fabric was just SO NAUGHTY.
Aaaaaand then I cut the skirt too short while hemming.  Now it’s JUST A BIT too short to be comfortable with, and also it’s see through which I didn’t notice when I bought the fabric.

This is the most I’ve ever stuffed up anything.  I got pretty down about this, especially since I’m doing garment production at CIT and I should be good at this by now. I guess in class we only ever used calico which is extremely well-behaved, and we’ve never actually made a dress.  Nevertheless I’m pretty upset since I had such high hopes for the pattern.  Should I try again?  I think the pattern is probably fine, I just royally stuffed up!

Ok the next thing worked out very well, thank you!

The next thing I made was a nightie, because recently I’ve been wearing a really daggy singlet and shorts to bed, very unattractive.  This is the same pattern I made my undies from recently.

I made a hybrid of both petticoats, the top from view B but the body from view A.  (the difference is that view is less full, and I wanted as few seams as possible).

 This blue stretch satin monstrosity is only my toile, so don’t panic!  The satin was not stretchy enough and I didn’t have the correct type of lace, so it didn’t work out.  I learnt a lot from my toile and my actual garment turned out wonderfully:

 No you can not see me in my nightie.  This top falls to just below my bottom, so I think it will be good for summer coming up!  But recently it’s been cold so I’ve worn it with pyjama pants.

I’m so happy with how the lace turned out.  You have to stretch at the underarms and at the middle front so it doesn’t sag.

 My fabric is a lovely soft poly/cotton knit (I don’t actually fully know what’s in it, but I did the burn test and it is flammable, yaaay flammable pyjamas).  It’s got a pretty sparkle through it!

 The back is just one seam down the middle, and I find it doesn’t bother me in bed at all.
 Knitwit patterns are SO EASY!  I don’t have a stretch machine but my domestic sewing machine is working fine.  I just stretch as I sew, as it says in the instructions, so that the finished seam is still stretchy.

I still have a bunch left, so I’m going to make some more undies!  All the undies I’ve been making for myself are so much more comfortable than store-bought ones, it’s insane.  I just want to wear them all the time but I only have 2 good pairs (and one fail).  Or I could make the opposite nightie, view A bodice with view B body…
Have you ever sewn a KnitWit pattern?  So good!

life, monday, wedding

Monday musings

I thought I’d start a thing for Mondays where I write about what’s been happening over the week, and what I plan for my life and my blog for the coming week!  On Mondays I teach from 7:15am until about 2, so then I can come home and relax and blog!

So much has been happening over the last few weeks!  But I’m going to keep this one about my friend’s wedding. My friend Kerrie got married on Saturday!
Kerrie, who is quite a bit older than me, ran then youth group at my church until recently when it kind of dissolved (we all became adults and not youths.  Actually that happened ages ago).  She is the most kind and loving person I know!  Last year she had some very bad health problems and had to go through Chemotherapy, and she lost all of her hair, so I made her this beanie which she wore the whole time.  She’s all better now, and she has beautiful short hair!  I organised a youth group party for her and her fiance two weeks before the wedding.  Pics:

 We had kareoke, or Kerrieoke since it was Kerrie.  Here’s me and my best friend Shona singing some spice girls song.

 We played that game where you make a wedding dress out of crepe paper and stuff!  

The cake I made.  It was pretty yummy!
It was a really fun party and quite a few people came.  Kerrie loved it!  Then a couple of days later I went and made chocolates with her.  She wanted to give everyone at the wedding handmade chocolates!

A pretty poor Instagram pic, but we made literally hundreds of these little heart chocolates in dark, milk, and white chocolate!  She wanted everyone to have 5 chocolates and there were like 90 guests.  I think we probably made too many!  I also went and helped her fold little chocolate boxes another day!
Kerrie did a reading at my wedding, so she asked me to do one for her as well!  I was nervous but I think I read well. It was the Corinthians reading, love is patient, love is kind, etc.  

The service was beautiful!  Kerrie had 5 bridesmaids, two of her nieces and three were John’s daughters from his previous marriage.  I just think it is wonderful that Kerrie has this new family to love!
When she walked down the aisle me, my mum, and Shona all burst into tears, we were so happy and she looked so happy and beautiful.  She didn’t stop smiling all day!
My friend Rohan took the photos (see the advantages of having a youthgroup), just like he took ours.  I can’t wait to see them all in a few weeks.  
The reception was at a restaurant called The Lobby, where Julia Gillard famously lost her shoe in a protest. It was a lovely reception!  I got to sit next to Shona and we behaved like silly 16 year olds which was SO FUN.  My parents were also invited to the reception so it was particularly nice.  Sorry about the poor quality photos, but here they are!

 Poor Charles had a really bad cold, he was doped up on Codral!!

 Me and Shona being awesome.

The only photo taken with a flash – me and my rad parents.  Dad is wearing his bicycle tie.
So I know it’s not particularly interesting to people who don’t know Kerrie, but this is what has been occupying my thoughts and time for the past few weeks.  Many things about the wedding were handmade: the invitations, place cards, chocolates and chocolate boxes, chocolate box cards, and pew decorations.  I feel really lucky that Kerrie let me help for her special day!
books, food, recipe

Recipe: The Bunnies’ Get Well Soup

When I was little, one of my favourite books was The Bunnies’ Get Well Soup, by Joan Elizabeth Goodman.

This is the heartwarming tale of Mother Rabbit who wanted to make some nice get-well soup for her six sniffly baby bunnies.

But she only had four celery stalks, three peas, and a wrinkly potato.  She wanted to go to market, but there was a snowstorm that prevented her from going!

So she went to all of her friends’ houses to ask for some extra vegetables.  They all said they would LOVE some soup, and they would come and bring a bit to add to the soup.

Mother Rabbit was really worried, because she had so many people coming and didn’t see how she was going to be able to make enough soup!  But when everyone came, they all brought a little of this, and a bit of that, and there ended up being plenty of delicious soup for everyone!

And the end of the book goes like this:
“My dear friends,” said Mother Rabbit, “with a little of this, a bit of that you have all made this the best Get Well Soup ever!  Now eat up.  There’s plenty for everyone.”
So they did. And when they were done, “Hooray!” they said. “Hooray for Mother Rabbit and her wonderful Get Well Soup!”

The best bit about this charming book is that it has the recipe in the front.

Mother Rabbit’s Get Well Soup

4 celery stalks
3 peas
1 potato
6 carrots
1lb chard
1 garlic bulb
2 turnips
5 beets
1lb lentils (cooked)
1lb green beans
8 yellow onions
6 big yams
1lb rice
1lb spinach
parsley, oregano, thyme, bay leaves, salt & pepper.

Wash, peel, pare, slice, cube, dice, and chop all the vegetables. Half fill your biggest pot with water. Set it on the stove to boil. Add all the ingredients, reduce to simmer.  
Cook for one hour or more.  
Serve with buttered toast and hugs.

This recipe looks gigantic!  The yams and onions and rice and lentils would really make this a hearty meal.  If anyone tries this out, please let me know!

modify, pattern, sewing, underwear

Make your own underpants! Pattern!

In this post you will learn how to make your own underpants from an old stretchy t-shirt (or fabric)!

I am terrible at throwing away old clothes, particularly t-shirts.  I get attached to them.  This t-shirt was a cheap buy from H&M in December 2011 (Sweden).  This is what it looked like new:
Such bright colours!  
I wore this t-shirt essentially nonstop for almost two years.  It started out fitting tight and looking flattering:
And then more recently I had to wear it tucked in…
And even more recently I began wearing it under a blouse!  But it was such a comfy fabric and a pretty design.  So when my friend lent me a pattern for underpants, I KNEW WHAT TO DO.
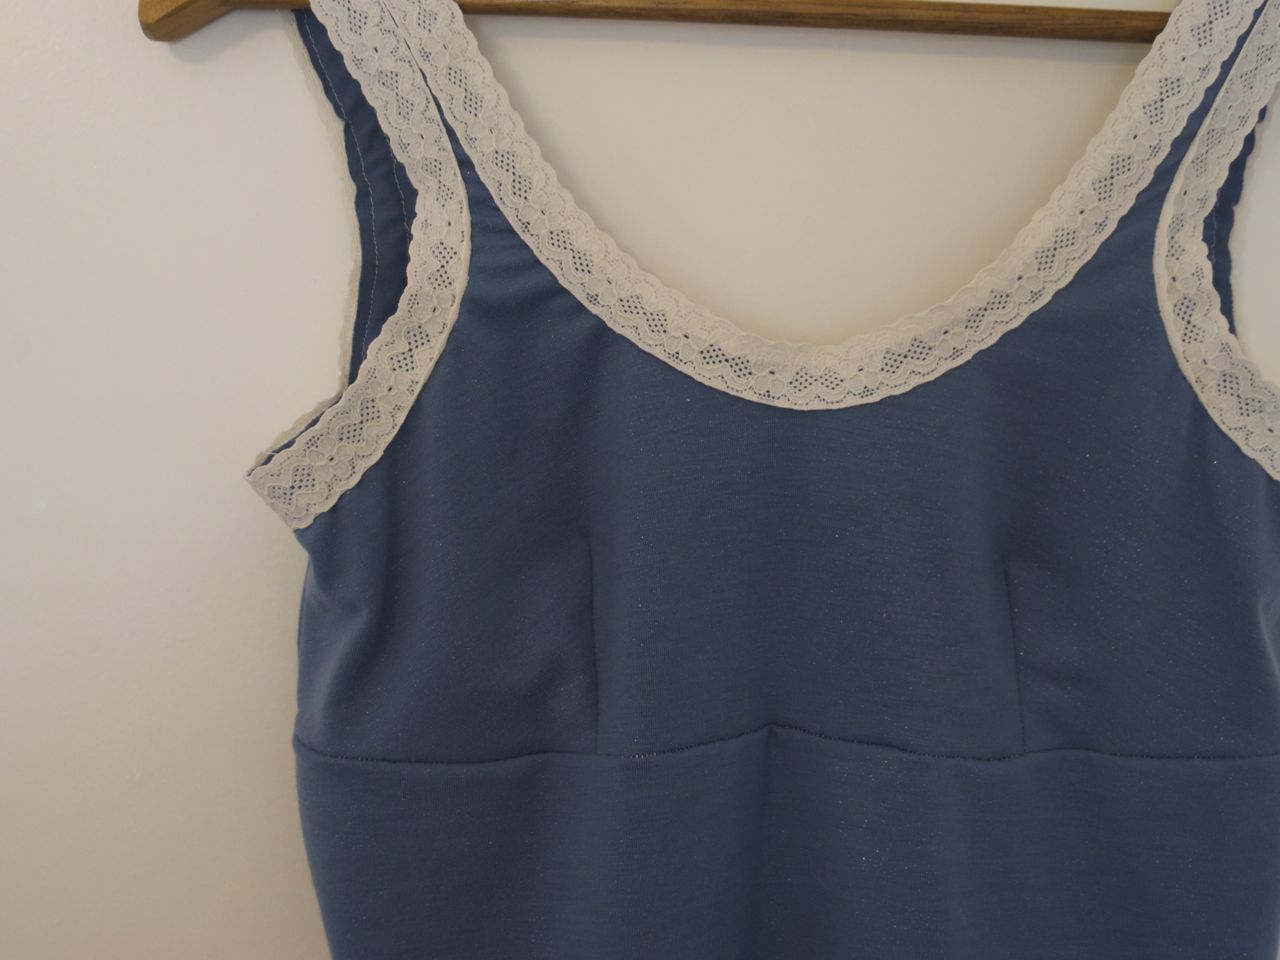
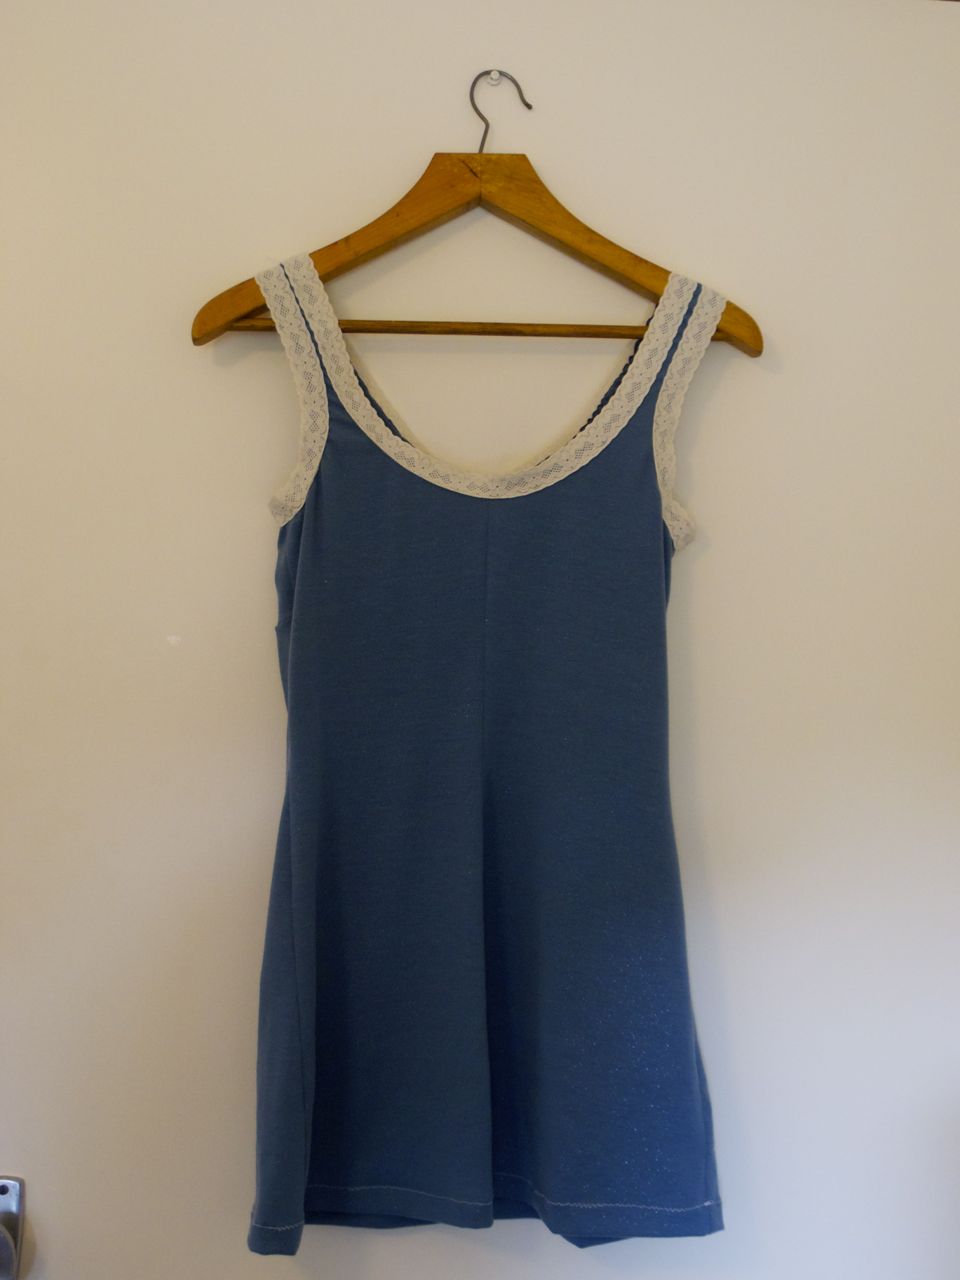
This is what it looked like yesterday:
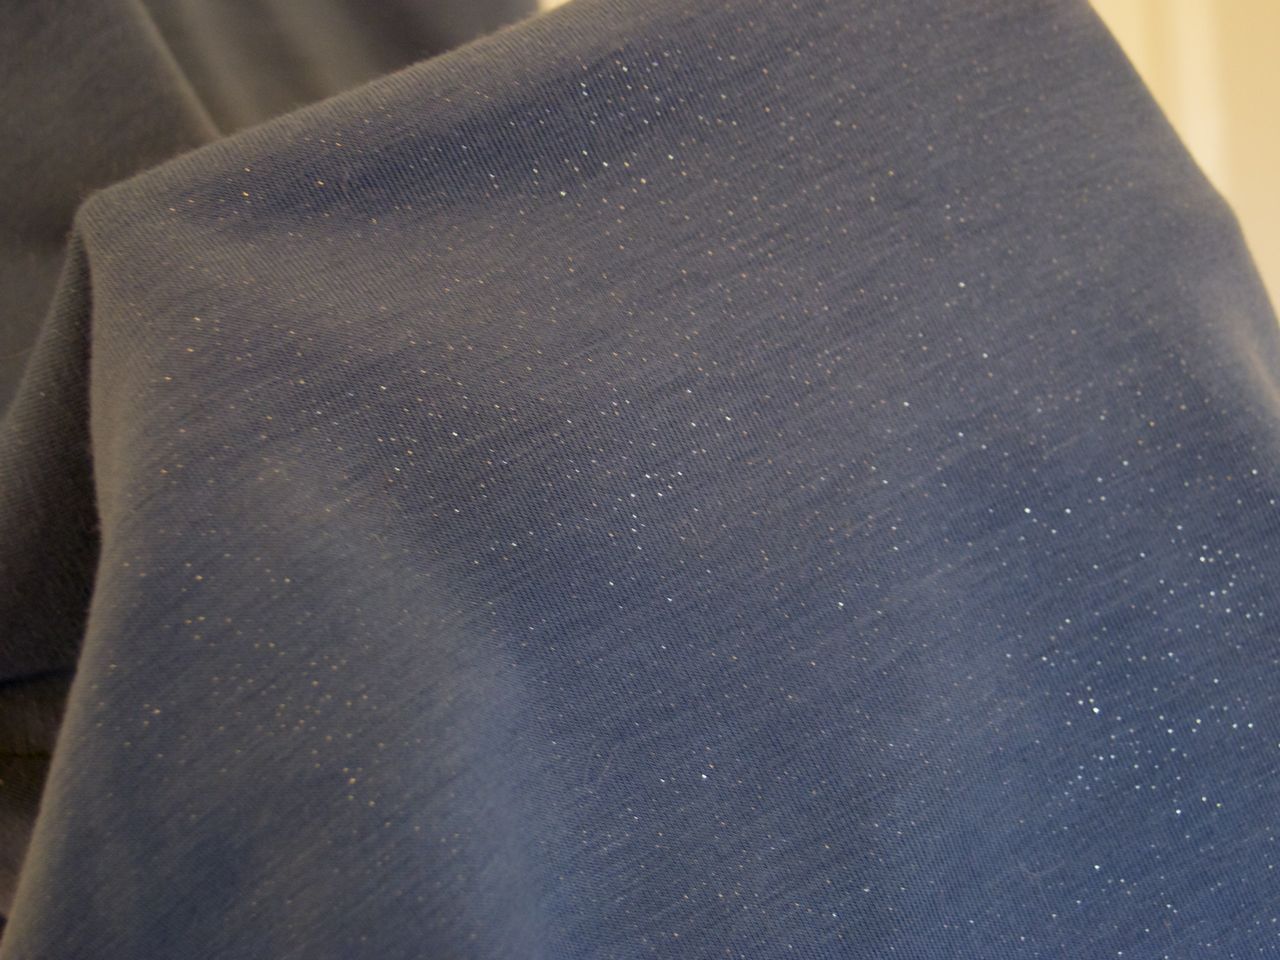
Such dull colours!  And this is what it looked like today:
Undies!  Undy-chundies!  Underoos! 

You Will Need:
An old t-shirt, or some stretch cotton fabric.  PLEASE NOTE your fabric needs to be pretty thin!  A brand new t-shirt probably will not work unless it’s a super cheap thin one.  The more worn out the better.  You’ll be doing a seam on the gusset which will be annoying if it’s too thick.  
Underwear elastic.  There are three types of underwear elastic: normal (just soft elastic), lace (stretchy lace), and lace-edged (normal elastic with one edge lacy).  Pictured here is two lace elastics, and two lace-edged elastics.
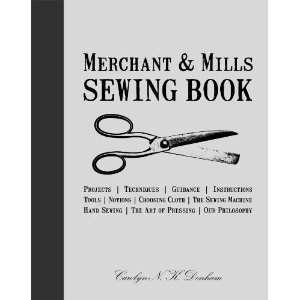
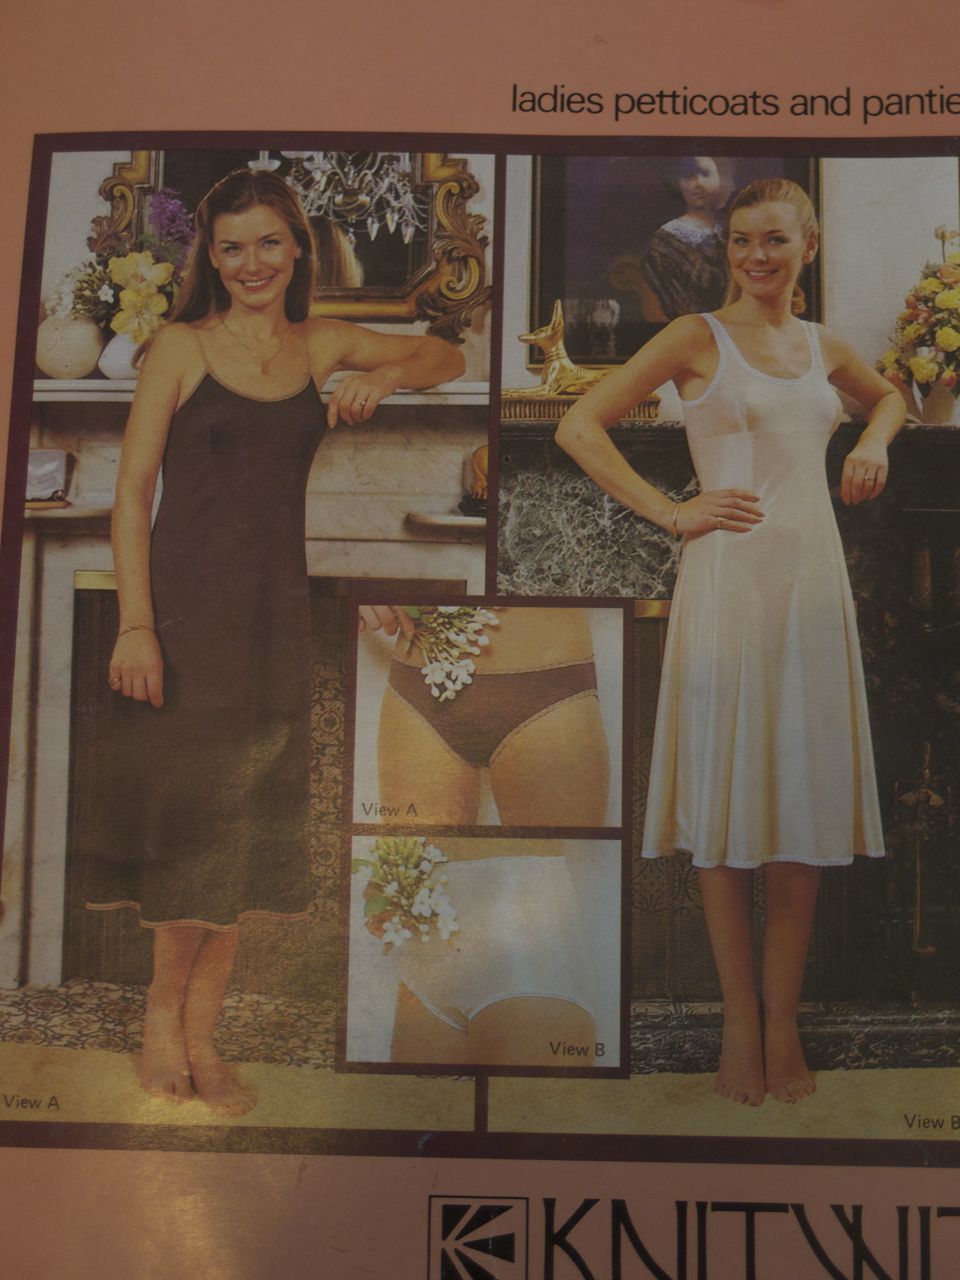
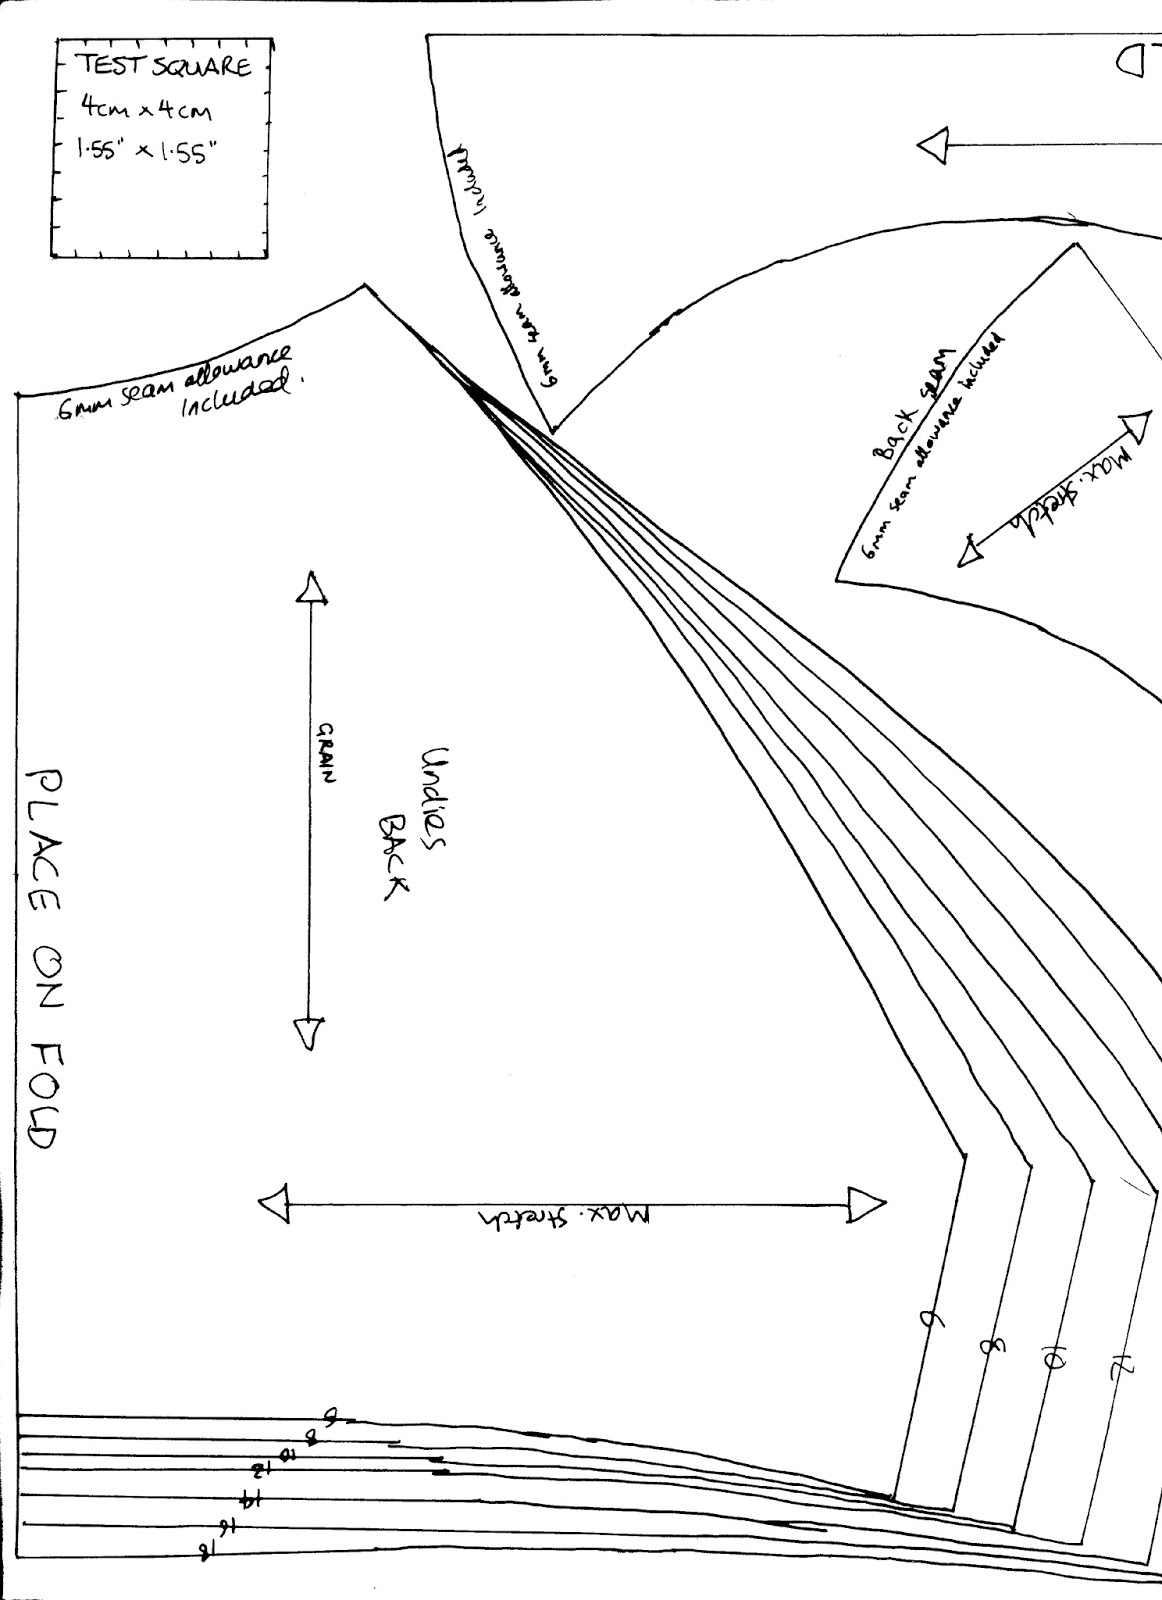
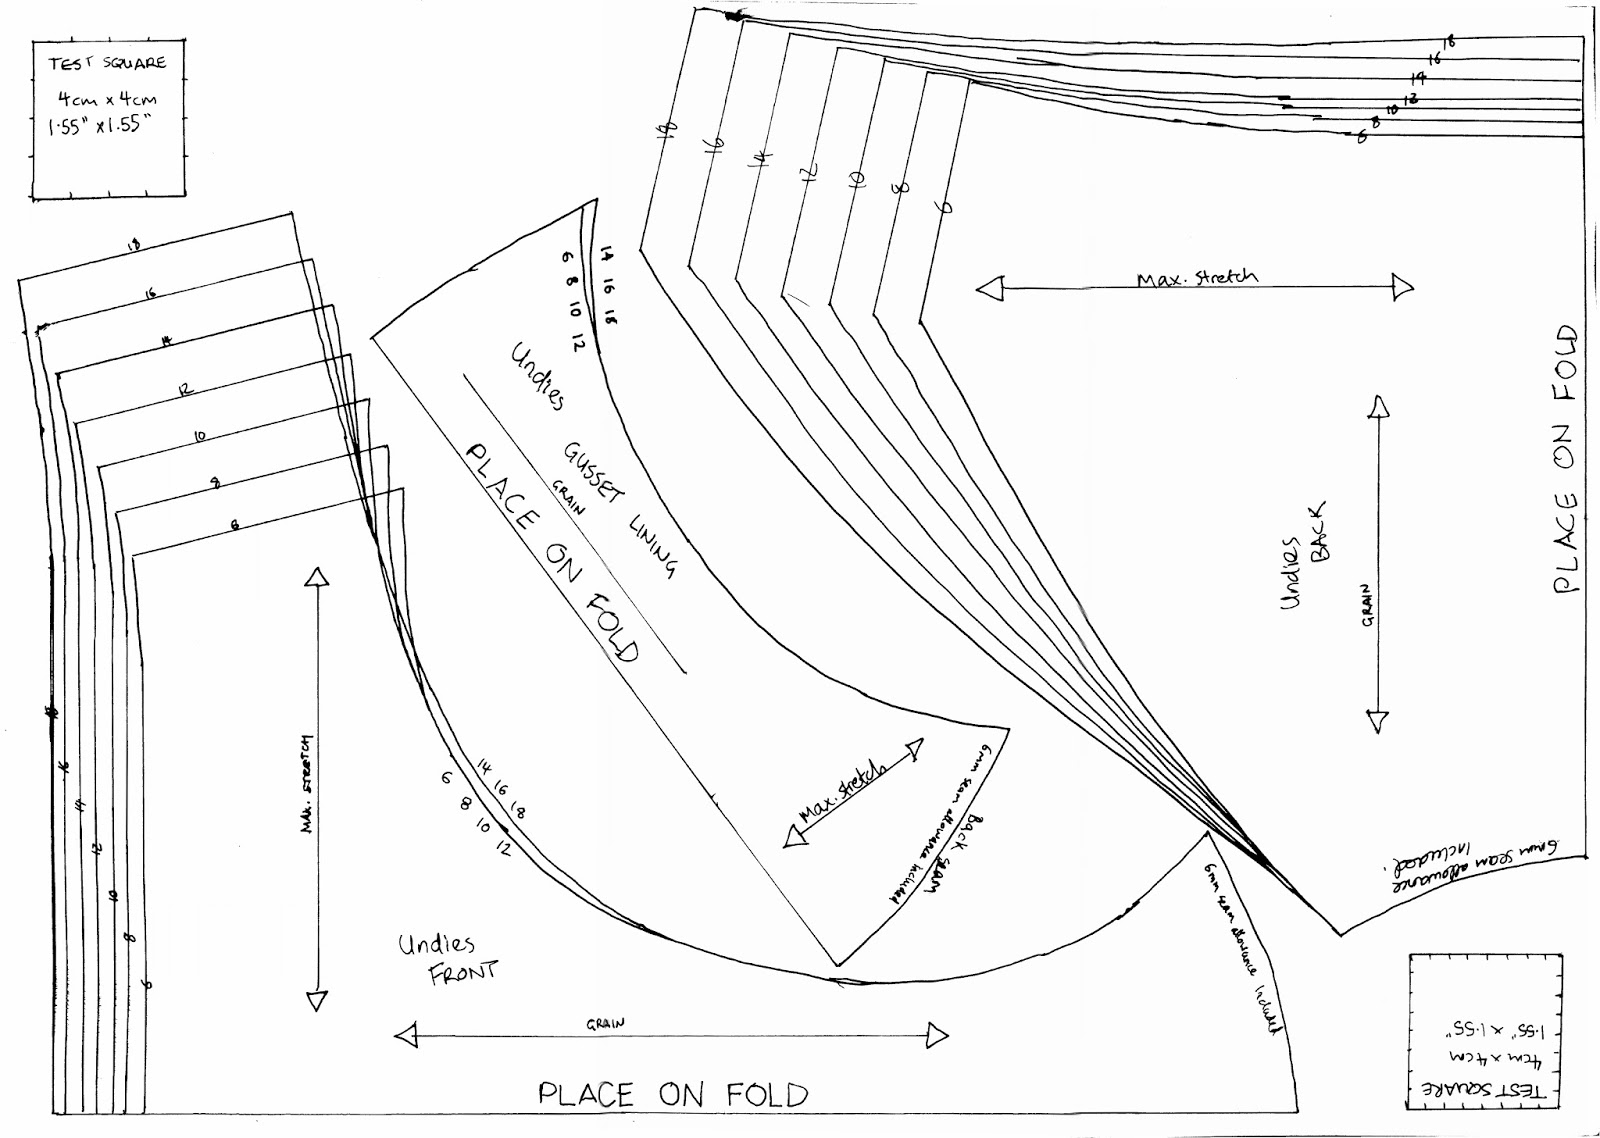
This pattern:
The first two images are either half of the pattern, and the third is the entire pattern.  Print the third image on A3 or print the first two on A4 and stick them together.  I included a test square on each page to make sure you’re printing it the right size.


(Please let me know if the pattern doesn’t print the correct size, I’ll try to reupload a better size.)
Size, based on hip size (18cm below waist): 6 – 76; 8 – 81; 10 – 86; 12 – 91; 14 – 96; 16 – 101; 18 – 106. I made a pair from thick-ish jersey in a size 10, but my t-shirt fabric was super stretchy so I went for a size 8, and it fits perfectly.

There is an included seam allowance of 6mm, which is foot width!

Got it? Let’s go!
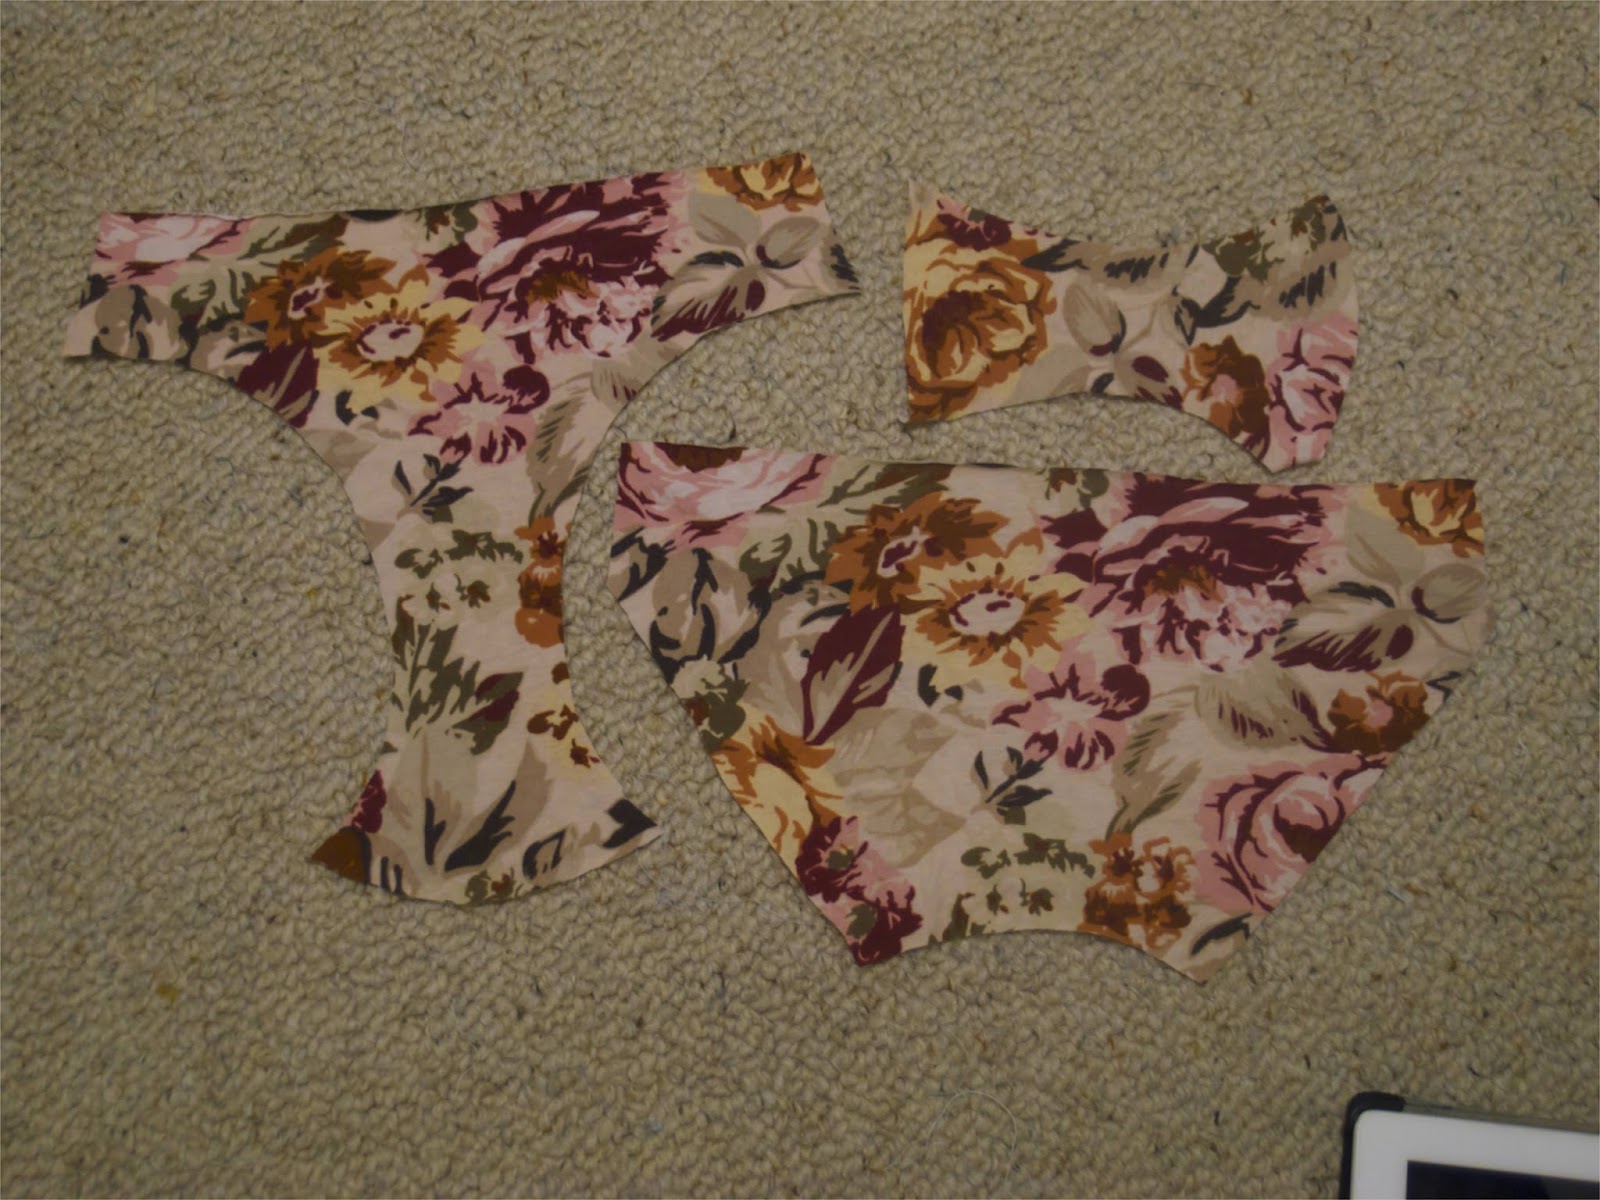
First, cut out your pattern in the correct size and lay it out on your fabric, following the grain and maximum stretch guides.  I had to unpick my entire t-shirt to get it to fit properly.  You should have three pieces: a front, a back, and a gusset lining.

Next, you need to sew in your gusset.  This is tricky.  
Place the long end of the front together with the centre back, right sides together.  They curve different ways.  Now pin the gusset “back seam” to the other side of the back.  This needs to go on the opposite way than you want it to face.  I wanted mine to be the wrong side facing up, so I put it right side up.  So the back is sandwiched between the front and the gusset.  Pin it all together, matching the centres and edges, and sew across.  Opened out, it should look like this:

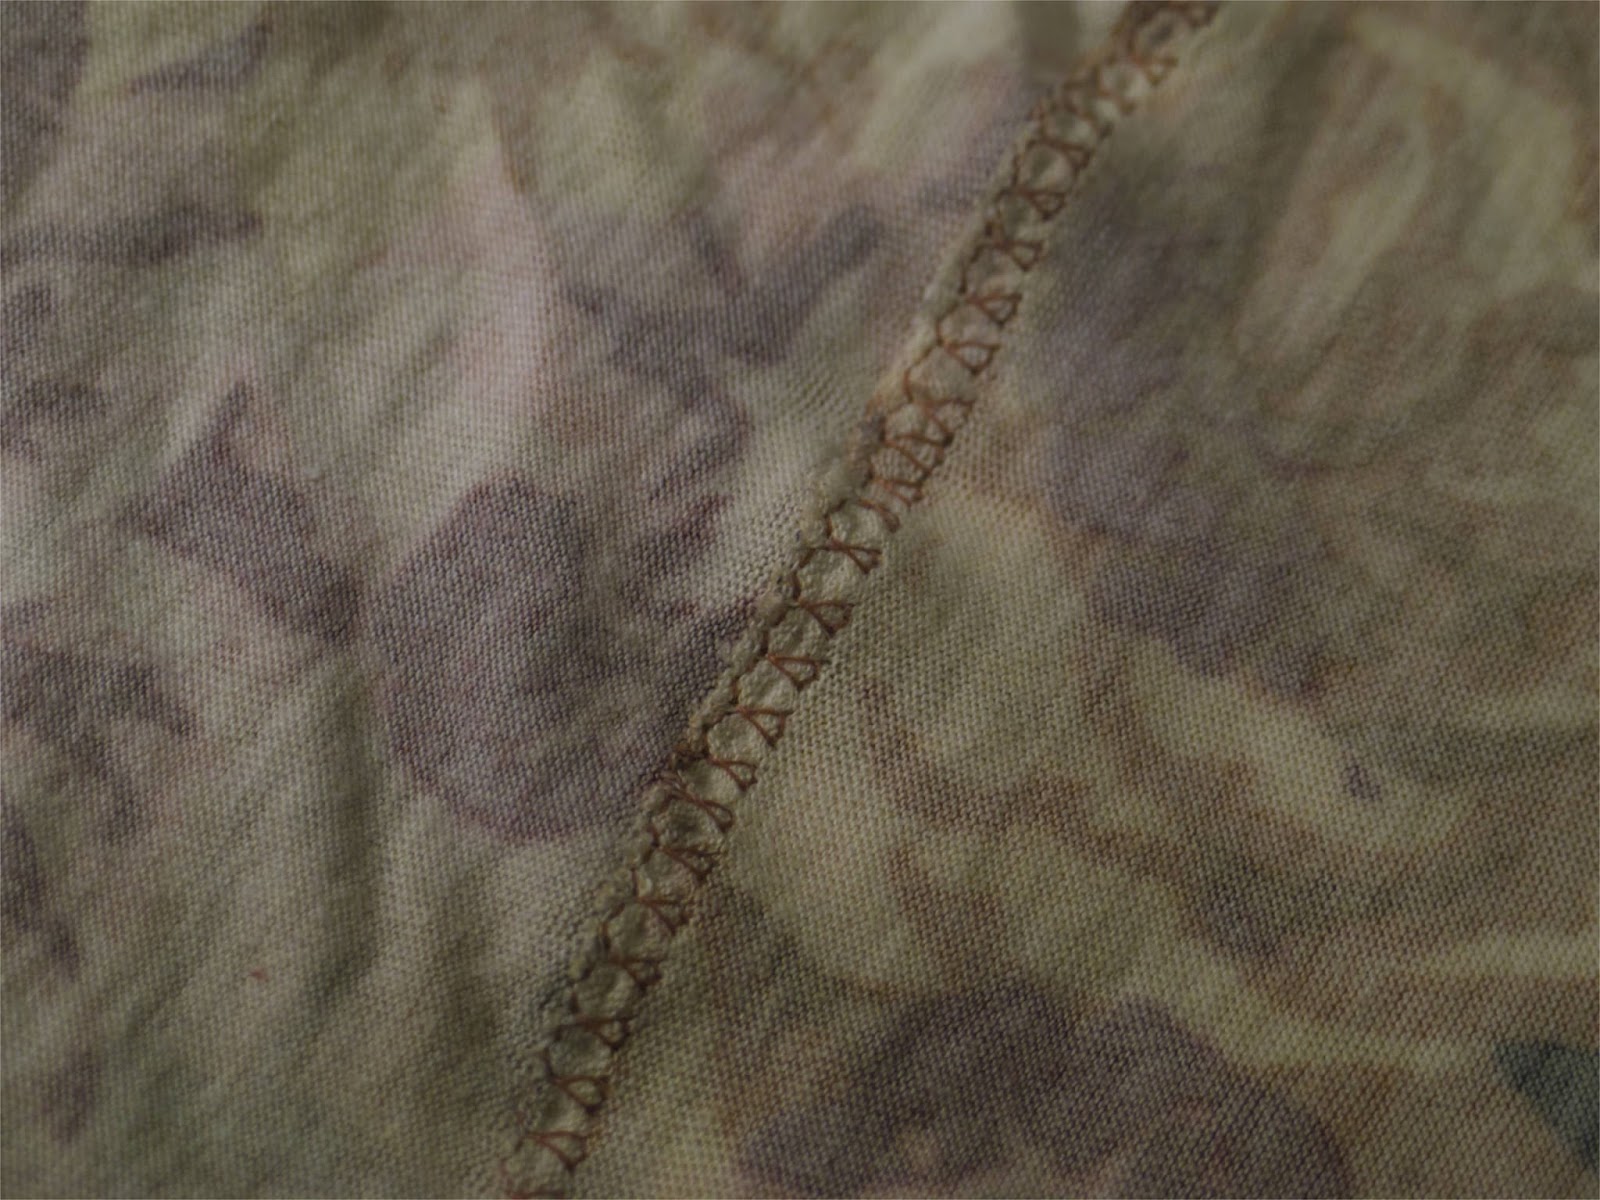
Now sew down the gusset.  Pin in place on the sides and front and sew across using a zigzag or other overlock-type stitch. (Not an actual overlocker though because that’ll cut your undies in half).


 Now sew up the sides, right sides together. I also like to stitch down the seam allowance on the sides, using a zigzag stitch.
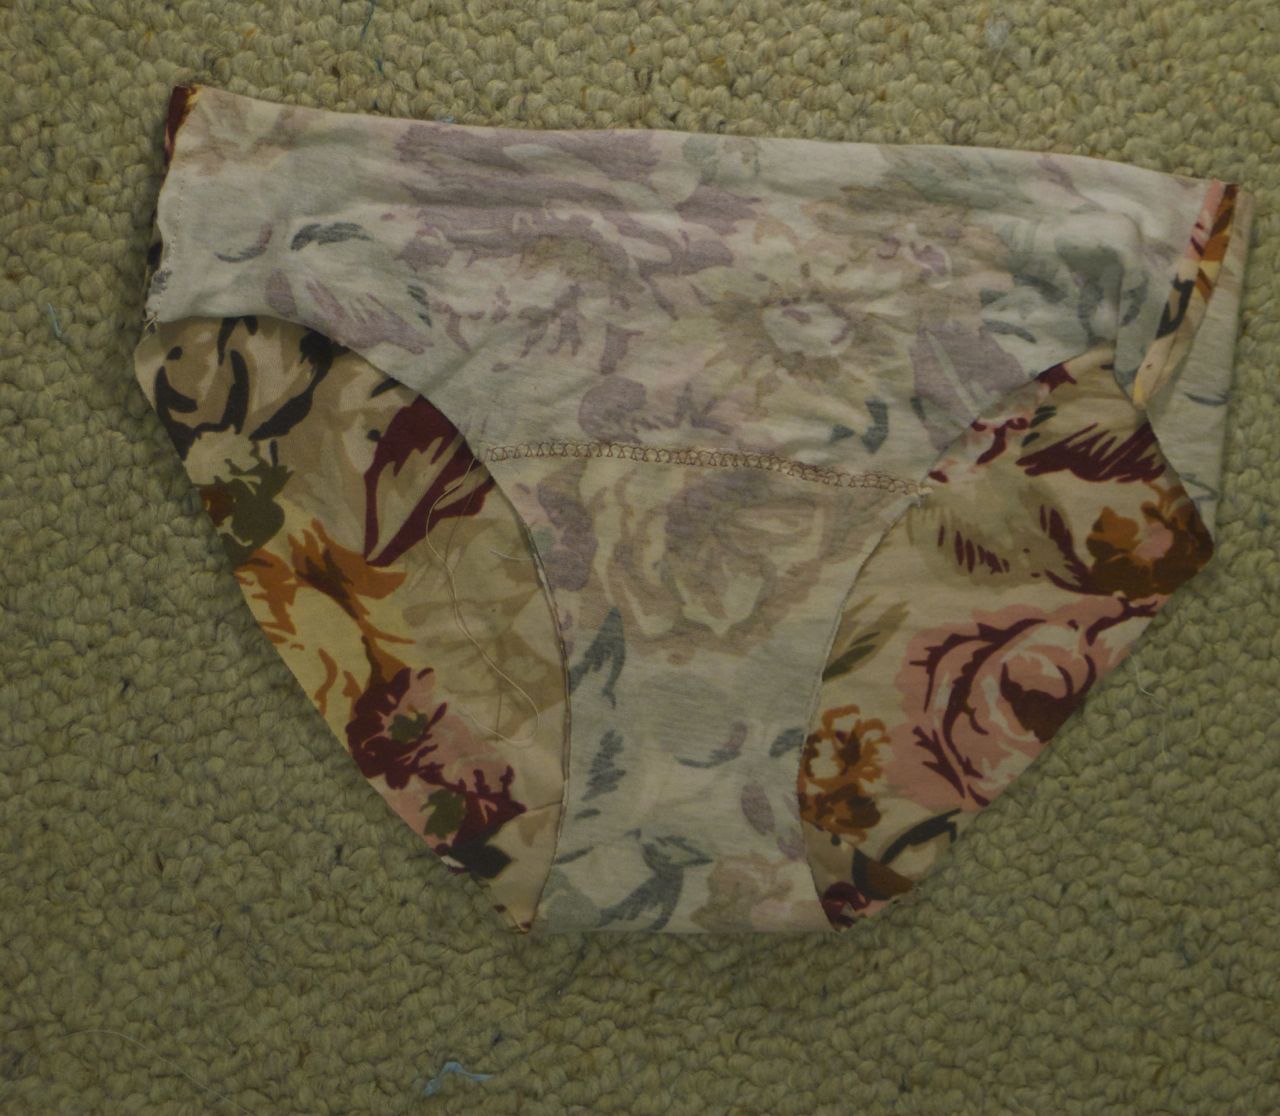
Now you should have what looks like a pair of un-elasticised underpants.  

If you have lace-edged underwear elastic, follow these instructions.  If you have lace elastic, scroll down!

To determine how much elastic you need, wrap some elastic around your waist and thighs and try to match it to how tight your actual underpants are.  That’s what I did and it worked out well!  When you pin it on, make sure you pin it around evenly, and the halfway points match, etc. Or else it’ll end up bunched up in one place.

Pin the elastic to the edge of the openings, with the lace edge on the inside, as shown:
Sew it right down the middle of the elastic, S T R E T C H I N G as much as you can as you go.  Seriously, stretch lots.  Then turn the elastic to the wrong side and sew it down again, stretching.  If you don’t stretch, when you put on your undies they’ll feel tight.
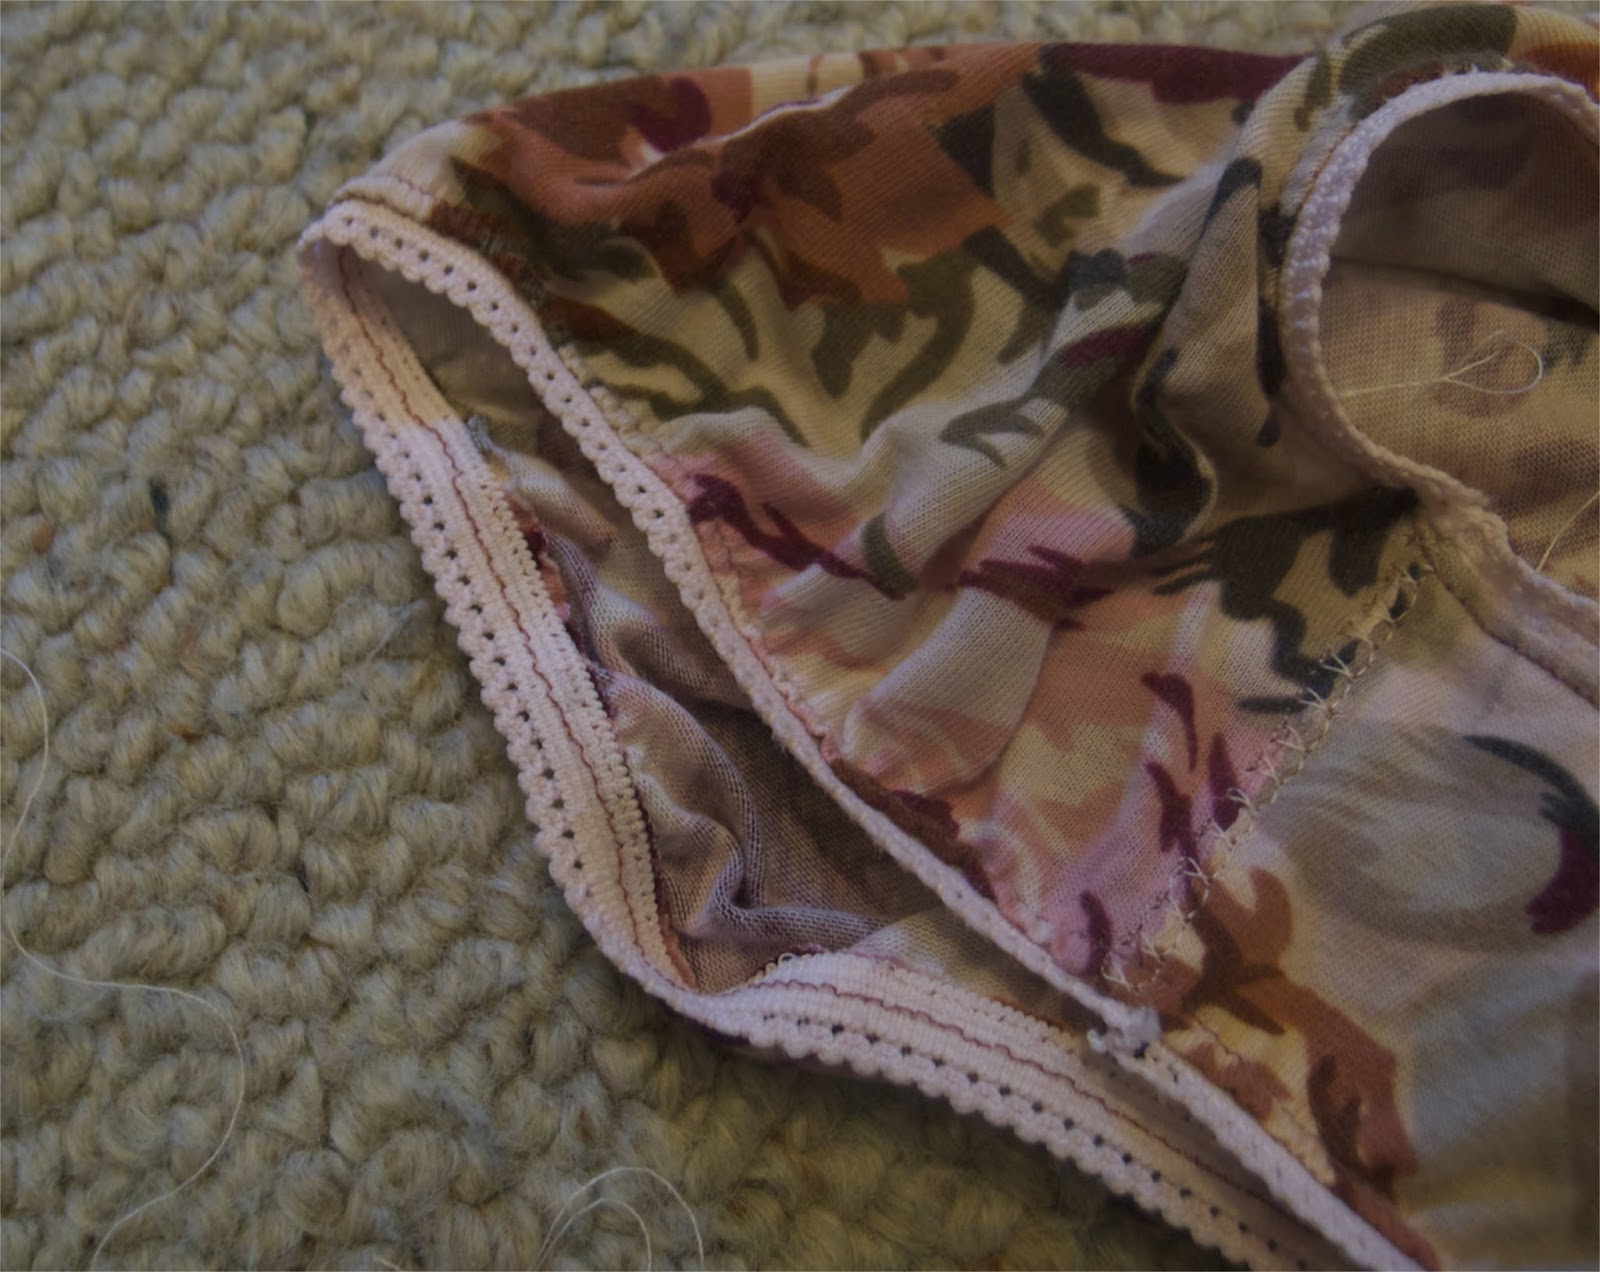
 Here’s what it looks like from the outside:
 And from the inside:
 

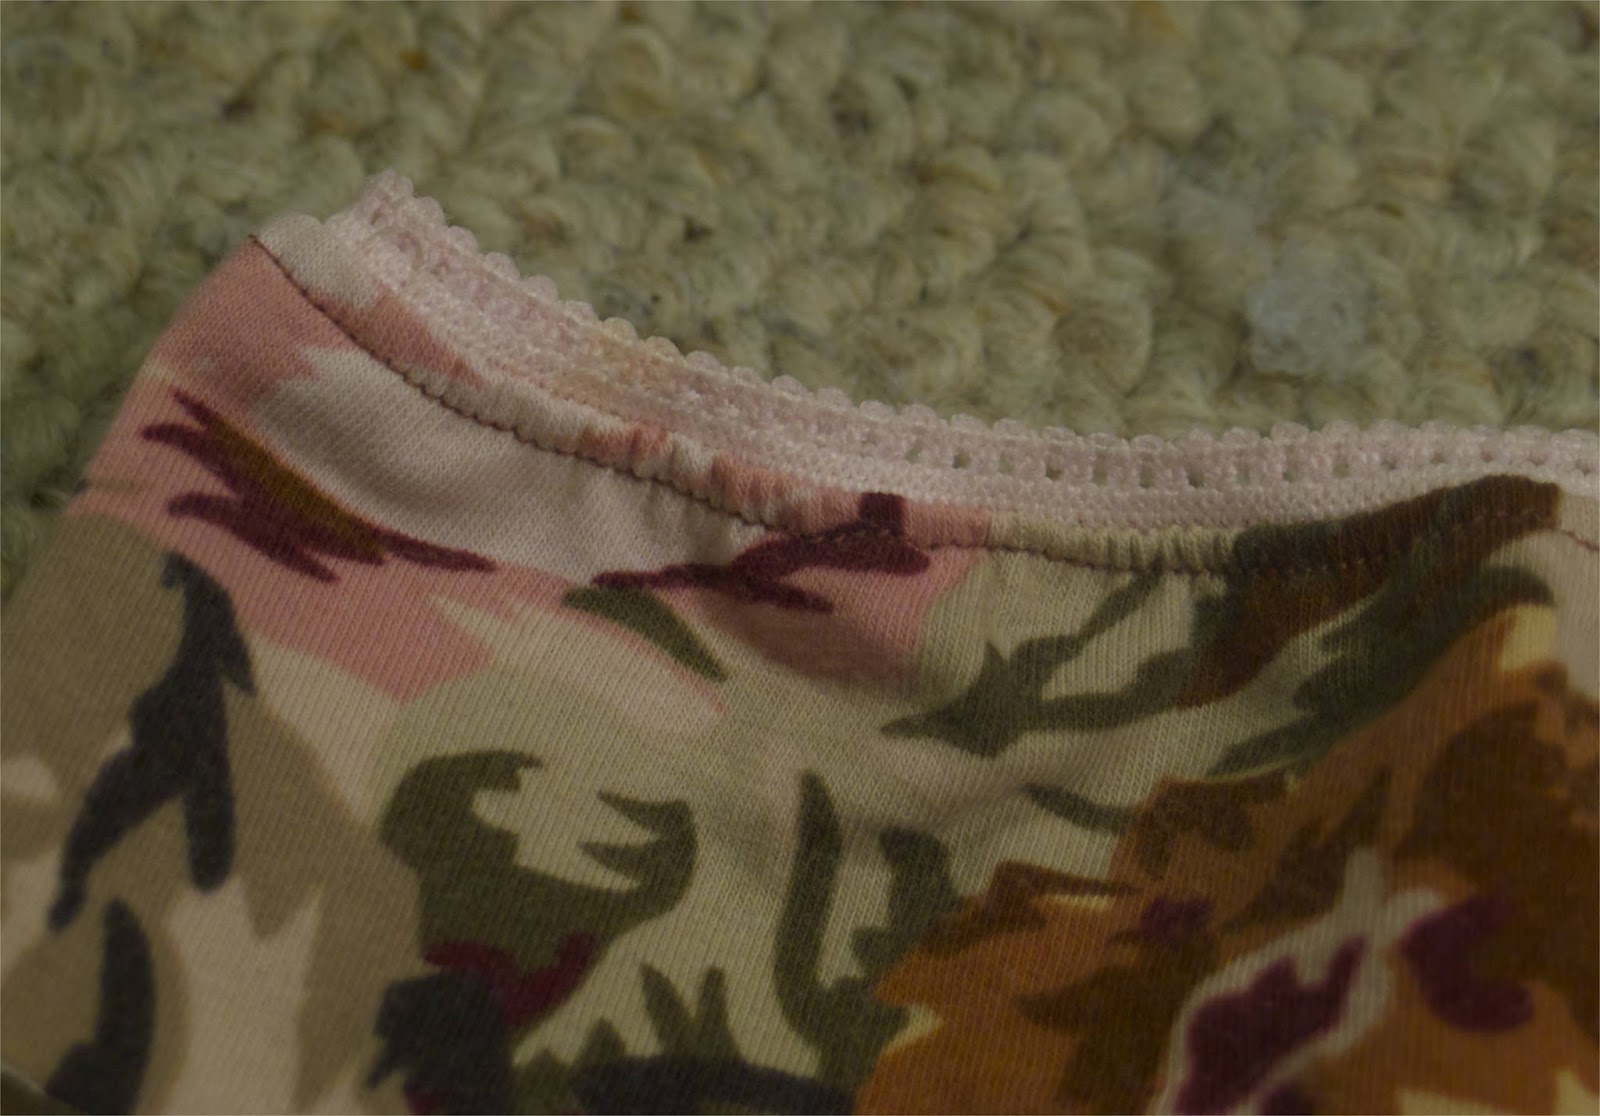
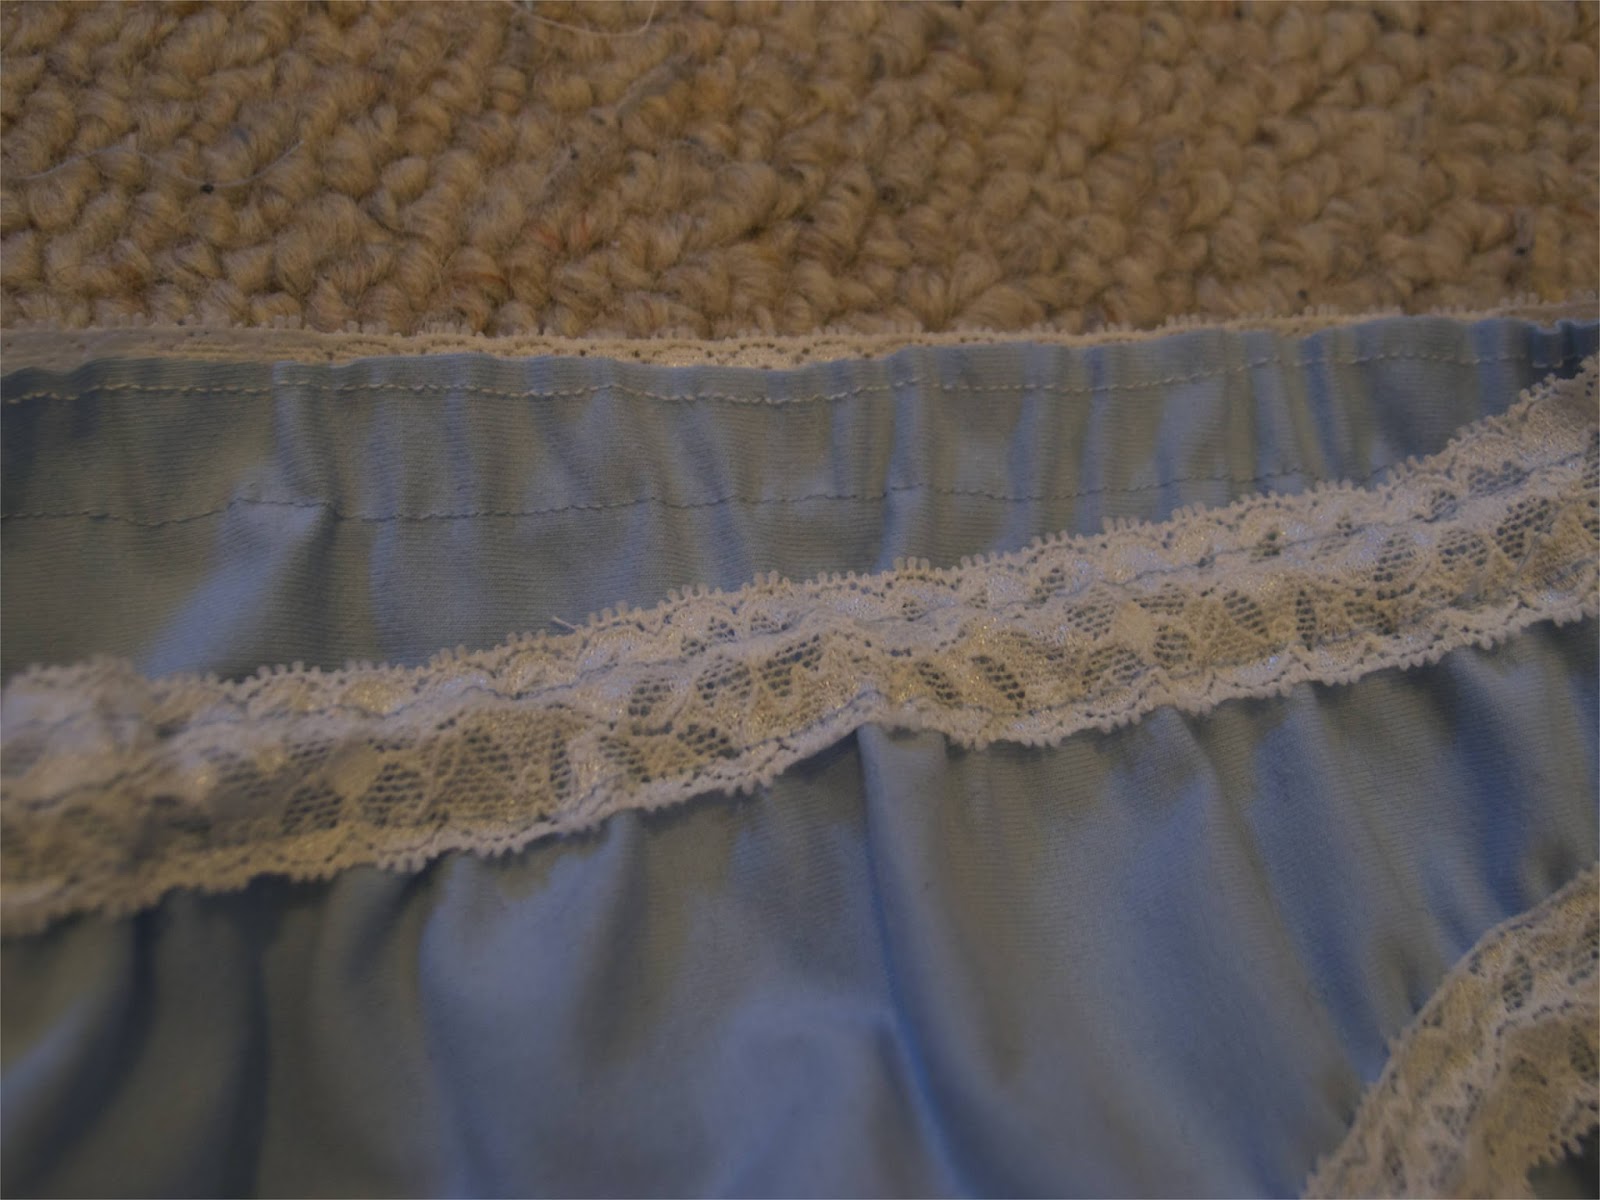
Now to do lace elastic, you simply pin it to the outside of the pants, and sew 2 – 3 rows of stitching, stretching as you go. You can see the two rows of stitching here:
 Once you’ve sewn it on, use some scissors to trim the fabric around the top of the lace!  Done!

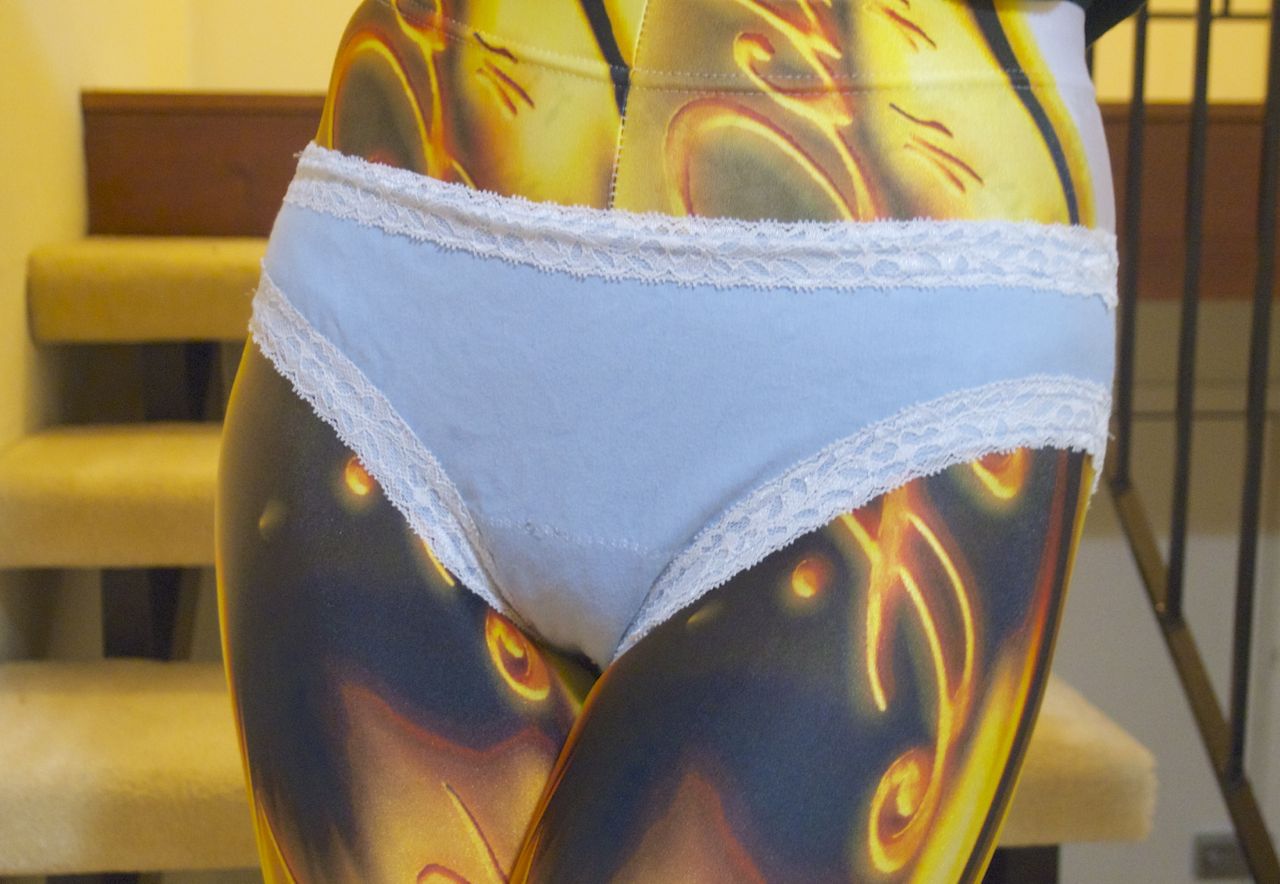
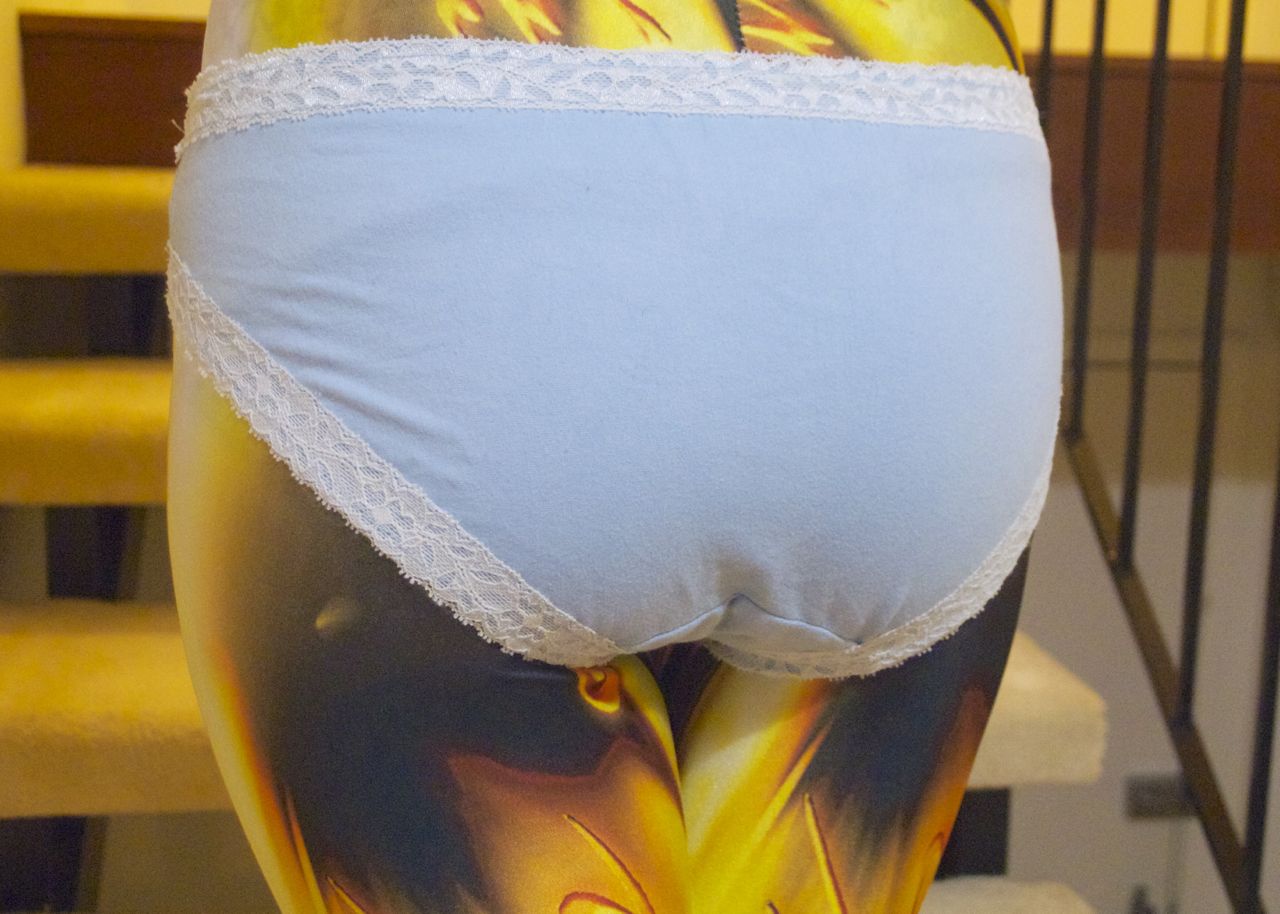
And now the part we’ve all been waiting for!

 Well I’m hardly going to show you my butt am I?

 So enjoy some tights from Black Milk.

 Australian Made all round 🙂  Who knows, it might not even be my butt.

Let me know if you use this pattern and what you ended up with!  I’d love to see your creations!  
Many special thanks to my friend Veronica for getting me going on this!  I’m going to make myself another pair RIGHT NOW!